
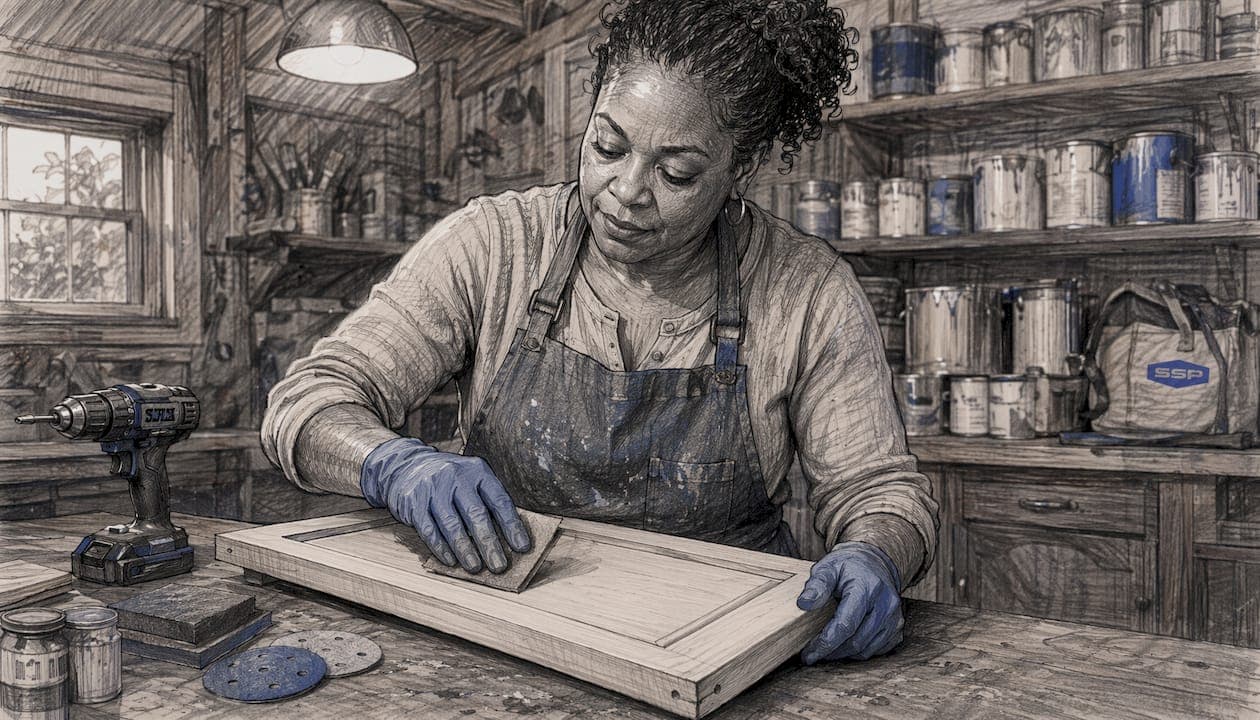
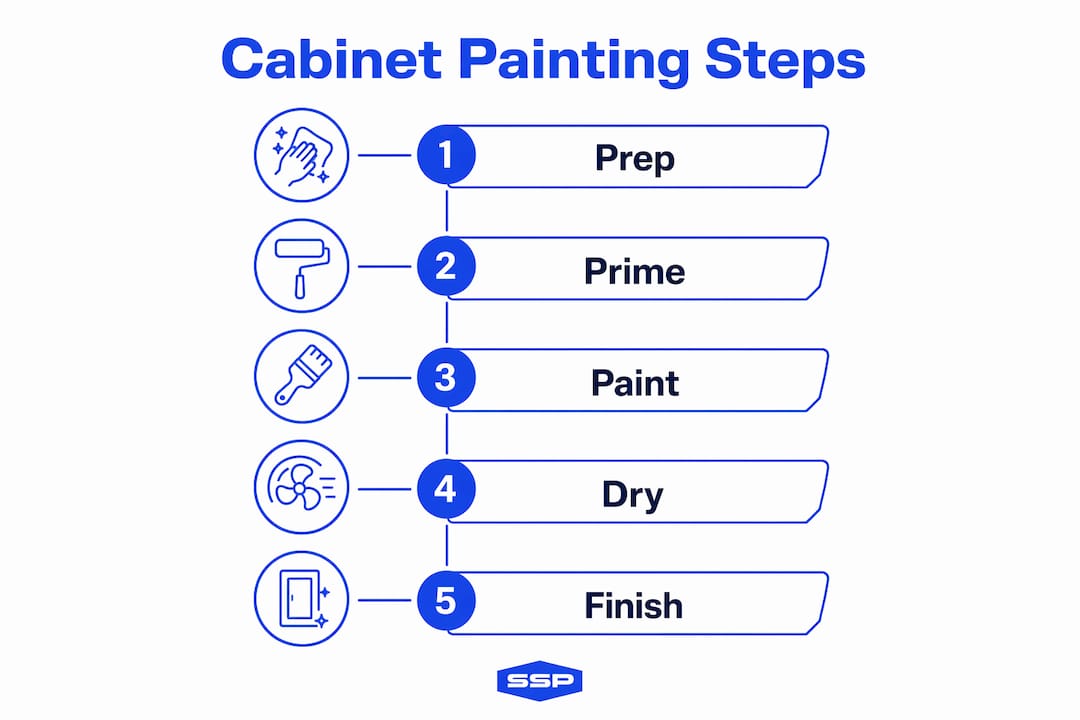
Painting kitchen cabinets correctly comes down to one principle: preparation and patience outweigh everything else. Remove all doors and hardware first, labeling each piece for accurate reassembly. Clean every surface with a TSP substitute or strong degreaser to strip invisible cooking grease that standard cleaners only smear around. Sand with 120–150 grit to create adhesion "tooth," apply a shellac-based or waterborne bonding primer, then build color in thin, multiple coats using an angled brush for detail areas and a foam roller for flat panels. Follow strict drying and curing schedules before rehanging anything.
- Remove doors and drawer fronts; number each with painter's tape on the back
- Degrease all surfaces thoroughly before sanding
- Sand with 120–150 grit for prep, 220 grit between coats
- Prime with a shellac-based primer like Zinsser BIN or a waterborne bonding primer
- Apply two or more thin coats of cabinet-grade paint
- Wait 3–5 days before rehanging doors; allow 14–30 days for full cure
- Reassemble only after curing to prevent peeling from flexed paint film
Pro Tip: Paint the back side of each door first. It is your practice run, and any technique errors stay hidden once the door is installed.
What supplies do you need for painting cabinets?
Gathering the right tools before you start prevents mid-project trips to the hardware store and keeps the workflow moving. Quality tools also directly affect finish smoothness.
Essential tools and materials:
- Angled 2–2.5" brush (Purdy or Wooster Shortcut work well for edges and profiles)
- 4" or 6" high-density foam rollers for flat panel areas
- Mini roller frame and paint tray with liners
- Painter's pyramids or push pins to elevate doors during drying
- Shellac-based primer such as Zinsser BIN, or a waterborne bonding primer for lower odor
- Cabinet-grade paint: acrylic alkyd hybrids like Sherwin-Williams Emerald Urethane Trim Enamel cure hard and level beautifully
- TSP substitute or industrial-strength degreaser
- 120–150 grit sandpaper or sanding sponges for prep; 220 grit for between coats
- Random orbital sander for flat surfaces
- Wood filler and putty knife for repairs
- Painter's tape, drop cloths, and builder's paper to protect surrounding areas
- Vacuum with brush attachment and tack cloths for dust removal
- Safety glasses, particulate mask, and nitrile gloves
Pro Tip: Skip cheap foam rollers. A high-density foam roller leaves a noticeably smoother finish than a standard nap roller, and the difference shows clearly on cabinet doors.
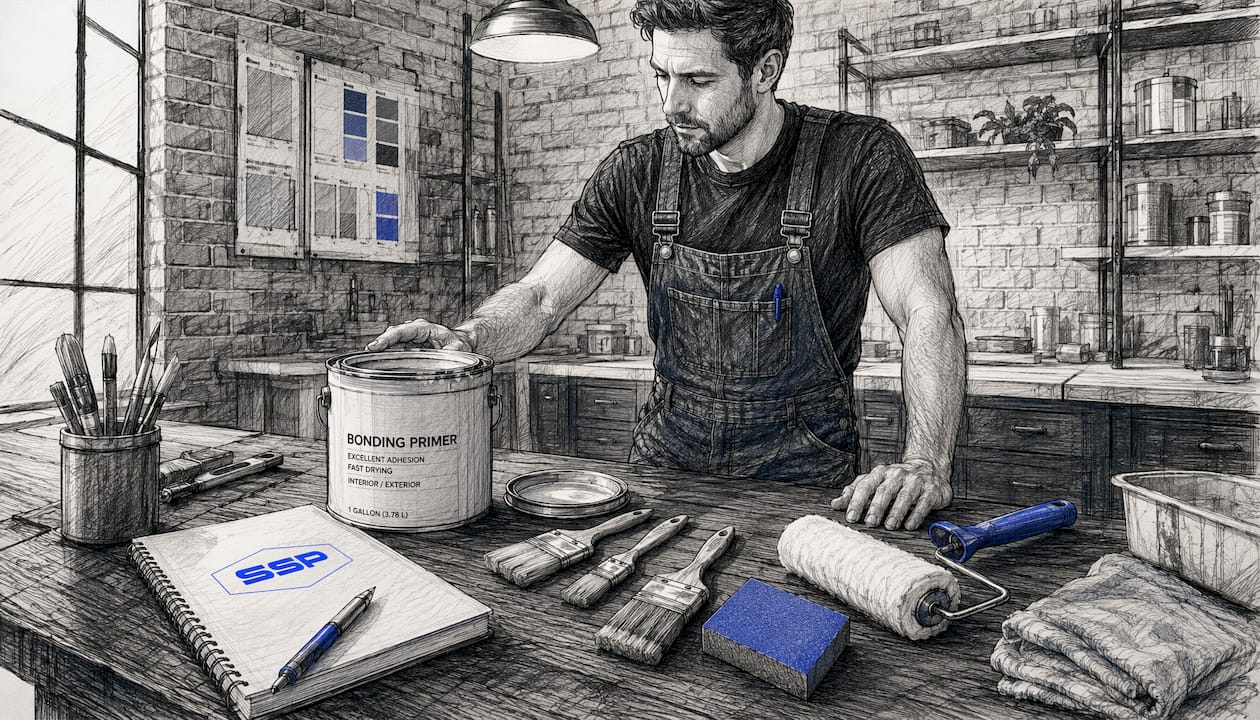
How do you prepare cabinets for painting?
Prep work is where a cabinet paint job either succeeds or fails. Professional painters report that prep alone can consume the majority of total project time on a typical kitchen, and that ratio reflects how demanding this stage really is.
-
Remove all doors, drawers, and hardware. Number each door with painter's tape on the back and a matching label inside the cabinet box. Bag hardware by door in labeled plastic bags. Lay doors flat on sawhorses covered with drop cloths, never standing upright, which causes warping.
-
Degrease every surface. Kitchen cabinets carry layers of aerosolized cooking grease that is invisible but actively prevents paint adhesion. Use a TSP substitute or an industrial-strength degreaser, wiping every surface including edges, backs, and hardware mounting holes. Rinse with clean water and allow 2–3 hours to dry completely. Standard all-purpose cleaners tend to smear grease rather than lift it, so product choice here matters.
-
Repair imperfections. Fill dents, scratches, and holes with wood filler, pressing it in with a putty knife. Let it dry fully per the product directions, then sand smooth before moving on.
-
Sand for adhesion. Sand all surfaces with 120–150 grit sandpaper or a sanding sponge to create "tooth." A random orbital sander speeds up flat areas; use sanding sponges for profiles, grooves, and detailed moldings where a power sander cannot reach cleanly. Fold sandpaper to get into tight corners on frames.
-
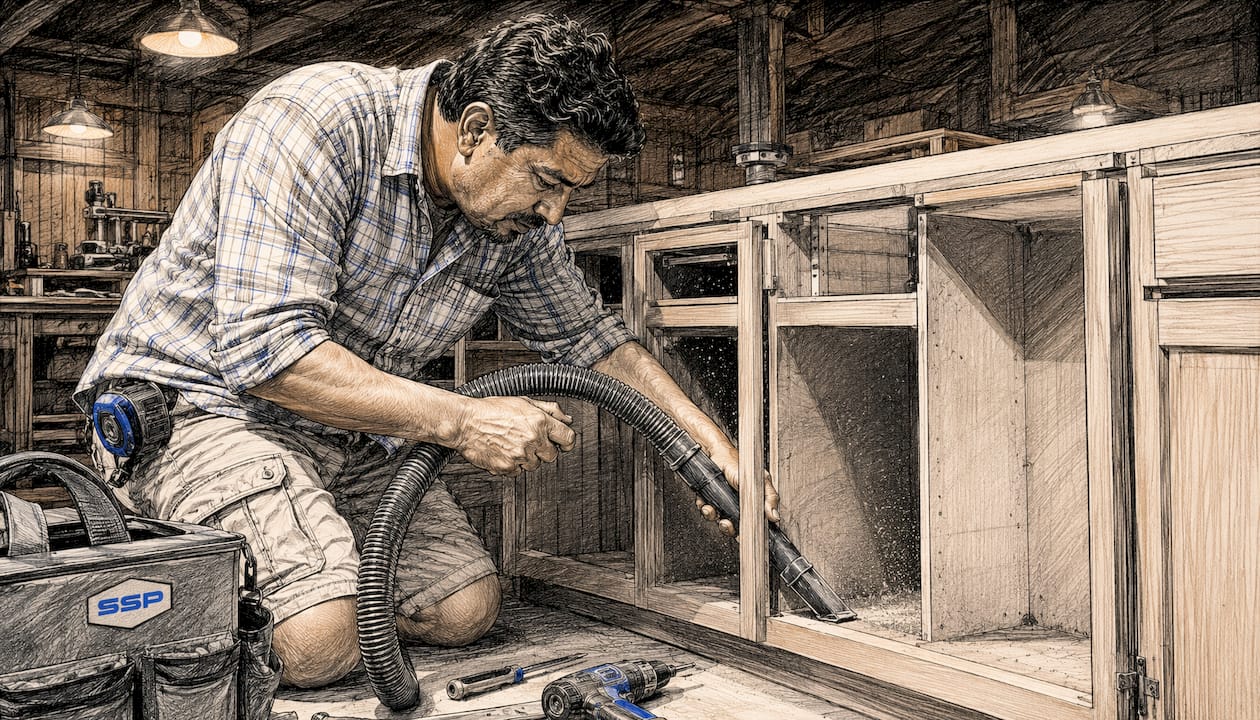
Remove all dust. Vacuum with a brush attachment first, then wipe every surface with a tack cloth. Any remaining dust trapped under primer will telegraph through the final coats.
Pro Tip: Nick Slavik, a professional painter with over 30 years of experience, calls his prep system SVT: sand, vacuum, tack rag. Running that sequence twice, once before primer and once after, produces a noticeably cleaner base.
Why does priming cabinets correctly matter so much?
Primer is not optional, regardless of what any paint label claims about "paint and primer in one." A dedicated primer does three things no topcoat can replicate: it bonds chemically to the existing surface, blocks stains and tannins from bleeding through, and creates a uniform base that helps paint level evenly.
- Shellac-based primer (Zinsser BIN): The gold standard for cabinets, drying in approximately 45 minutes with superior adhesion to any existing finish. It blocks tannin bleed from oak and other open-grain woods, as well as water stains. Strong odor requires good ventilation.
- Waterborne bonding primer: A lower-odor alternative that chemically bonds to slick or glossy surfaces without heavy sanding. A practical choice for laminate cabinets or anyone sensitive to shellac fumes.
- Alkyd/oil-based primer: Excellent adhesion and stain blocking with longer dry time. A solid option if you are already working with oil-based products.
Apply primer in a thin, even coat using a 2" angled brush for edges and profiles, and a 4–6" foam roller for flat panel areas. Do not try to achieve full coverage in one coat. After the primer dries fully, sand lightly with 220 grit to knock down any raised grain or dried drips, then remove all dust with a tack cloth before painting. Skipping this inter-coat sanding step is one of the most common reasons DIY finishes look rough rather than smooth.
Cabinets painted without a proper bonding primer on slick surfaces typically show adhesion failure within 6–12 months. The right primer is the single most consequential product decision in the entire project.
How do you apply paint coats for a smooth, durable finish?
Thin coats are the rule, not the exception. One thick coat traps solvents, sags, and dries unevenly. Two or three thin coats build color cleanly and cure harder.
-
Set up your workspace. Lay doors flat on painter's pyramids so all four edges stay accessible. Work in a well-ventilated area, and cover countertops, appliances, and floors with builder's paper or drop cloths before painting cabinet boxes in place.
-
Paint in the right order. For doors, brush edges and raised profiles first, then roll flat panels with a foam roller using light, even pressure. For cabinet boxes, brush inside edges first, then roll the face frame working top to bottom to catch any drips.
-
Tip off after rolling. Run the roller lightly in one direction across the just-painted surface to level any texture. Do not overwork it. Two or three passes, then leave it alone.
-
Follow the coat schedule. Allow 24 hours between coats, sand lightly with 220 grit after the first coat dries, wipe with a tack cloth, then apply the second coat. A third coat is only needed for dramatic color changes.
-
Consider a clear topcoat. A clear topcoat such as polycrylic or polyurethane forms a hard, flexible barrier that absorbs the daily physical stress cabinets endure, extending finish life significantly. Apply two thin coats, sanding lightly between them with 220 grit.
For paint selection, acrylic alkyd hybrids like Sherwin-Williams Emerald Urethane Trim Enamel cure to a hard, washable surface that standard interior latex cannot match. Enamel-based cabinet paints resist moisture, thermal cycling, and the constant contact that kitchen cabinets take every day. Avoid regular wall paint entirely; it is not formulated for this environment and will fail prematurely regardless of primer or topcoat.
Spray painting produces the smoothest, most factory-like finish and can cut application time considerably, but it demands extensive masking of every opening, appliance, and surface, plus controlled ventilation. For most DIY homeowners, the brush and foam roller combination delivers excellent results without that setup burden. When choosing your cabinet colors, avoiding common color selection errors is worth the research; a guide on cabinet color mistakes can save you from a finish you will regret in six months.
Pro Tip: Always paint the back of each door before the front. The back is your practice surface, and by the time you flip to the show side, your technique is dialed in.
How long does cabinet paint need to dry and cure?
Dry to touch and fully cured are two very different states, and confusing them is the most common reason freshly painted cabinets peel or stick together after reassembly.
- Dry to touch: 1–4 hours depending on product and conditions
- Between coats: wait a full 24 hours before applying the next coat
- Before rehanging doors: wait 3–5 days minimum
- Full cure: 14–30 days for maximum hardness and durability
During the curing period, treat the cabinets carefully. Avoid slamming doors, placing heavy items on shelves, or scrubbing surfaces. Use shelf liners to prevent stored items from bonding to uncured paint. Gentle wiping only.
Reinstalling doors before the paint has adequately cured flexes a still-soft paint film. That flexing fractures the bond between paint layers or between paint and primer, and peeling follows. The patience required here is not excessive; it is simply the difference between a finish that lasts years and one that fails within months.
With proper prep, a bonding primer, cabinet-grade paint, and a clear topcoat, a well-executed DIY paint job can last 8–15 years. Without those steps, expect peeling and chipping within 1–3 years.
Key Takeaways
A properly executed cabinet paint job requires bonding primer, cabinet-grade paint, strict coat timing, and a minimum 3–5 day wait before rehanging doors, with full cure taking 14–30 days.
| Point | Details |
|---|---|
| Prep drives outcomes | Degreasing, sanding with 120–150 grit, and filling imperfections before priming determines whether paint adheres long-term. |
| Primer is mandatory | Shellac-based Zinsser BIN or a waterborne bonding primer provides adhesion and stain blocking that no paint-and-primer-in-one product replicates. |
| Thin coats, 24 hours apart | Apply multiple thin coats with 24 hours between each; sand lightly with 220 grit after the first coat dries. |
| Cure before reassembly | Rehang doors no sooner than 3–5 days after the final coat; full cure takes 14–30 days. |
| Topcoat extends finish life | A clear polycrylic or polyurethane topcoat creates a hard barrier that extends cabinet paint life to 8–15 years. |

Cabinet painting is one of the highest-impact upgrades a homeowner can make, but the results depend entirely on how carefully each step is executed. If you would rather have a professional handle the prep, priming, and finish work with guaranteed results, Southshorepaint specializes in exactly this kind of precision interior work. See what we do and get in touch for a consultation.