
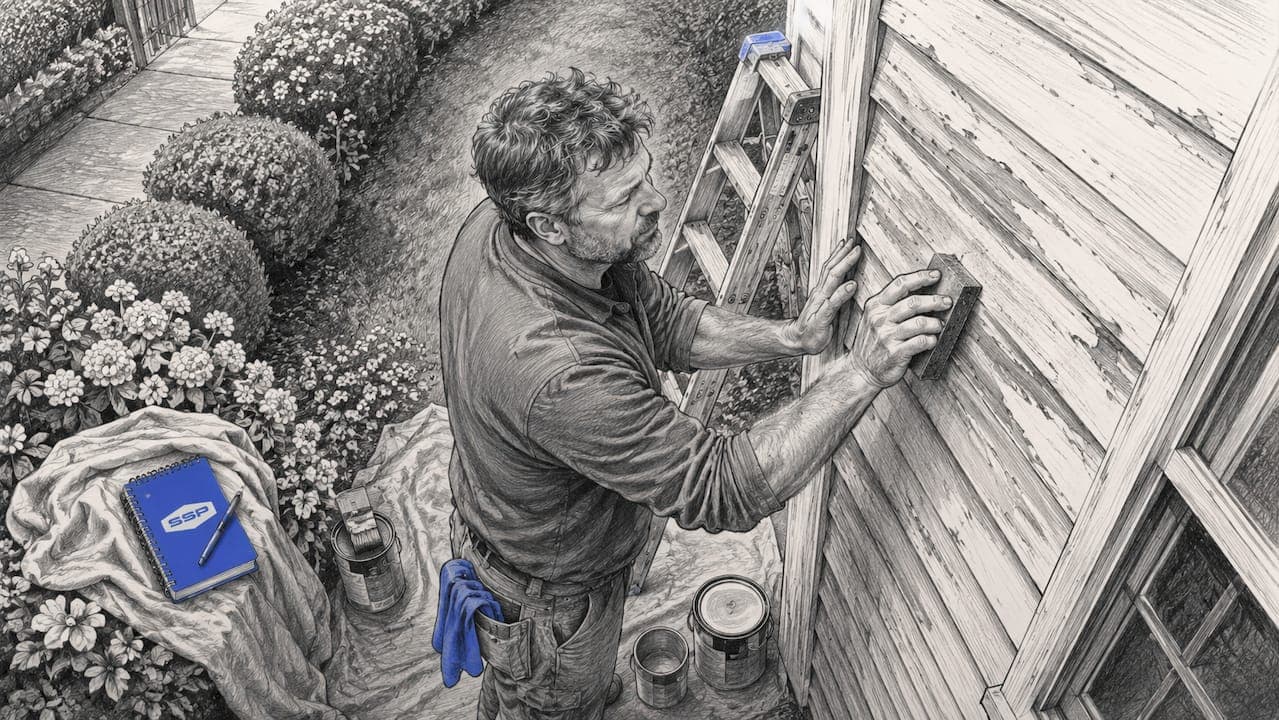
The best painting practices 2026 defines as a preparation-heavy, technique-driven approach that produces finishes lasting 5–10 years rather than the 1–3 years common when prep is skipped. Professional standards require a multi-step sequence covering cleaning, patching, sanding, caulking, and priming before a single drop of finish coat touches your wall. Southshorepaint builds every residential project on this foundation, and the results speak for themselves. Whether you are tackling a single accent wall or a full interior repaint, the steps below give you the same framework professionals use every day.
1. Start with thorough surface preparation
Surface preparation is the single biggest factor in how long your paint job lasts. Practitioners dedicate 40–60% of total painting time to prep. Skipping it causes premature failure within 1–3 years. That time investment is not optional — it is the reason a professional finish looks different from a weekend shortcut.
The prep sequence follows a fixed order for good reason. Each step creates the conditions the next step needs to work correctly.
- Clear and protect. Move furniture out of the room or push it to the center and cover it with drop cloths. Tape off trim, outlets, and switch plates.
- Wash the walls. Use a TSP substitute cleaner to cut through grease, cooking residue, and dust. Dirty walls prevent paint from bonding properly.
- Fill holes and cracks. Apply spackle or a patch kit with a drying indicator to nail holes, dents, and cracks. Let each fill dry completely before moving on.
- Sand patched areas. Start with 120-grit paper to knock down high spots, then finish with 220-grit paper to smooth the surface. Skipping this step leaves visible texture bumps under the finish coat.
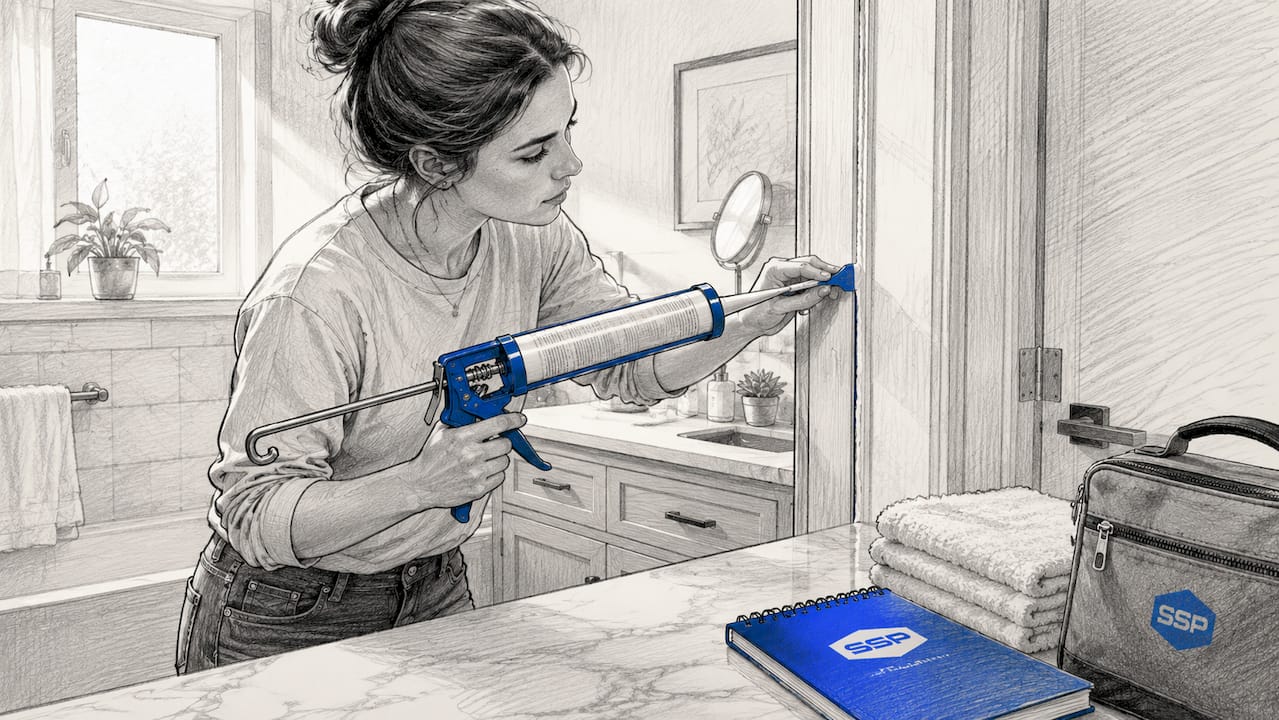
- Caulk trim gaps. Apply paintable acrylic latex caulk to the joints between walls and trim, baseboards, and window casings. Caulk needs 30–60 minutes to skin over before you can paint, and a full 2–3 hours to cure completely. Painting over wet caulk causes wrinkling and adhesion failure.
- Prime the surface. Prime all patched areas, any surface switching from dark to light color, and any porous or stained spots. Primer seals the surface and creates uniform absorption so the finish coat lays flat.
Pro Tip: Apply paintable acrylic latex caulk with a steady, even bead and smooth it with a damp finger before it skins over. Clean joints prevent cracking and peeling at trim lines for years.
2. Choose the right tools and materials
Quality tools produce better results and make the work easier. The global market for painting tools reached $5.8 billion in 2024, driven largely by homeowners demanding better DIY outcomes. That demand reflects a real shift: more people now understand that a $4 roller cover and a $6 brush will show every flaw.
Here is what to select for a professional-grade finish:
- Roller nap (pile length). Use a 3/8" nap for smooth walls, a 1/2" nap for light texture, and a 3/4" nap for heavy texture like orange peel or knockdown. The right nap loads paint evenly and releases it without spattering.
- Brush type. Choose a synthetic angled brush for all water-based latex paints. Natural bristle brushes absorb water and go limp. A 2.5" angled brush handles most cutting-in work; a 1.5" or 2" brush gives better control on narrow trim.
- Paint tray and screen. Load your roller from a tray fitted with a screen or use a 5-gallon bucket with a roller grid. Both methods remove excess paint and prevent drips that cause runs on the wall.
- Tinted primer. Tinting primer with 50% of your finish color reduces the number of finish coats needed and prevents color variation, known as flashing, especially when covering a dark color with a lighter one.
Pro Tip: Buy one extra roller cover and keep it sealed in a plastic bag during breaks. A dried-out roller cover leaves texture inconsistencies that are nearly impossible to fix without repainting the section.
3. Master the wet-edge rolling technique
Most visible painting flaws come from poor technique and poor timing. Lap marks and roller lines form when paint dries at the edge of a section before the adjacent section is applied. Maintaining a wet edge prevents this entirely.
- Cut in first. Use your angled brush to paint a 2"–3" band along the ceiling line, corners, and trim before rolling. Cut in one wall at a time, not the entire room, so the cut-in edge stays wet when you roll.
- Roll in a 'W' or 'M' pattern. Apply paint in a large W or M shape across a 3-foot section, then fill it in with straight vertical strokes without lifting the roller. This distributes paint evenly and prevents thick ridges.
- Work in manageable sections. Roll one wall section at a time, overlapping each pass by about 50% while the previous pass is still wet. Never stop mid-wall and walk away.
- Apply two thin coats. Two thin coats dry faster and level better than one heavy coat. A heavy coat sags, takes longer to dry, and traps solvent that weakens adhesion.
- Feather brush edges. After cutting in, lightly drag the brush back over the edge with minimal pressure to blend the brushed area into the rolled area. This eliminates the visible line between brush and roller.
- Practice on a test section. A practice wall or small test section helps you tune your pressure and speed before committing to a full room. Roller marks caught early save hours of correction later.
4. Time your project around environmental conditions
Environmental conditions affect both how paint dries and how it cures. These are two different processes. Drying is when the surface feels dry to the touch. Curing is when the paint film reaches full hardness and durability, which takes days to weeks depending on the product.
Painting in high humidity traps moisture in the film, causing bubbling, slow drying, and adhesion failure. Mild, dry weather with temperatures between 50°F and 85°F produces the most consistent results. Here are the key conditions to manage:
- Temperature. Paint applied below 50°F thickens and does not level properly. Paint applied above 90°F dries too fast, making it hard to maintain a wet edge.
- Humidity. Aim for relative humidity below 70%. High humidity extends drying time and can cause the finish to look uneven.
- Ventilation. Open windows and run fans for indoor projects. Good airflow removes solvent vapors and helps the paint cure evenly.
- Timing after cleaning. Do not paint immediately after washing walls. Let the surface dry completely, at least 24 hours, before applying primer or paint.
- Lighting check. Test paint samples in both daylight and artificial light before committing to a color. The same paint chip can look dramatically different under warm incandescent light versus cool LED light.
Seasonal planning matters too. Spring and fall offer the most stable temperature and humidity conditions for residential painting projects, both interior and exterior.
5. Explore the top painting trends for 2026
Beyond the fundamentals, 2026 brings a strong wave of creative techniques that homeowners are incorporating into residential spaces. Specialty painting trends in 2026 include textured painting, glow-in-the-dark finishes, graffiti-style spray painting, fluid art, and spin painting. These techniques add personality to rooms without requiring a full renovation.
- Textured painting. Techniques like skip trowel, stippling, and Venetian plaster create depth on flat walls. Each requires proper surface prep and a base coat before the texture medium is applied.
- Glow-in-the-dark accents. Phosphorescent paint applied over a white base coat creates subtle effects in children's rooms and accent walls. The base coat color affects the glow intensity.
- Fluid and pour art. Acrylic pour painting on canvas or furniture pieces is accessible for beginners and produces one-of-a-kind results. Proper surface sealing after the pour protects the finish.
- Graffiti-style spray painting. Using spray paint on exterior accent walls or furniture requires masking, proper ventilation, and rust-inhibiting primer on metal surfaces.
- Spin and splash art. These techniques work best on smaller surfaces like furniture panels or decorative boards. They require drop cloths and protective gear to manage overspray.
All of these trends work best when the surface is properly prepped. Skipping prep on a specialty finish wastes both the technique and the materials. For more ideas on lasting wall painting methods, Southshorepaint's resource library covers both classic and contemporary approaches in detail.
Key takeaways
The most effective painting practices combine disciplined surface preparation, quality tools, proper technique, and careful timing to produce finishes that last 5–10 years in residential spaces.
| Point | Details |
|---|---|
| Prep drives durability | Professionals spend 40–60% of project time on prep to achieve 5–10 year paint life. |
| Cure before you paint | Caulk needs 2–3 hours to fully cure; painting over wet caulk causes wrinkling and failure. |
| Two thin coats win | Two thin coats dry faster and level better than one heavy coat every time. |
| Match tools to texture | Roller nap length must match wall texture to load and release paint evenly. |
| Test color in real light | Always test paint samples under both daylight and artificial light before committing. |
What I have learned after years of watching paint jobs fail
The most common mistake I see homeowners make is treating preparation as optional. They buy quality paint, good brushes, and then spend 20 minutes wiping down the wall before rolling. Three years later, the paint is peeling at every seam and patch. The paint did not fail. The prep did.
The second thing I have learned is that patience with drying time is not just a suggestion. I have watched people apply a second coat four hours after the first on a humid afternoon, and the finish looked fine for a week. Then the bubbling started. Paint curing is a chemical process. You cannot rush it by opening a window and hoping for the best.
What actually works is treating each step as non-negotiable. Sand the patches. Wait for the caulk. Tint the primer. Roll in sections. These are not extra steps for perfectionists. They are the baseline for a finish that holds up. If you want to understand where DIY painting risks tend to compound, it is almost always in the prep phase, not the application phase.
Invest in a quality angled brush and a proper roller cover. You will feel the difference in the first ten minutes of cutting in. And if you are tackling a room for the first time, practice on a closet wall or a small section behind a door. Pressure control and speed are skills. They take a few minutes to develop, and that practice saves you hours of correction on the main wall.
— Ryan
Quality paint supplies and expert guidance at Southshorepaint
Southshorepaint works with homeowners who want results that last, not just walls that look good for a season. Whether you are planning a full interior repaint or a single accent wall, the right materials and a clear process make the difference between a finish that holds and one that peels.

Southshorepaint's website offers detailed guides on exterior painting preparation and product selection for residential projects. The team is available to answer questions about primer selection, paint sheens, and tool choices for your specific surfaces. Visit southshorepaint.com to browse resources and connect with professionals who treat every project as a long-term investment in your home.
FAQ
How long does surface prep actually take?
Professional painters dedicate 40–60% of total project time to preparation. For a standard bedroom, that typically means a full day of prep before any finish coat is applied.
How long should I wait between coats?
Two thin coats outperform one heavy coat, and most latex paints need at least 2–4 hours between coats under normal conditions. High humidity extends that window significantly.
What roller nap should I use on smooth walls?
A 3/8" nap roller is the standard choice for smooth or lightly textured interior walls. It loads paint evenly and releases it without leaving a stippled texture.
Can I paint over caulk right away?
No. Caulk requires 2–3 hours to fully cure before painting. Applying paint over uncured caulk causes wrinkling and adhesion failure at the joint.
Do I need primer if the wall already has paint on it?
Primer is required over patched areas, stained spots, and any surface where the color is changing significantly. Tinting the primer to 50% of your finish color reduces the number of finish coats needed and prevents flashing.