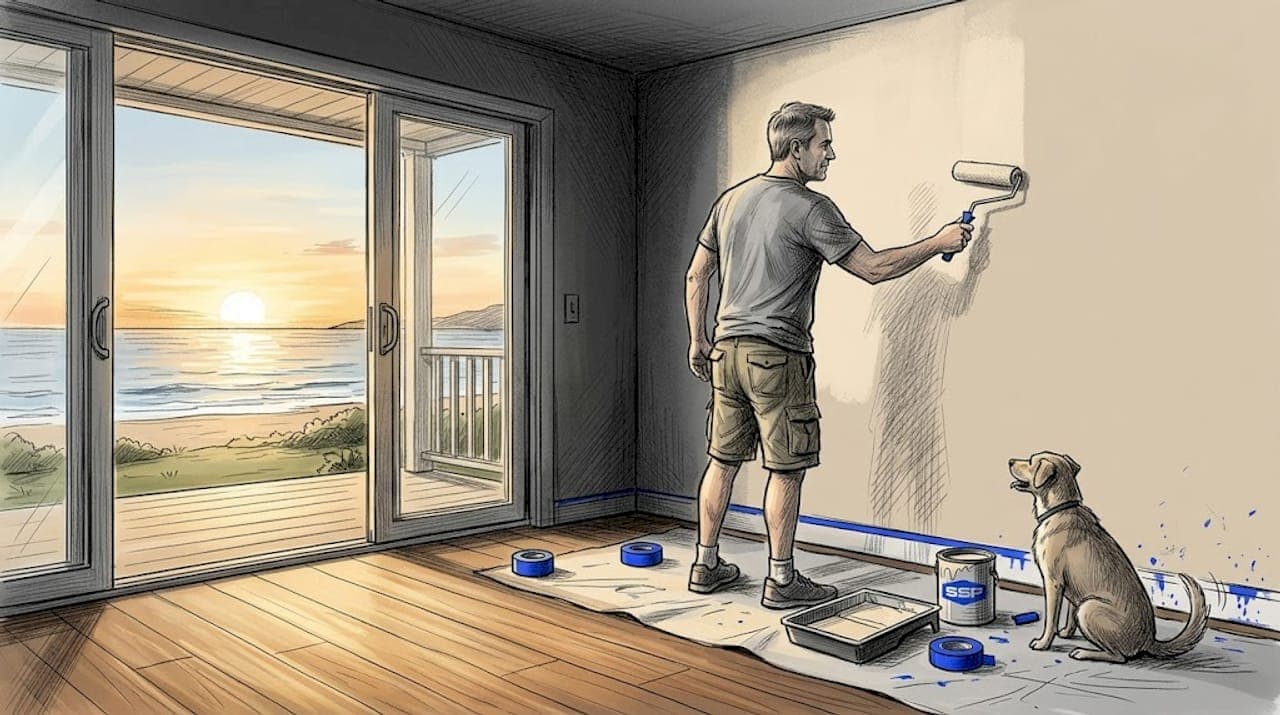
Painting your home is one of the most cost-effective ways to refresh your space, but the price tag can climb fast if you're not managing the right variables. South Bay homeowners often face a challenging balance: you want a finish that holds up against coastal humidity and strong sun, but you don't want to overpay to get it. The good news is that the best cost-saving painting tips aren't about cutting corners on materials or skipping important steps. They're about understanding where money actually goes in a painting project, then making smarter decisions before a single brush touches the wall.
Table of Contents
- Understand the main cost drivers in painting projects
- DIY prep work to reduce labor costs
- Accurately estimate paint quantities to avoid waste and overspending
- Time your project and seek multiple bids for best pricing
- Keep your painting scope and colors consistent to cut labor time
- Our perspective: cheap prep is the most expensive mistake homeowners make
- Get a professional estimate and protect your investment
- Frequently asked questions
Key Takeaways
| Point | Details |
|---|---|
| Labor dominates costs | Painter labor comprises 75%-95% of the total painting expense in South Bay homes. |
| DIY prep saves money | Doing surface prep tasks yourself lowers the professional labor hours required, cutting costs. |
| Buy paint wisely | Accurately measure walls and use coverage info to avoid overspending on excess paint. |
| Compare bids carefully | Getting at least three detailed quotes helps ensure fair pricing and better savings. |
| Limit color changes | Using fewer colors reduces labor time and setup costs, helping keep your budget in check. |
Understand the main cost drivers in painting projects
Most homeowners assume that paint itself is the big expense. It's not. Labor costs dominate, making up 75% to 95% of the total project cost, which means every extra hour a painter spends on prep is money coming directly out of your pocket. Understanding this reality is the first real cost-saving painting tip, because it shifts your attention to where the leverage actually lives.
Surface preparation is the primary driver of those labor hours. Cleaning walls, filling nail holes, sanding rough patches, caulking gaps around trim, and masking edges all take time. A room in poor condition can easily double the prep hours compared to a well-maintained space. Contractors aren't padding their bills when prep runs long. They're doing the work that makes the paint last.
Here's what drives most of the labor cost in a typical residential project:
- Surface condition — damaged drywall, peeling old paint, or excessive texture requires more corrective work
- Number of surfaces — ceilings, trim, and doors each add separate prep and painting time
- Accessibility — high ceilings, tight staircases, or awkward corners slow everything down
- Paint adhesion issues — glossy or previously painted surfaces may need deglossing or priming before topcoats
Pro Tip: Ask your painter for an itemized estimate that separates prep labor from application labor. This gives you a clear picture of where the hours are going and where you might realistically offset costs by handling some prep yourself.
DIY prep work to reduce labor costs
Once you understand that labor is the core expense, the logical next move is taking on some of that prep work yourself. This is one of the most practical budget painting ideas available to South Bay homeowners, and it doesn't require professional skill. DIY prep work like patching, sanding, and cleaning can meaningfully reduce the billable hours a professional crew needs on your project.
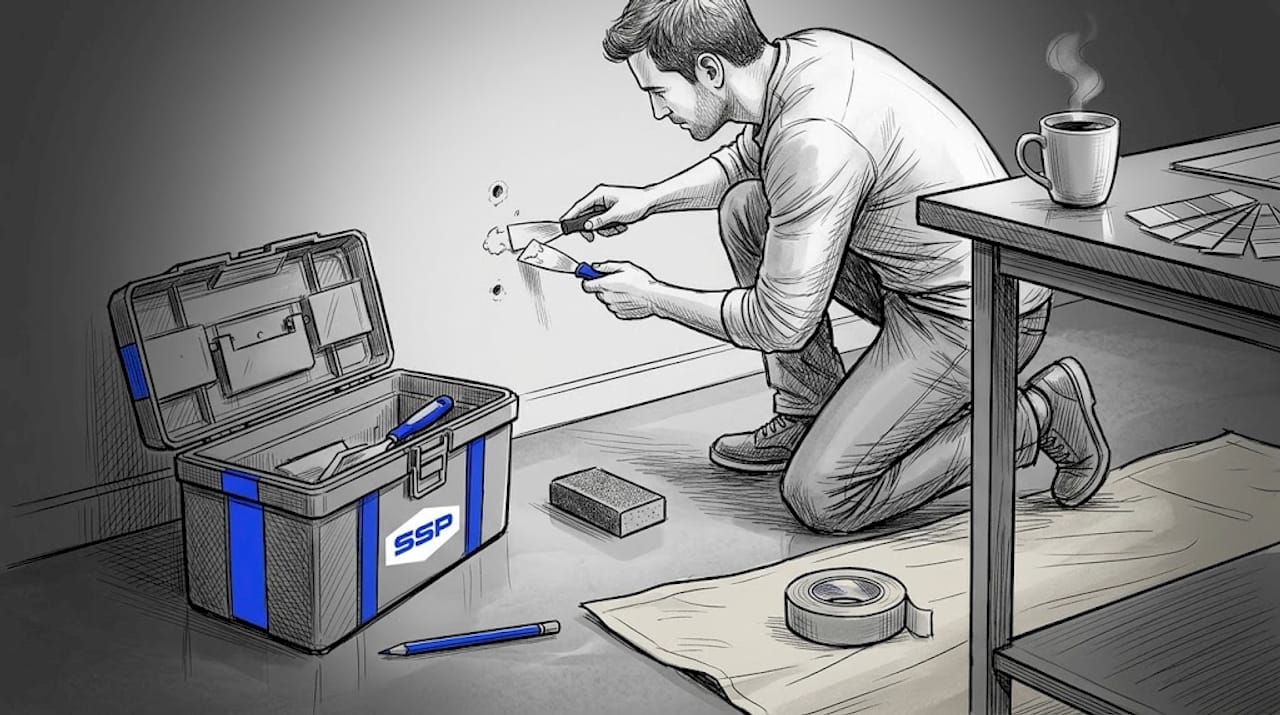
The key is knowing which tasks are genuinely within reach for a careful homeowner and which are better left to the pros. Patching small nail holes with spackling compound, light sanding of scuffed areas, and wiping walls with a mild degreaser are tasks most homeowners can handle in a weekend. Structural drywall repairs or dealing with water-stained surfaces are a different story.
Here's a realistic DIY prep checklist to follow before your painter arrives:
- Clear the room — move furniture to the center or to another room and remove wall art, mirrors, and shelving
- Remove outlet covers and switch plates — set them aside so the painter doesn't need to mask around them
- Fill small holes — use lightweight spackling for nail holes and let it dry completely before lightly sanding smooth
- Clean the walls — wash with a mild solution of dish soap and warm water, focusing on kitchen walls and areas near doorknobs where grease and grime accumulate
- Tape baseboards and window trim — basic masking protects surfaces and saves a painter time
- Flag problem areas — mark any cracks, stains, or bubbling paint with tape so your painter can assess and price them accurately upfront
Pro Tip: When working with reliable painters in South Bay, ask directly what prep tasks they charge extra for. Most reputable contractors will tell you exactly what you can do ahead of time to reduce their on-site hours.
Accurately estimate paint quantities to avoid waste and overspending
Once prep costs are under control, the next place homeowners lose money is buying too much paint. It's an easy mistake. A nervous homeowner buys an extra gallon "just in case," and that can add $50 to $80 per gallon on quality product. Use paint coverage specs and accurate measurements to calculate exactly what you need before purchasing.
Here's how to measure correctly:
- Measure the width and height of each wall and multiply them to get square footage
- Add all wall square footages together for the total paintable area
- Subtract 20 square feet for each standard door and 15 square feet for each window
- Divide the adjusted total by 350 to 400 (the typical square footage covered by one gallon)
Most standard interior paints cover 350 to 400 square feet per gallon in a single coat. Two coats are standard, so double your gallon estimate and round up to the nearest whole gallon. Buying one extra quart for touch-ups later is a reasonable precaution. Buying a full extra gallon is usually unnecessary.
On paint quality, mid-range paints balance quality and cost well, and most homes need between 15 and 25 gallons for a full interior project. Going with the cheapest option tends to require more coats and repainting sooner, which costs more over time. A quality paint with good coverage pays for itself in durability.
| Paint tier | Approximate cost per gallon | Coats typically needed | Long-term value |
|---|---|---|---|
| Budget (entry-level) | $20–$35 | 3 or more | Low — frequent repainting |
| Mid-range | $40–$60 | 2 | Good — solid durability |
| Premium | $65–$100+ | 1–2 | High — best hide and longevity |
Time your project and seek multiple bids for best pricing
Two of the most underutilized money-saving painting hacks in South Bay involve calendar timing and competitive bidding. Most homeowners call a painter when they're ready to start, without thinking about whether the timing actually works in their financial favor. Booking during off-peak periods and getting competing bids can produce meaningful savings without any reduction in quality.
South Bay painting contractors are typically busiest in spring and summer, when good weather makes exterior work practical and homeowners are focused on curb appeal. Late fall and winter bring slower demand, which often translates to more competitive pricing and faster scheduling. South Bay's mild climate makes off-season exterior work far more feasible here than in colder regions, so this advantage is real and worth using.
On the bidding side, the numbers speak clearly. Comparing at least three bids in the San Jose and greater South Bay area can save $275 or more on interior projects. That's not a trivial sum. And the value of getting multiple bids isn't only financial. It also helps you identify outlier estimates that signal either cutting corners or price gouging.
When collecting bids, look for these specifics:
- Written scope — the bid should detail the number of coats, the surfaces included, and what prep work is covered
- Paint specifications — what brand and product grade is the contractor planning to use
- Warranty — reputable contractors offer at least a one-year workmanship warranty
- License and insurance — verify both before signing anything
Knowing how to choose house painters in South Bay saves both money and frustration, particularly when you're comparing bids that look similar on price but differ significantly on what's actually included.
| What to compare | What to ask | Why it matters |
|---|---|---|
| Prep labor included | Is sanding and patching in the price? | Affects final quality and total cost |
| Number of coats | Is a primer coat included? | Fewer coats can mean poor coverage |
| Paint brand and grade | What product are you using? | Determines durability and longevity |
| Timeline and availability | What is the estimated start date? | Off-peak bookings may be faster |
Keep your painting scope and colors consistent to cut labor time
One of the less obvious but highly practical economical wall painting ideas is simply keeping your color plan tight. Every additional color introduced to a project increases labor in ways most homeowners don't anticipate. Tape lines need to be cut more precisely, rollers and brushes need to be cleaned and switched out, and each color transition requires additional setup and drying time. Color changes and scope additions increase setup time and drive labor costs higher.
In practical terms, going from one color to two or three can add 15% to 25% more to the labor portion of your project. That might sound manageable, but on a $2,000 job that's $300 to $500 added for what might ultimately be a subtle visual difference.
A few practical ways to keep scope and costs in check:
- Choose one wall color for connected open spaces — great rooms, dining areas, and kitchens that flow together look more cohesive and cost less to paint with a single color
- Use the same sheen throughout similar surfaces — for example, eggshell on all main walls avoids multiple product setups
- Reserve accent walls for spaces that genuinely benefit — a single accent wall in a bedroom can add visual interest without multiplying your color changes
- Maintain existing trim color where possible — repainting trim is labor-intensive; if the current trim color works, leaving it saves real money
Pro Tip: If you want lasting results on interior walls with fewer coats, selecting a mid to deep-tone base color rather than a dramatic dark often means better coverage and fewer passes needed to achieve a solid finish.
Our perspective: cheap prep is the most expensive mistake homeowners make
Here's what years of professional painting work in the South Bay make very clear: the homeowners who spend the most money in the long run are usually the ones who cut costs by skipping prep or choosing the lowest bid without examining what's included. A coat of paint applied to a poorly cleaned or unpatched wall might look acceptable for six months. By month eighteen, the finish is chalking, peeling at edges, or showing every flaw the paint was supposed to cover.
The real cost-saving insight isn't about finding the cheapest painter. It's about understanding that durable, attractive finishes are almost entirely determined by what happens before the paint goes on. Primer on raw patches, proper cleaning, adequate dry time between coats, these aren't optional extras on a quality job. They're the job.
The most effective affordable painting techniques keep the prep thorough and then find savings everywhere else: timing, material quantity, color planning, and competitive bidding. That approach produces results that hold up in South Bay's coastal air and direct sun without requiring a repaint in three years.
Get a professional estimate and protect your investment
South Bay homeowners deserve more than a fast quote and a crew that's in and out before the paint dries. At South Shore Paint, we build every project on proper prep, quality materials, and workmanship that holds up for years, not just weeks.
Whether you're refreshing a single room or painting your entire home's exterior, we can help you understand your real options and find a realistic budget that doesn't compromise the finish. Request an estimate from our team and get a detailed, transparent breakdown of every cost driver on your project. We serve homeowners throughout the South Bay area and are happy to walk you through which prep steps you can handle yourself and where our crew adds the most value.
Frequently asked questions
How much can I save by doing surface prep myself?
Doing your own prep work, including sanding, patching, and wall cleaning, directly reduces billable painter hours, which make up 75% to 95% of total project costs, often saving several hundred dollars on a mid-size interior job.
What is the best way to estimate how much paint I need?
Measure each wall's square footage, subtract for doors and windows, then divide by the coverage rate on the can (typically 350 to 400 square feet per gallon). Accurate measurement and coverage data prevent you from buying excess gallons you won't use.
Why should I get multiple painting bids in South Bay?
Labor costs and contractor pricing vary considerably throughout the South Bay market, and comparing at least three bids can save $275 or more on an interior project while also helping you spot bids that cut corners on prep or materials.
Does using multiple colors increase painting costs?
Yes. Every additional color change increases tape work, setup time, and product switching, adding an estimated 15% to 25% to labor costs compared to working with a consistent single color scheme.
When is the best time to schedule a painting project in South Bay for savings?
Late fall and winter are typically the most cost-effective times to schedule painting in South Bay, as off-peak season demand leads to lower pricing and more contractor availability, while the mild local climate still supports quality exterior work.