
Paint touch-up is defined as the process of repairing small, isolated paint imperfections by carefully matching color and sheen, preparing the surface, and applying minimal, well-blended paint to restore the original finish. The industry term for this practice is "spot painting" or "touch-up painting," and it works best under specific conditions: paint under 3–5 years old, damage limited to a small area, and original paint still available. When those three criteria align, a well-executed touch-up is nearly invisible. When they don't, a full repaint delivers better results at a lower long-term cost. These paint touch up tips walk you through every step, from surface prep to final coat, so your repairs hold up and blend in.
1. Prepare the surface before anything else
Surface preparation is the single factor that separates a visible patch from an invisible repair. Cleaning the surface thoroughly before applying any paint removes grease, dust, and grime that prevent adhesion and cause patchiness. Use a damp sponge or clean rag to wipe down the area, then let it dry completely before moving forward.
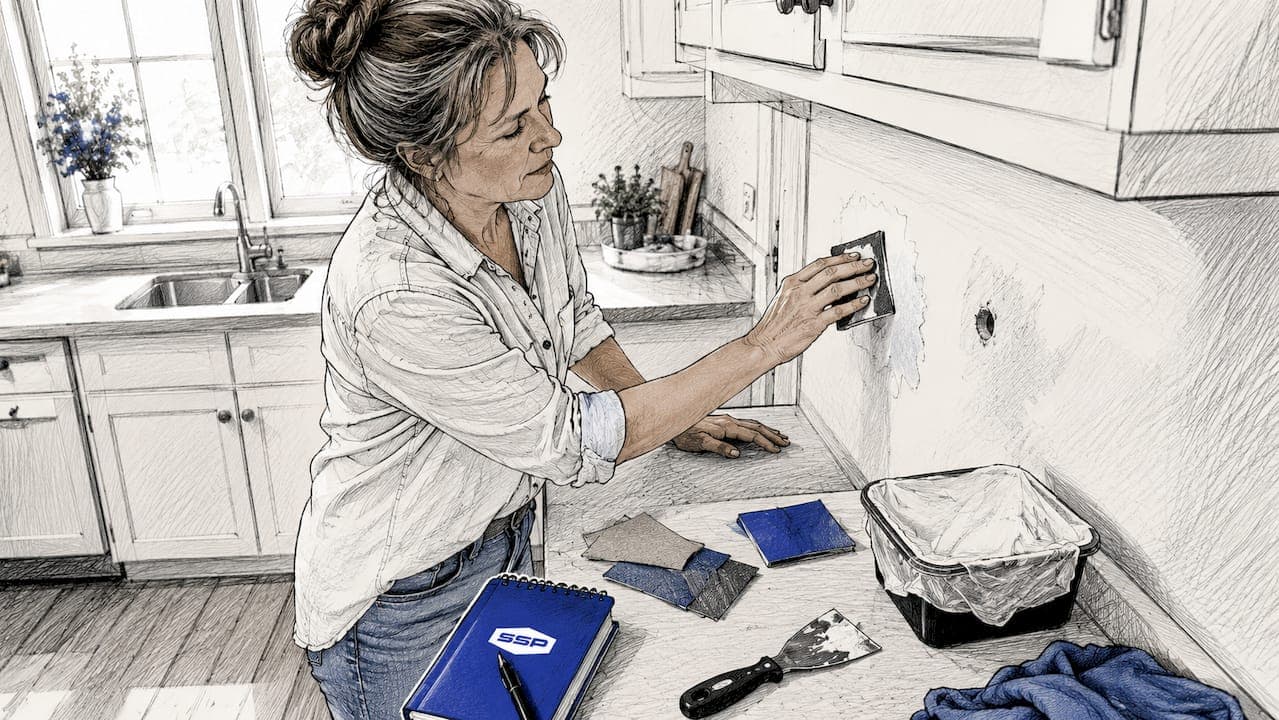
Once the surface is clean, address any physical damage. Fill nail holes and dents with lightweight spackling compound, spread it flush with a putty knife, and let it cure fully. Rushing this step leaves a raised surface that catches light and telegraphs the repair.
After the filler dries, sand with 120-grit or finer sandpaper to feather the edges of the repaired area into the surrounding wall. Feathering means gradually thinning the sanded edge so there is no hard line between the patch and the original paint. A hard edge is the most common cause of visible touch-ups.
- Clean the area with a damp sponge and let it dry fully
- Fill holes and dents with lightweight spackling compound
- Sand with 120-grit or finer sandpaper, feathering all edges
- Wipe away sanding dust with a tack cloth before priming
- Apply a tinted primer to the repaired spot before painting
Pro Tip: Use a tinted primer that matches your wall color rather than a standard white primer. White primer changes the base tone and creates a sheen difference called "flashing," which shows up as a dull or shiny patch depending on the light angle.
2. Match your paint color, sheen, and applicator
Color matching is only half the equation. Sheen matching is equally critical, and most homeowners overlook it. A flat paint touch-up on a satin wall will show as a dull spot even when the color is perfect. Always confirm both the color code and the finish level before purchasing or mixing paint.
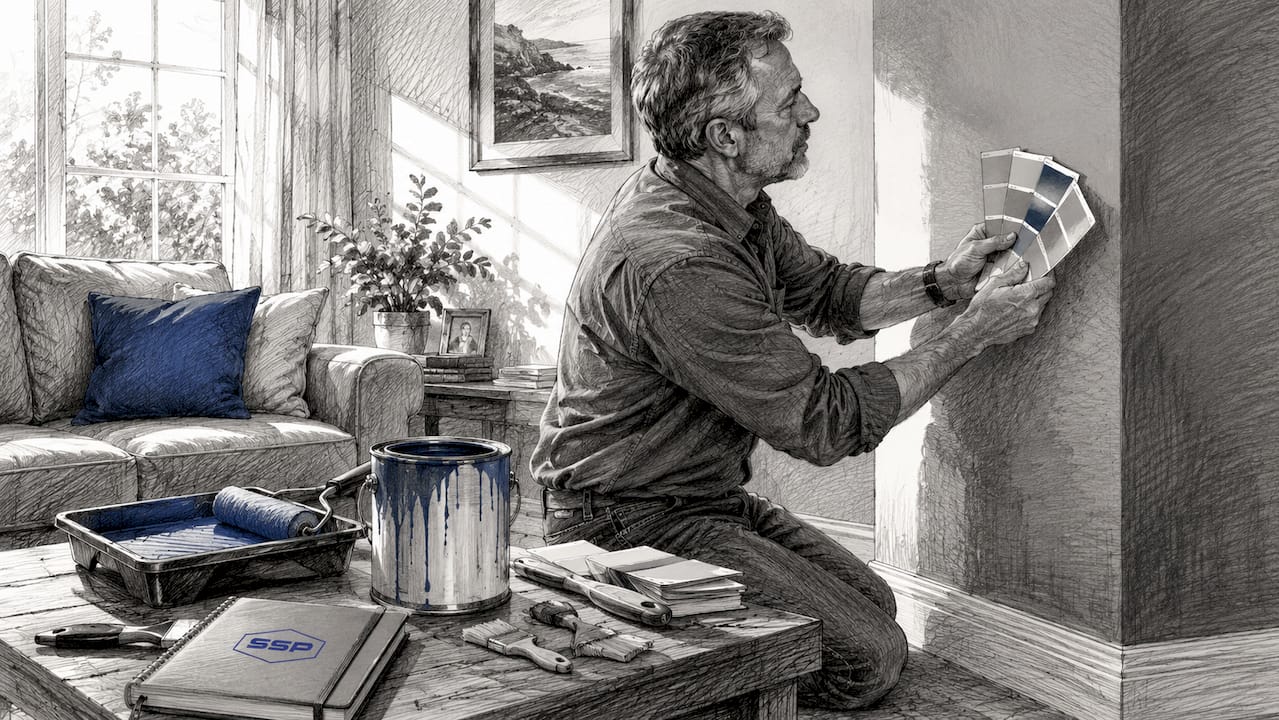
The most reliable source for an exact match is your leftover original paint. Store it in a sealed, labeled container in a temperature-controlled space. If you don't have the original, bring a paint chip or a small piece of trim to a paint store for color matching. Most hardware stores use spectrophotometers to read the chip and mix a close match.
Your applicator choice affects texture as much as color. Use the same type of applicator originally used on the wall. A brush touch-up on a rolled wall creates a noticeable texture difference. For small spots, a small angled brush works well. For areas larger than a few inches, a foam roller mimics the original rolled texture far more accurately.
- Confirm both color code and sheen level before buying paint
- Use leftover original paint when available
- Match the applicator type to the original application method
- Test the color on an inconspicuous area and let it dry before committing
- Use a foam roller for areas larger than a few square inches
Pro Tip: Old paint separates and thickens over time. Stir it thoroughly and test it on cardboard first. If the color looks off after drying, the pigment may have shifted and the paint needs to be replaced.
3. Thin your paint for better blending
Thinning paint slightly before application is a technique most DIY guides skip, and it makes a measurable difference. Thinning paint 5–10% with water for latex paint, or with mineral spirits for oil-based paint, reduces buildup and helps the touch-up layer level out more evenly with the surrounding surface.
Thick paint builds up at the edges of a touch-up spot and creates a raised border that catches light. Thinned paint flows into the surrounding surface rather than sitting on top of it. The result is a flatter, more consistent surface that blends rather than patches.
Measure the thinning ratio carefully. Too much water weakens the paint's adhesion and changes its color depth. A 5% addition is a safe starting point. Stir thoroughly after adding the thinner and test on a scrap surface before applying to the wall.
4. Apply paint with feathering technique
The application method determines whether a touch-up disappears or stands out. Thin coats applied with a feathering motion consistently outperform thick, single-coat applications. Feathering from the center outward blends the new paint into the existing surface rather than creating a defined edge.
Follow this sequence for each coat:
- Load the brush or roller lightly. Excess paint on the applicator leads to buildup and visible edges.
- Start at the center of the repair and work outward in light strokes.
- Dab rather than brush where the touch-up meets the original wall. Dabbing reduces brush marks and texture differences.
- Let the first coat dry completely before assessing. Wet paint always looks darker and more obvious than dry paint.
- Apply a second thin coat if needed, again feathering from center to edge.
- Check the repair under natural light from multiple angles before declaring it finished.
DIY expert Amanda Hendrix confirms that light dabbing with minimal paint leads to better blending than heavy application. The instinct to load more paint for better coverage works against you in touch-up work.
Pro Tip: Check your repair under raking light, meaning a light source held at a low angle to the wall. This reveals texture differences and edge lines that look invisible under overhead lighting. Fix any issues before the paint fully cures.
5. Avoid the most common touch-up mistakes
Most failed touch-ups share the same root causes. Recognizing them before you start saves time and avoids the frustration of a repair that looks worse than the original damage.
- Skipping primer: Primer prevents flashing by conditioning the surface for uniform paint absorption. Painting directly over a spackled area without primer almost always results in a dull, visible patch.
- Using old or mismatched paint: Paint older than 5–7 years shifts in color and sheen. Handyman Daniel Kiely warns that touching up walls older than five years often produces patches that stand out more than the original damage.
- Applying too much paint: Heavy coats create raised edges and texture differences. Thin coats and patience produce better results every time.
- Ignoring texture: Brushing over a rolled surface leaves visible stroke marks. Match the original application method.
- Judging results while wet: Wet paint looks darker and more saturated. Always let paint dry fully before deciding whether a second coat is needed.
"The most common reason a touch-up fails isn't the paint. It's the preparation. A properly cleaned, sanded, and primed surface gives paint something to hold onto. Without that foundation, even a perfect color match will look patchy within weeks."
6. Adjust your approach for different surfaces
Different surfaces require different touch-up strategies. A one-size-fits-all approach produces inconsistent results across walls, trim, and exterior surfaces.
| Surface | Key prep step | Paint type | Applicator |
|---|---|---|---|
| Interior walls (flat/eggshell) | Sand and prime repaired area | Latex, matching sheen | Small foam roller |
| Interior walls (satin) | Feather edges carefully | Latex satin | Foam roller or brush |
| Trim and woodwork | Wood filler, aggressive sanding | Gloss or semi-gloss | Small angled brush |
| Exterior siding | Clean thoroughly, use durable primer | Exterior latex or acrylic | Brush or roller |
| Exterior trim | Sand to bare wood if needed | Exterior gloss | Angled brush |
Interior trim and woodwork require a different approach than walls. Trim paint repair needs wood filler or epoxy for chips, aggressive edge sanding, a coat of primer, and multiple thin coats of gloss or semi-gloss paint. Trim paint is thicker and has sharper edges, so the prep and paint types differ from standard wall work.
Exterior surfaces add weather as a variable. Clean the area thoroughly before any repair, and check the forecast. Painting in direct sun or high humidity causes adhesion failures and uneven drying. Use a durable exterior primer rated for the substrate, whether wood, stucco, or fiber cement. For exterior cleaning before touch-ups, power washing guidance covers the right pressure and technique for different siding types.
Pro Tip: For scuff marks on satin or semi-gloss walls, try cleaning with a melamine foam eraser before reaching for paint. Many scuffs lift completely without any painting at all, which is always the cleanest result.
When damage covers more than a small, isolated area, corner-to-corner painting produces a more consistent result than spot work. Painting an entire wall section from corner to corner eliminates the edge-matching problem entirely and delivers a uniform finish. For a deeper look at lasting wall painting methods, the approach to full-section painting applies directly here.
Key Takeaways
Effective touch-up painting requires exact sheen and color matching, thorough surface preparation, and feathered application in thin coats to produce repairs that are visually invisible.
| Point | Details |
|---|---|
| Prep is non-negotiable | Clean, sand, and prime every repair area before applying any paint. |
| Match sheen, not just color | A sheen mismatch creates visible patches even when the color is exact. |
| Thin your paint | Thinning latex paint 5–10% with water reduces buildup and improves blending. |
| Feather from center outward | Starting at the center and dabbing outward prevents hard edges and texture differences. |
| Know when to repaint fully | Paint older than 5–7 years or large damaged areas need a full repaint, not a spot fix. |
What I've learned from watching touch-ups go wrong
Most homeowners underestimate how unforgiving touch-up painting is compared to painting a full wall. On a full wall, small inconsistencies disappear into the larger surface. On a touch-up, every decision is magnified. The repair either blends or it doesn't, and there is very little middle ground.
The mistake I see most often is impatience with drying time. Homeowners apply a coat, check it while it's still wet, decide it needs more paint, and apply a second coat before the first has cured. The result is a thick, raised patch with a color that looks slightly different from the surrounding wall. Letting each coat dry fully, sometimes 2–4 hours depending on humidity, is not optional. It's the step that determines whether the repair works.
The second most common issue is using paint that has been sitting in a garage for years. Paint degrades. The pigment separates, the binders break down, and the sheen shifts. I always recommend testing old paint on cardboard and comparing it to the wall under natural light before committing. If there's any doubt, a fresh color match from a paint store is worth the cost.
For repairs that go beyond a small spot, I recommend consulting a professional before investing time and materials in a touch-up that won't hold. Southshorepaint works with homeowners throughout the South Bay to assess whether a touch-up or a full repaint is the right call, and that conversation often saves significant time and money. You can also review common DIY painting risks before deciding how far to take a repair on your own.
— Ryan
Quality paint and expert advice at Southshorepaint
Getting the right paint, primer, and tools makes every repair easier and more durable. Southshorepaint carries premium interior and exterior paints, tinted primers, and the applicators that professional painters rely on for touch-up and full-repaint projects.

The team at Southshorepaint understands what homeowners need for repairs that last, not just repairs that look acceptable for a few weeks. Whether you need help selecting the right sheen, finding a color match, or deciding between a touch-up and a full repaint, expert guidance is available. Visit Southshorepaint.com to explore paint options, primers, and tools suited for every surface and damage type in your home.
FAQ
What is paint touch-up?
Paint touch-up, also called spot painting, is the process of repairing small, isolated areas of paint damage by matching the original color and sheen and applying minimal, blended paint to restore the finish.
How do I know if a touch-up will work or if I need a full repaint?
Touch-ups work best when paint is under 3–5 years old, damage is small and isolated, and original paint is available. Larger damage or older paint typically requires a full repaint for a consistent result.
Why does my touch-up look patchy or shiny?
Patchiness and sheen differences, called flashing, result from skipping primer or mismatching sheen. Always prime the repaired area and confirm the finish level of your paint before applying.
Can I use old leftover paint for touch-ups?
Old paint can work if it is under 5–7 years old and has been stored properly in a sealed container. Test it on cardboard first, because pigment and sheen shift over time and a poor match will be more visible than the original damage.
What applicator should I use for touch-up painting?
Use the same applicator type originally used on the surface. A foam roller works best for rolled walls, while a small angled brush suits trim and detail work. Mismatching the applicator creates texture differences that are visible under raking light.