Professional paint preparation is the single most important factor in whether a paint job lasts five years or fifteen. Surface prep, the industry term for cleaning, repairing, sanding, and priming before any paint touches a wall, directly controls adhesion, durability, and final appearance. Homeowners and property managers who understand why choose professional paint prep make smarter decisions about where their money goes. Skipping or rushing prep is the leading cause of paint failures like peeling, not poor paint quality. Southshorepaint builds every project on thorough surface prep because that foundation is what separates a finish that holds from one that fails within seasons.
Why choose professional paint prep: what it actually includes
Surface prep is not a single task. It is a sequence of steps, each one building on the last, and skipping any one of them creates a weak link in the entire system.
-
Surface cleaning. Dirt, mildew, oxidation, and grease all prevent paint from bonding. Professionals use pressure washing, chemical cleaners, or TSP (trisodium phosphate) solutions depending on the substrate. A wall that looks clean to the eye can still carry invisible contaminants that cause adhesion failure within months.
-
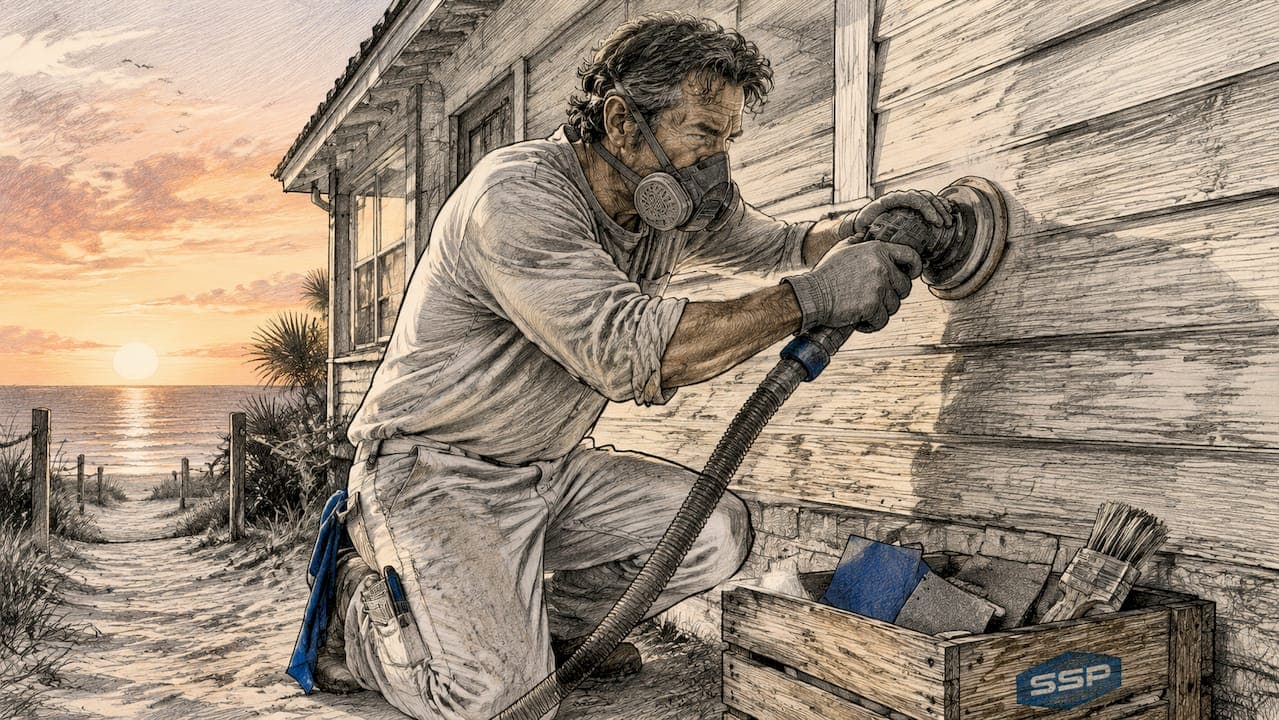
Mechanical prep: sanding and scraping. Sanding and scraping create the microscopic surface texture, called "tooth," that paint needs to grip. Loose or flaking paint must be removed entirely. Feathering the edges of old paint prevents visible ridges in the finished coat.
-
Repairs. Cracks, holes, and dents must be filled with the correct compound before priming. On exterior surfaces, caulking gaps around windows and trim stops moisture from working behind the paint film. Skipping repairs means painting over a structurally compromised surface.
-
Stain blocking and sealing. Water stains, tannin bleed from wood, and smoke damage require a dedicated stain-blocking primer before topcoat application. Painting directly over these problems causes them to bleed through, often within weeks.
-
Priming. A proper primer seals the surface, equalizes porosity, and creates a consistent base for the topcoat. Primer is not optional on new drywall, bare wood, or repaired areas.
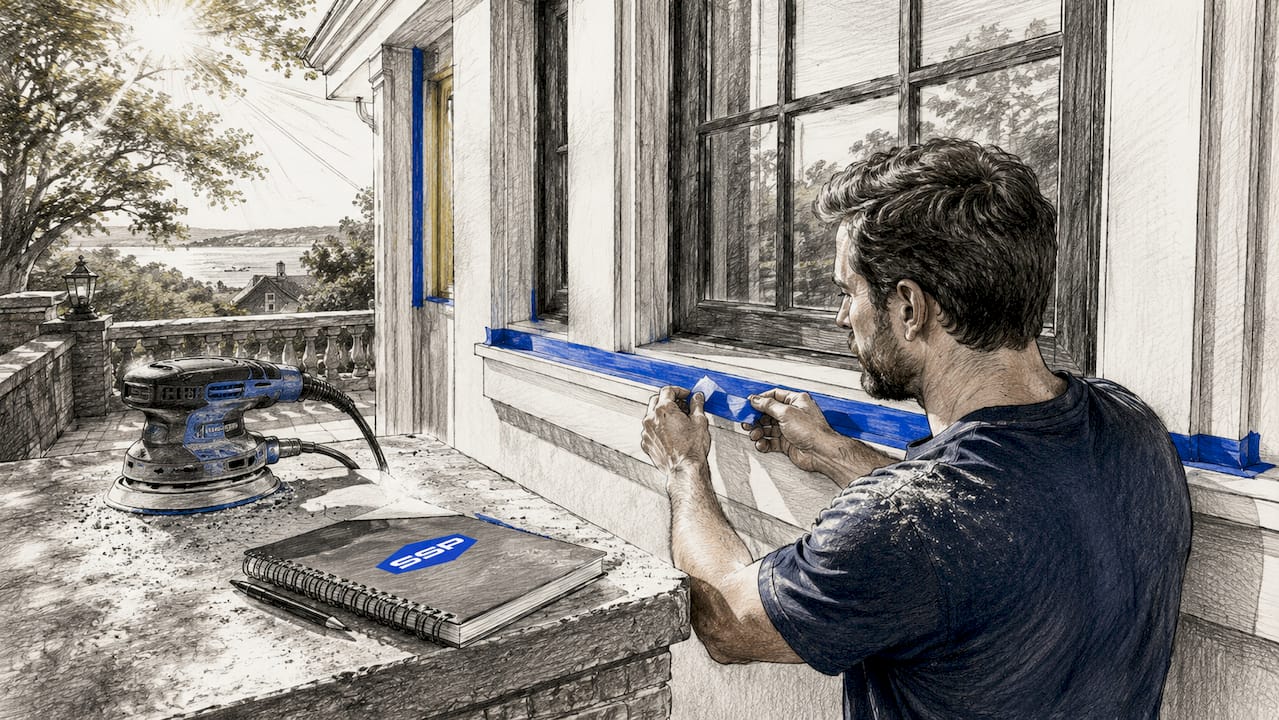
Pro Tip: Use dust-controlled sanding systems and quality masking tapes during prep. Upgraded prep tools produce more repeatable results and protect trim and fixtures from accidental damage.
Each step takes time. That time investment is exactly what separates a professional finish from a rushed one. Homeowners who watch a crew spend two days prepping before a brush touches the wall are watching the most valuable part of the project happen.
How does proper prep improve paint adhesion and durability?
Paint adhesion depends on mechanical and chemical bonding between the coating and the substrate. Contaminants, moisture, and smooth or glossy surfaces all interfere with that bond. Professional prep removes every barrier to adhesion before it becomes a problem.
The science is straightforward. Paint molecules need a textured surface to interlock with. Sanding creates that texture. Cleaning removes the oils and salts that repel water-based coatings. Primer fills micropores in drywall and wood, preventing the topcoat from soaking in unevenly and causing "flashing," which is the dull, patchy appearance that shows up in raking light.
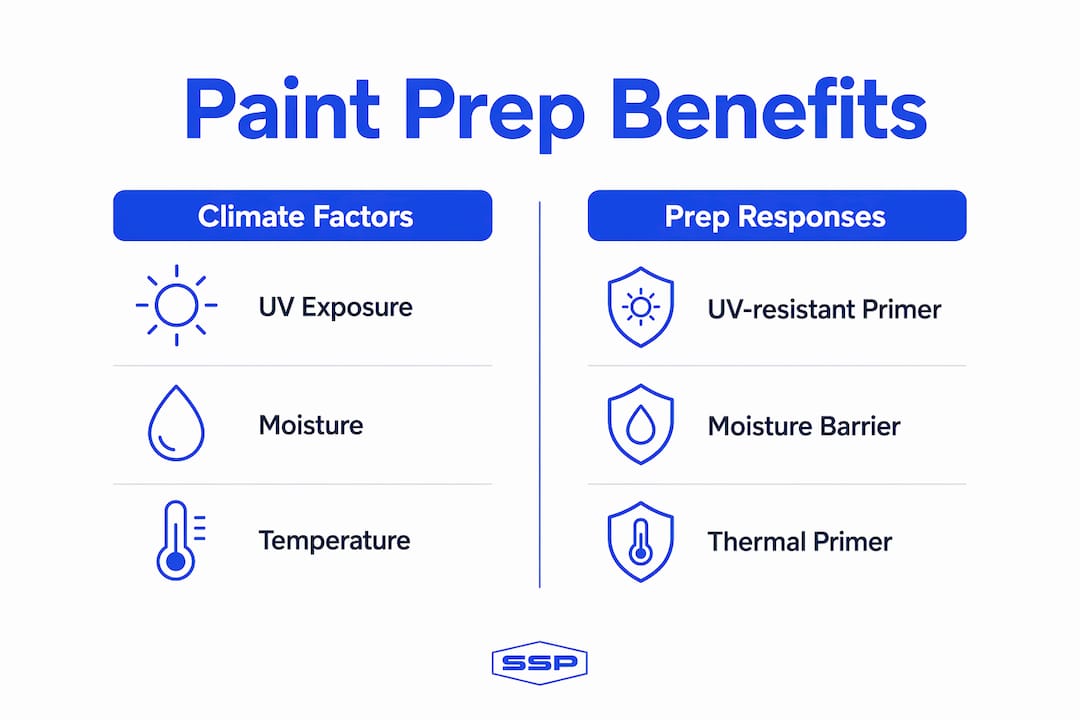
Climate conditions make thorough prep even more critical for homeowners in demanding regions:
- UV exposure breaks down paint binders over time. A properly primed surface resists chalking and fading far longer than bare or poorly prepared substrates.
- High humidity drives moisture into porous surfaces. Sealing those surfaces with the right primer prevents blistering and peeling caused by trapped water vapor.
- Freeze-thaw cycles expand and contract substrates repeatedly. Paint applied over a properly prepared, flexible primer system moves with the substrate instead of cracking away from it.
- Temperature swings common in regions like Texas and Louisiana mean meticulous prep protocols are not optional. They are the difference between a coating that lasts and one that fails in the first summer.
| Climate Factor | Prep Response | Outcome |
|---|---|---|
| UV exposure | Primer with UV-resistant base | Reduced chalking and fading |
| High humidity | Moisture-sealing primer | No blistering or peeling |
| Freeze-thaw cycles | Flexible primer system | No cracking at substrate joints |
| Temperature swings | Full mechanical prep + primer | Extended coating service life |
Surfaces prepared correctly resist cracking, peeling, and color fade significantly longer, even under harsh conditions. That durability is not a product of expensive paint alone. It is a product of what happens before the paint is applied.
What are the economic advantages of expert paint preparation?
Surface preparation is a strategic investment that reduces costs across the entire paint lifecycle, not just the first project. Property managers who factor in lifecycle costs rather than upfront price consistently choose thorough prep because the math favors it.
The economic benefits break down clearly:
- Fewer repaints. A properly prepped and primed surface holds a topcoat for years longer than a surface that was rushed. Fewer repaints mean lower total labor and material costs over a ten-year period.
- Reduced callbacks. Proper prep reduces callbacks for peeling, cracking, and stain bleed-through. For property managers overseeing multiple units, callbacks represent direct cost and lost tenant confidence.
- Less material waste. Paint applied to a properly sealed surface covers more evenly and requires fewer coats. Porous or contaminated surfaces absorb paint unpredictably and drive up material consumption.
- Higher property value. A clean, durable finish signals maintenance and care to buyers and tenants. Curb appeal and interior presentation directly affect property value and appeal.
- Better client satisfaction. Homeowners who invest in quality prep see results that hold up. Satisfaction comes from a finish that still looks good three years later, not just on day one.
Pro Tip: When evaluating painting bids, ask contractors to itemize prep time separately from painting time. A bid with no prep line item is a bid that skips prep. That shortcut will cost more in the long run than the money saved upfront.
Surface prep is not where professionals cut corners to win bids. It is where they build the case for their pricing. Homeowners and property managers who understand this distinction choose contractors wisely and avoid the cycle of cheap jobs that need redoing.
Why does primer choice matter more than most homeowners realize?
Not all primers are the same, and using the wrong one is nearly as bad as skipping primer entirely. Experienced professionals choose specialized primers for problematic surfaces rather than reaching for all-in-one primer-paint combination products.
The distinction matters because different substrates and surface conditions require different chemistry:
| Surface Condition | Recommended Primer Type | Why It Works |
|---|---|---|
| New or repaired drywall | PVA drywall sealer | Equalizes porosity, prevents flashing |
| Bare or stained wood | Shellac or oil-based stain blocker | Seals tannins and prevents bleed-through |
| Previously painted gloss | Bonding primer | Creates adhesion on slick surfaces |
| Masonry or concrete | Alkali-resistant primer | Neutralizes pH to prevent paint breakdown |
| Water-stained surfaces | Shellac-based stain blocker | Locks in stains before topcoat |
All-in-one primer-paint products work adequately on already-primed, clean, and uniform surfaces. They fail on anything problematic. Tannin bleed from cedar or redwood will push through a primer-paint combo within weeks. Porous drywall over a patch will flash visibly in any light. Tailored primers provide adhesion and durability that multi-purpose products cannot match on these surfaces.
Skipping primer on repaired drywall is one of the most common mistakes in residential repaints. The repair compound absorbs topcoat differently than the surrounding wall, creating dull spots that are visible under any angled light. A single coat of PVA sealer eliminates that problem entirely. The cost of that primer coat is a fraction of the cost of repainting to fix the flaw.
Professional painters who specialize in quality results, like the team at Southshorepaint, treat primer selection as a diagnostic decision. They assess the substrate, identify the problem, and choose the chemistry that solves it. That approach is what produces a finish that looks uniform and holds up over time.
Key Takeaways
Professional paint prep is the foundation of every durable, high-quality finish, and skipping it costs more in repairs and repaints than it saves upfront.
| Point | Details |
|---|---|
| Prep drives durability | Surfaces cleaned, sanded, and primed correctly resist peeling, cracking, and fading far longer. |
| Climate demands thorough prep | UV exposure, humidity, and freeze-thaw cycles all accelerate failure on poorly prepared surfaces. |
| Primer choice is diagnostic | Match primer type to substrate condition; all-in-one products fail on porous, stained, or bare surfaces. |
| Prep reduces lifecycle costs | Fewer repaints, fewer callbacks, and less material waste lower total cost over a property's life. |
| Itemize prep in bids | A bid with no prep line item signals that prep will be skipped, leading to early paint failure. |
The unseen work that determines everything
I have walked through hundreds of paint jobs after the fact, and the pattern is always the same. The ones that failed did not fail because of bad paint. They failed because someone rushed the prep. A crew that spends two days cleaning, sanding, and priming before touching a brush is not slow. They are doing the job correctly.
The concept of surface prep as the "unseen architecture" of a paint project is one I find genuinely accurate. Nobody photographs the primer coat. Nobody posts it on social media. But that coat, applied correctly to a properly cleaned and sanded surface, is what makes the finished photos possible three years later when the paint still looks fresh.
What I tell homeowners and property managers is this: the paint you see is only as good as what you cannot see underneath it. If you are evaluating a contractor and they cannot explain their prep process in specific terms, that is a red flag. Ask them what primer they use on bare drywall. Ask how they handle tannin bleed on wood trim. The answers tell you everything about the quality of work you will receive. Contractors who understand the full painting process will answer those questions without hesitation.
The other thing I have learned is that homeowners who invest in quality prep once rarely go back to cheap jobs. The difference in how long the finish holds is visible and undeniable. That experience changes how they evaluate bids permanently.
— Ryan
Southshorepaint's approach to prep-first painting
Southshorepaint was built on the principle that a paint job is only as good as the preparation behind it. Every project starts with a thorough assessment of the substrate, identifying repairs needed, moisture issues, and the right primer for the specific surface condition.
Homeowners and property managers across the South Bay trust Southshorepaint because the crew does not skip steps to win on price. The work is priced to include proper prep, quality primers, and the time it takes to do each stage correctly. If you want a finish that holds up for years rather than seasons, explore Southshorepaint's services and see what prep-first painting looks like in practice. For deeper guidance on surface prep decisions, the Southshorepaint blog covers topics from primer selection to exterior maintenance in plain language.
FAQ
What is professional paint prep?
Professional paint prep is the process of cleaning, repairing, sanding, and priming a surface before applying paint. It directly controls how well paint adheres and how long the finish lasts.
Why does paint peel even after a fresh coat?
Peeling almost always results from poor surface preparation rather than paint quality. Contaminants, moisture, or skipped primer prevent the paint from bonding properly to the substrate.
Is primer always necessary before painting?
Primer is necessary on new drywall, bare wood, repaired areas, and any surface with stains or porosity issues. Skipping primer on these surfaces causes flashing, stain bleed-through, and early adhesion failure.
How does professional prep reduce long-term costs?
Proper prep reduces repaint frequency, callbacks, and material waste over the paint lifecycle. Property managers who invest in thorough prep spend less on maintenance over a ten-year period than those who choose cheaper, rushed jobs.
What should homeowners ask a painter about prep?
Ask the contractor to explain their cleaning method, what primer they use on bare or repaired surfaces, and how they handle stains or tannin bleed. A qualified professional will answer each question specifically and without hesitation.