Pressure washing and painting are the two most effective exterior maintenance steps a homeowner or property manager can take to protect and restore a home's curb appeal. Together, they address both surface contamination and structural degradation before either problem becomes expensive. This guide covers the correct tools, material-specific pressure settings, step-by-step cleaning procedures, and the painting process that follows, with a focus on what actually works on vinyl siding, wood, brick, and stucco. Cleaning siding every 12–18 months is the standard recommendation for preventing dirt and algae buildup that shortens paint life.
What tools do you need for pressure washing and painting prep?
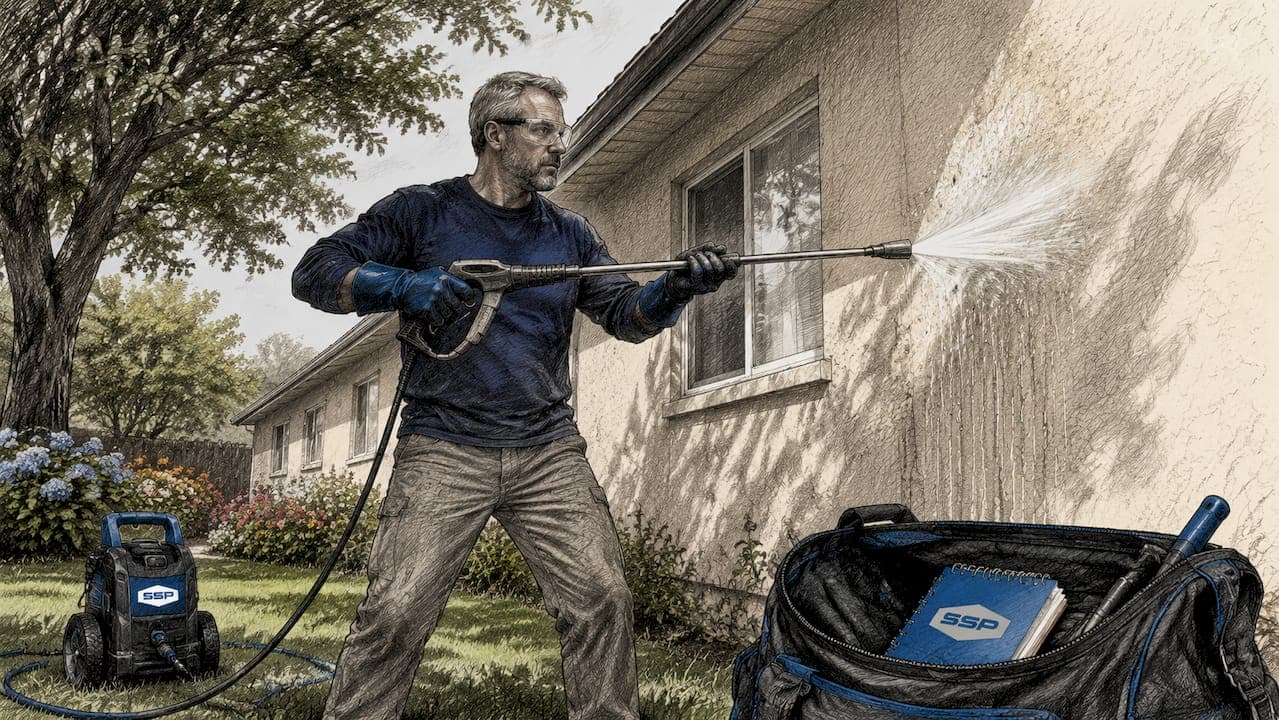
The right equipment determines whether your project succeeds or causes damage. Selecting the wrong nozzle or skipping primer is not a minor oversight. It is the difference between a finish that lasts a decade and one that peels within two years.
Pressure washing equipment
- Electric pressure washers (1,300–2,000 PSI): Suitable for most residential surfaces including vinyl siding and wood.
- Gas pressure washers (2,000–3,500 PSI): Better for concrete driveways and heavily soiled brick, but require more caution near siding.
- Nozzle types: Use a 25-degree (green) nozzle for general washing, a 40-degree (white) nozzle for delicate surfaces, and a soap nozzle (black) for applying detergent.
- Soft wash systems: Low-pressure pumps operating under 100 PSI, paired with biodegradable detergent solutions, for cedar, vinyl, and stucco.
- Extension wands: Allow you to reach second-story siding without a ladder, reducing fall risk.
Safety gear and protective coverings
- Safety glasses and waterproof gloves
- Non-slip rubber-soled boots
- Plastic sheeting or drop cloths to cover outdoor electrical outlets, light fixtures, and HVAC units
- Painter's tape for masking trim and window frames before painting
Cleaning and painting chemicals
- Sodium hypochlorite solution (1–1.5% concentration): The recommended detergent for removing mildew and oxidation before painting. Water alone does not remove these contaminants.
- Biodegradable soft wash detergents: Products like Simple Cherry or similar professional-grade surfactants for organic growth removal.
- Exterior primer: Oil-based primers for bare wood and stucco; latex bonding primers for vinyl and previously painted surfaces.
- Exterior paint: 100% acrylic latex formulas from brands like Sherwin-Williams Duration or Benjamin Moore Aura for maximum adhesion and durability.
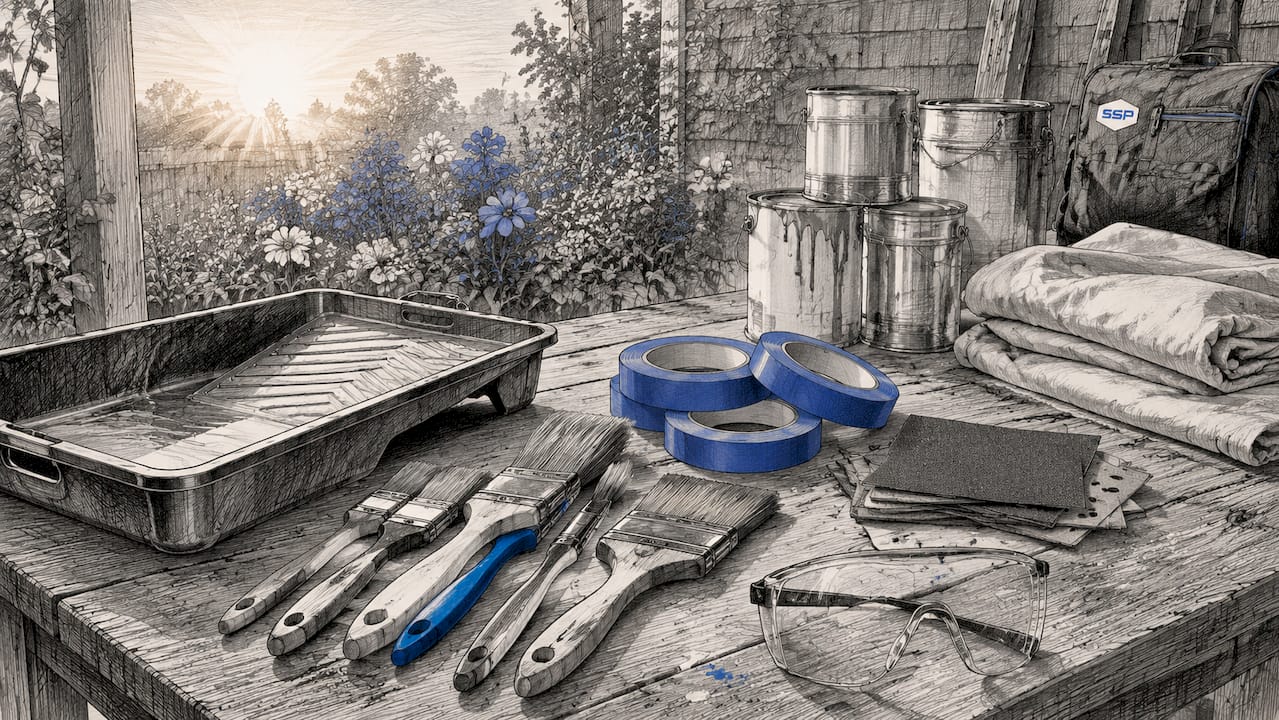
Painting application tools
- Brushes: 2.5-inch angled sash brushes for trim and detail work.
- Rollers: 3/8-inch nap rollers for smooth siding; 3/4-inch nap for textured stucco or brick.
- Airless sprayers: Graco Magnum or Titan Impact series for large flat surfaces; faster coverage with consistent film thickness.
Pro Tip: Always test your pressure washer on an inconspicuous section of siding before washing the full surface. A 30-second test reveals whether your nozzle and PSI combination is safe for that material.
Which pressure settings work best for each exterior surface?
Matching PSI to material is the single most important technical decision in exterior surface cleaning. Professional contractors confirm that the wrong PSI and nozzle combination increases the risk of permanent damage to vinyl, wood, and mortar.
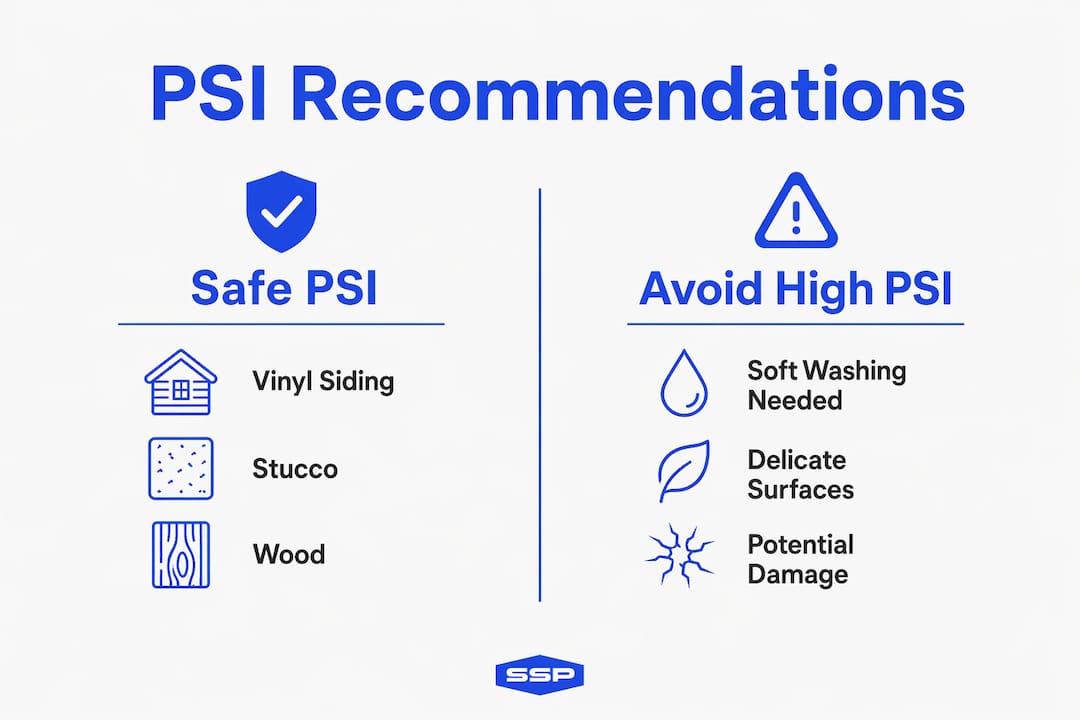
PSI recommendations by surface material
| Surface | Recommended PSI | Nozzle | Notes |
|---|---|---|---|
| Vinyl siding | 1,300–1,600 PSI | 25–40 degree | Avoid seams and gaps |
| Wood siding | 1,200–1,500 PSI | 40 degree | Spray with the grain |
| Brick and mortar | 1,500–2,000 PSI | 25 degree | Avoid cracked mortar joints |
| Stucco | 1,500–1,800 PSI | 40 degree | Soft wash preferred |
Pressure washing vs. soft washing: when to use each
Pressure washing and soft washing are not interchangeable. Pressure washing uses high-velocity water to physically dislodge dirt, mold, and debris. Soft washing uses low pressure under 100 PSI combined with biodegradable detergents to kill organic growth at the root level. That distinction matters because soft washing removes 99.9% of organic growth without the mechanical stress that can crack stucco or lift wood grain.
Soft washing is the correct choice for cedar shake, vinyl, and stucco. Pressure washing is appropriate for concrete, brick in good condition, and painted wood that is not weathered. When in doubt, start with lower pressure and increase gradually rather than starting high and causing damage you cannot reverse.
Spray angle and distance
Keeping the wand 12–24 inches from the surface is the standard safe distance for most residential materials. Closer than 12 inches concentrates force enough to etch wood or strip paint. Maintain a 45-degree spray angle to the surface and never aim directly at seams, gaps, or window frames. Directing water into seams forces moisture behind siding, where it creates conditions for mold and rot that can go undetected for months.
Pro Tip: When washing wood siding, always spray in the direction of the wood grain. Spraying across the grain opens wood fibers and accelerates moisture absorption, which leads to swelling and paint failure.
How do you pressure wash a house safely and effectively?
A structured approach prevents the most common errors in outdoor painting preparation. Follow these steps in order.
- Close all windows and doors. Water intrusion through gaps is one of the leading causes of interior moisture damage during exterior washing.
- Cover electrical outlets, light fixtures, and HVAC units with plastic sheeting secured with painter's tape.
- Pre-wet surrounding plants and shrubs with plain water to dilute any detergent runoff before it contacts roots.
- Apply detergent from bottom to top. This prevents streaking caused by detergent running down dry surfaces. Use a soap nozzle and allow the solution to dwell for 5–10 minutes without letting it dry.
- Rinse from top to bottom using your selected PSI and nozzle. Work in overlapping horizontal passes to avoid streaks and missed sections.
- Inspect seams, corners, and window frames immediately after rinsing. Any sign of water intrusion, bubbling paint, or soft wood indicates a problem that must be addressed before painting.
- Allow full drying time. Most exterior surfaces require 24–48 hours of dry weather before paint can be applied. Painting over damp surfaces is the leading cause of early paint failure.
Common errors and what they look like
- Streaking: Caused by inconsistent nozzle distance or stopping mid-pass. Maintain steady movement.
- Etching or fuzzing on wood: Caused by excessive PSI or a nozzle held too close. Sand lightly before painting.
- Paint lifting during washing: The surface was not ready for repainting regardless. Strip and reprime properly.
- White mineral deposits after drying: Efflorescence on brick or stucco. Treat with a diluted muriatic acid solution before priming.
High pressure aimed at joints or gaps pushes water behind siding, causing hidden mold and rot that requires costly remediation later. This is not a theoretical risk. It is one of the most frequently reported sources of structural damage following DIY pressure washing.
What are the essential steps for painting after pressure washing?
Painting after pressure washing is where preparation pays off. A clean, dry surface accepts primer and paint uniformly, which is the foundation of a finish that holds up through UV exposure, rain, and temperature cycles.
- Inspect the surface thoroughly. Look for cracked caulk, peeling paint, bare wood, rust stains on fasteners, and soft or spongy areas that indicate rot. Address every defect before priming.
- Repair and recaulk. Use a paintable exterior caulk rated for your climate. Fill all gaps around windows, doors, and trim. Allow full cure time per the manufacturer's instructions.
- Apply primer to all bare or repaired areas. Effective paint prep requires detergent cleaning to remove oxidation and mildew, but primer is what seals the surface and creates adhesion. Skipping primer on bare wood or stucco leads to uneven sheen and early peeling.
- Apply the first coat of paint using a brush for trim and an airless sprayer or roller for field surfaces. Maintain a wet edge to avoid lap marks. Work in shade or during cooler parts of the day to prevent the paint from drying too fast.
- Allow proper recoat time. Most 100% acrylic latex paints require 4–6 hours between coats under ideal conditions. Rushing this step traps moisture and causes bubbling.
- Apply the second coat and inspect for holidays (missed spots) and thin areas while the paint is still wet enough to touch up.
Pro Tip: Do not paint when surface temperatures exceed 90°F or drop below 50°F. Both extremes prevent proper film formation and adhesion, regardless of paint quality.
For a detailed look at the full exterior painting workflow, Southshorepaint has published a step-by-step guide specific to South Bay homeowners that covers primer selection, coat sequencing, and finish options.
How do you avoid the most common pressure washing and painting mistakes?
Most project failures trace back to a small set of avoidable errors. Recognizing them before you start is more effective than troubleshooting after the damage is done.
- Skipping detergent: Water alone does not remove mildew or oxidation. A sodium hypochlorite solution at 1–1.5% concentration is the minimum standard for effective paint prep.
- Painting too soon after washing: Moisture trapped under paint causes blistering and adhesion failure. Wait at least 24–48 hours and confirm the surface is dry to the touch at depth, not just on the surface.
- Using maximum PSI on every surface: High pressure on seams or gaps forces water behind siding, causing mold and rot that can go undetected for months.
- Ignoring soft washing for delicate materials: Cedar, vinyl, and stucco respond better to soft washing with biodegradable solutions than to high-pressure water.
When to hire a professional: If your home has lead paint (pre-1978 construction), significant wood rot, or surfaces above two stories, the risk profile of DIY pressure washing and painting increases substantially. Professional equipment also reduces the likelihood of damage from incorrect settings, which is a real cost factor in DIY projects.
Southshorepaint recommends reviewing the signs of bad painting work before hiring any contractor, so you know what quality prep and application actually look like.
Key takeaways
Proper pressure washing followed by thorough surface preparation is the single most important factor in how long exterior paint lasts and how well it protects your home.
| Point | Details |
|---|---|
| Clean on schedule | Wash exterior surfaces every 12–18 months to prevent dirt and algae from degrading paint. |
| Match PSI to material | Vinyl needs 1,300–1,600 PSI; brick tolerates up to 2,000 PSI; always keep the wand 12–24 inches away. |
| Use detergent, not just water | A 1–1.5% sodium hypochlorite solution removes mildew and oxidation that water rinsing cannot. |
| Wait before painting | Allow 24–48 hours of drying time after washing before applying primer or paint. |
| Know when to call a pro | Pre-1978 homes, significant rot, and high surfaces carry risks that exceed typical DIY capability. |
What i've learned after years of watching paint fail too soon
The most consistent pattern I see in exterior paint failures is not bad paint. It is skipped prep. Homeowners spend money on premium Sherwin-Williams or Benjamin Moore products and then apply them over surfaces that were never properly cleaned or dried. The paint fails in 18 months instead of 10 years, and the paint gets blamed.
The second pattern is pressure washing done too aggressively. I have seen vinyl siding with seams blown open and wood siding with grain raised like sandpaper, all from a homeowner who assumed more pressure means cleaner results. It does not. Soft washing with the right detergent outperforms high-pressure blasting on most residential surfaces, and it does not create the hidden moisture problems that show up as mold six months later.
My honest recommendation: if you are going to DIY the pressure washing, invest time in understanding your specific surface material and the correct PSI before you start. If you are going to paint, do not cut the drying window short. Those two decisions account for the majority of outcomes I have observed, good and bad.
For property managers overseeing multiple units, the painting tips for South Bay property managers resource from Southshorepaint is worth reading before scheduling any exterior work.
— Ryan
How Southshorepaint handles exterior prep and painting the right way
Southshorepaint is a professional residential and commercial painting company serving South Bay homeowners and property managers who want results that last, not just a fresh coat of color that fades in two seasons.

Every Southshorepaint exterior project starts with thorough surface preparation, including proper cleaning, caulking, priming, and material-specific paint selection. The team does not skip steps to lower a bid. If your home needs professional exterior painting services that are built on correct prep and premium materials, Southshorepaint is the right call. Contact the team directly through the website to discuss your project and get a clear, honest assessment of what your home's exterior actually needs.
FAQ
How long after pressure washing can you paint?
Wait at least 24–48 hours after pressure washing before applying primer or paint. Painting over a damp surface traps moisture and causes blistering and adhesion failure.
What PSI is safe for washing vinyl siding?
Vinyl siding should be washed at 1,300–1,600 PSI with a 25-degree or 40-degree nozzle held 12–24 inches from the surface. Higher pressure risks forcing water behind seams.
Is soft washing better than pressure washing for homes?
Soft washing is the better choice for delicate surfaces like cedar, vinyl, and stucco. It uses under 100 PSI with biodegradable detergents to remove organic growth without mechanical damage.
Do you need detergent when pressure washing before painting?
Yes. Water alone cannot remove mildew and oxidation from exterior surfaces. A sodium hypochlorite solution at 1–1.5% concentration is the recommended standard for cleaning before painting.
How often should you pressure wash your home's exterior?
Cleaning siding every 12–18 months is the standard recommendation to prevent dirt and algae accumulation that degrades paint and siding over time.