Power washing for painting is the process of cleaning exterior surfaces with high-pressure water to remove dirt, mold, mildew, and loose paint before applying a fresh coat. Most homeowners skip this step or rush it. That decision shortens the life of their paint job significantly. A clean, dry surface is the single most important factor in how long exterior paint lasts, and pressure washing is the most effective way to achieve it before you pick up a brush or roller.
What is power washing for painting, and how does it differ from pressure washing?
Power washing and pressure washing are not the same thing. Heated water is used in true power washing, while standard pressure washing uses unheated water. For most home painting preparation, heated water is unnecessary and can actually damage finishes. What homeowners need for pre-paint prep is a standard pressure washer, not a commercial power washer. The industry uses both terms interchangeably, but knowing the difference protects your siding and your budget.
Pressure washing before painting removes the contaminants that prevent paint from bonding to a surface. Dirt, pollen, mold, and chalky residue from old paint all act as barriers between the new paint and the substrate. Removing them creates a clean, porous surface that accepts paint evenly. The result is better adhesion, a smoother finish, and a paint job that holds up through seasons of weather.
What surfaces benefit most from power washing before painting?
Not every surface handles high-pressure water the same way. Using the wrong pressure setting on the wrong material causes gouging, cracking, or water intrusion. The table below shows recommended PSI ranges by surface type.
| Surface | Recommended PSI | Notes |
|---|---|---|
| Vinyl siding | 1,200–2,000 | Avoid spraying seams directly |
| Wood siding | 1,200–1,500 | Lower end for older or softer wood |
| Brick and concrete | 2,500–3,000 | Can handle higher pressure |
| Stucco | 1,200–1,500 | Test a small area first |
| Trim and windows | Under 1,200 | Use soft washing or hand cleaning |
PSI levels vary by surface to prevent damage, and staying within these ranges is non-negotiable. Going too high on wood or vinyl does not clean better. It strips the surface and forces water into gaps where it causes hidden rot and mold.
Some surfaces should not be pressure washed at all before painting. These include:
- Old or deteriorating wood with visible rot or loose grain
- Single-pane windows and decorative glass panels
- Painted surfaces with lead paint (pressure washing spreads lead dust)
- Aged stucco with existing cracks or soft spots
For these materials, soft washing with low-pressure water and a cleaning solution is the safer choice. A garden hose with a brush attachment works well for trim, shutters, and detailed woodwork.
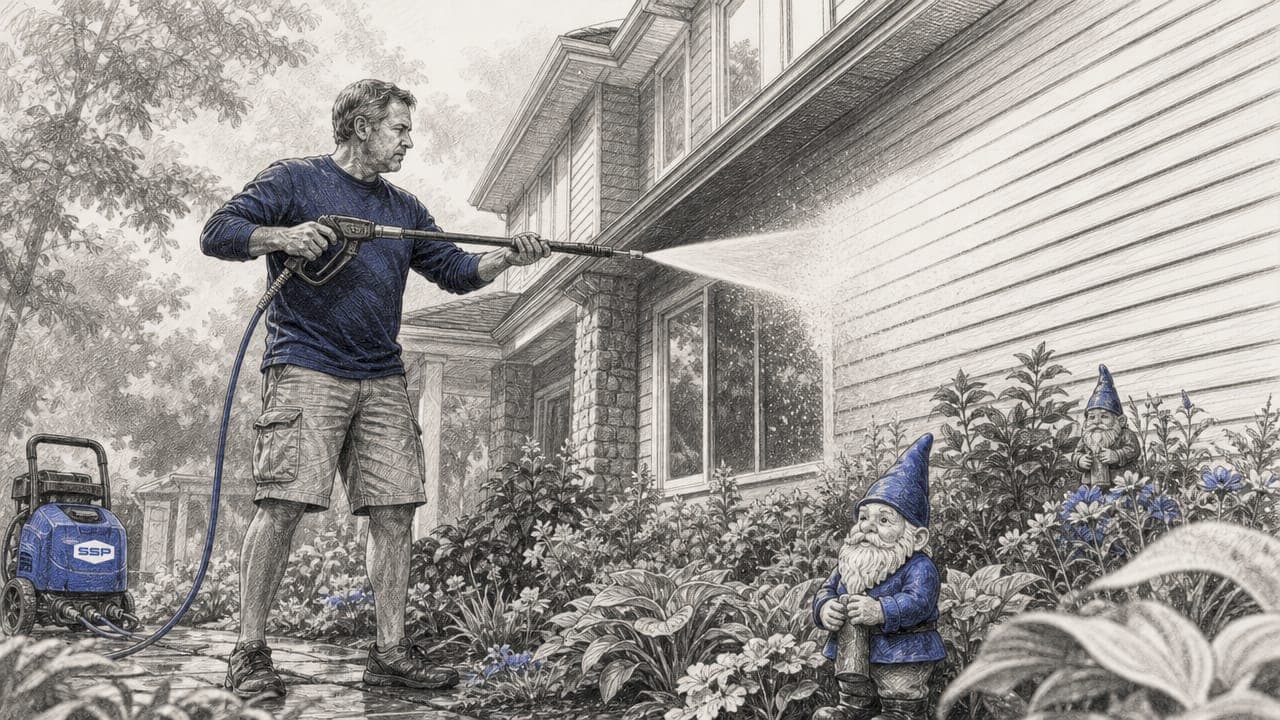
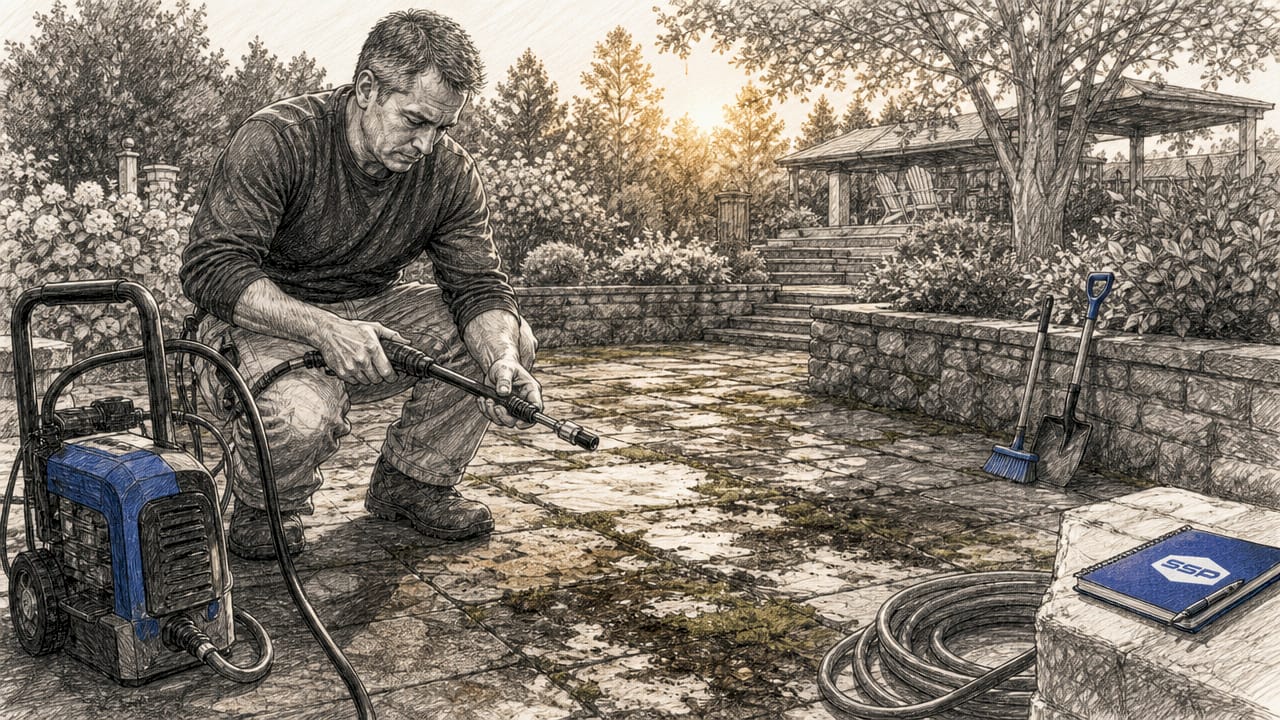
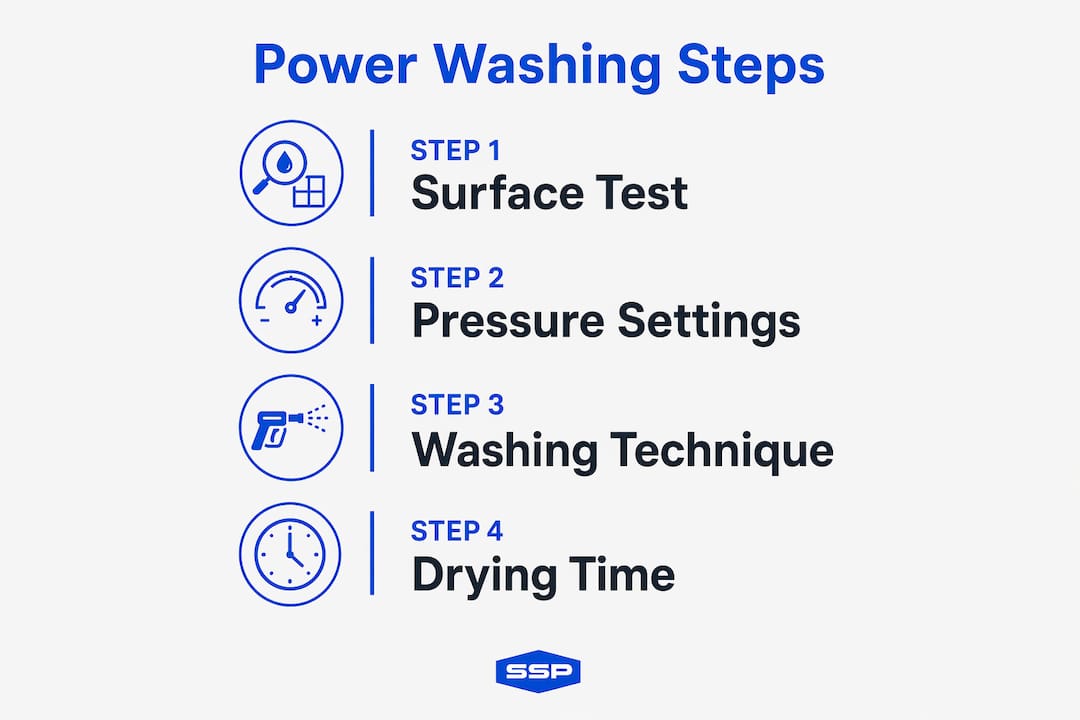
How to power wash your home safely and effectively before painting
Proper technique separates a clean surface from a damaged one. Follow these steps in order for the best result.
-
Prepare the area. Close all windows and doors. Cover electrical outlets, light fixtures, and HVAC vents with plastic sheeting and painter's tape. Wet nearby plants and landscaping with plain water before you start. This dilutes any detergent runoff and reduces stress on plant roots.
-
Choose the right nozzle. The 25-degree green nozzle is the standard choice for general siding cleaning. The 40-degree white nozzle works for delicate trim and windows. Never use the 0-degree red nozzle on any siding. It concentrates pressure into a pinpoint stream that gouges wood and strips paint instantly.
-
Apply detergent correctly. Apply detergent from the bottom up to prevent streaking. When detergent runs down over a dry surface, it leaves visible lines that are difficult to remove. Work in sections and let the detergent dwell for a few minutes before rinsing.
-
Rinse from the top down. Rinse from top to bottom so gravity carries debris off the siding. This is the most efficient sequence and prevents you from washing dirty water back onto clean sections below.
-
Maintain proper distance and angle. Hold the nozzle 12–18 inches from the surface at all times. Spray at a consistent downward angle. Getting too close concentrates pressure and damages the surface even at moderate PSI settings.
Pro Tip: Test your pressure and nozzle on a hidden section of siding before washing the full facade. A small patch near the foundation or behind a shrub lets you confirm the PSI is appropriate without risking visible damage.
The most common mistake homeowners make is spraying upward into siding seams. Water forced behind siding has nowhere to drain. It sits against the sheathing and framing, causing mold growth and wood rot that you cannot see until the damage is severe.
Why timing and drying matter after power washing before painting
Painting over a wet surface is one of the most common causes of early paint failure. Exterior surfaces must be 100% dry before painting, which typically requires 24–48 hours depending on weather conditions and siding material. That waiting period is not optional. Moisture trapped under paint causes blistering, bubbling, and mold growth between the paint film and the substrate.
Several factors affect how quickly a surface dries after washing:
- Direct sunlight speeds drying significantly on south and west-facing walls
- Humidity above 85% slows evaporation and extends drying time beyond 48 hours
- Wood siding absorbs water and takes longer to dry than vinyl or aluminum
- Shaded areas on north-facing walls may need an extra day before they are ready
How do you know when a surface is dry enough to paint? Run your hand firmly across the siding. If it feels cool or damp to the touch, wait longer. A moisture meter, available at most hardware stores, gives a more reliable reading. Wood siding should read below 15% moisture content before painting begins.
Plan your painting schedule around the weather forecast, not just the washing date. If rain is expected within 48 hours of washing, delay the project. Painting in the right conditions protects both your prep work and your paint investment.
Power washing benefits versus risks for a successful paint job
The benefits of pressure washing before painting are well established. Removing dirt, mold, mildew, and pollen improves paint adhesion and extends the life of the finish. A properly prepped exterior paint job lasts significantly longer than one applied over a contaminated surface. Skipping the wash does not save time. It accelerates failure and leads to repainting sooner.
| Factor | Benefit | Risk if Done Wrong |
|---|---|---|
| Surface cleanliness | Better paint adhesion | Paint peels within 1–2 years |
| Mold and mildew removal | Prevents regrowth under paint | Mold bleeds through new paint |
| Pressure level | Cleans without damage | Too high gouges wood or vinyl |
| Spray direction | Clears debris efficiently | Upward spray causes water intrusion |
| Drying time | Paint bonds properly | Wet surface causes blistering |
The risks are real but entirely avoidable with correct technique. DIY homeowners who follow PSI guidelines, use the right nozzle, and allow full drying time get results that rival professional prep work.
"Proper surface preparation is the foundation of any lasting paint job. Pressure washing is not just a cleaning step. It is the first coat of quality."
Professional painters are worth considering for homes with complex rooflines, second-story siding, or surfaces showing signs of rot and lead paint. For a straightforward single-story home with vinyl or wood siding in good condition, a confident DIYer with the right equipment can handle pre-paint washing effectively. The exterior painting workflow for most homes follows a clear sequence that any prepared homeowner can execute.
Key takeaways
Pressure washing before painting is the single most effective prep step for extending exterior paint life and preventing early failure.
| Point | Details |
|---|---|
| Define the process correctly | Pressure washing (unheated water) is the right tool for paint prep, not true power washing. |
| Match PSI to surface | Use 1,200–2,000 PSI for vinyl, 1,200–1,500 for wood, and 2,500–3,000 for brick and concrete. |
| Use the right nozzle | The 25-degree green nozzle handles most siding; never use the 0-degree red nozzle on any exterior surface. |
| Wait 24–48 hours before painting | Painting over a damp surface causes blistering, bubbling, and mold growth under the paint film. |
| Spray downward, not upward | Upward spraying forces water behind siding, causing hidden rot and mold inside the wall cavity. |
What I've learned from years of watching homeowners prep their homes
The biggest mistake I see is not skipping the wash entirely. Most homeowners do wash. The mistake is rushing the dry time. A homeowner will pressure wash on a Saturday morning and want to paint by Saturday afternoon. That is not enough time, even on a warm, sunny day. The surface may look dry. It is not. Wood especially holds moisture well below the surface, and paint applied too soon traps that moisture with nowhere to go.
The second pattern I notice is nozzle overconfidence. Homeowners rent a pressure washer, see the red nozzle in the kit, and assume more concentrated pressure means cleaner results. It does not. The red nozzle is designed for stripping concrete, not cleaning siding. One pass across wood or vinyl at close range with a 0-degree tip can leave permanent gouges that show through the finished paint.
Equipment has improved considerably. Electric pressure washers from brands like Sun Joe and Ryobi now deliver consistent PSI in the 1,600–2,000 range, which is appropriate for most residential siding. They are quieter, lighter, and easier to control than gas-powered units. For a first-time DIYer, an electric unit is the better starting point. Save the gas-powered washer for concrete driveways and brick walls where higher sustained pressure is actually useful.
The prep work is where paint jobs are won or lost. A mediocre paint applied over a perfectly clean, dry surface will outlast a premium paint applied over contaminated siding. That is not an opinion. It is what the failure patterns show every time.
— Ryan
Southshorepaint's approach to exterior prep and painting

Southshorepaint builds every exterior project on the same foundation: thorough surface preparation before a single drop of paint is applied. That means proper pressure washing, full drying time, and a careful inspection for rot, cracks, and failing caulk before any coating goes on. Homeowners who want professional results without the guesswork of DIY prep can rely on Southshorepaint's team to handle the full process from wash to final coat. For a closer look at what professional exterior prep involves, the surface prep and priming guide covers every step in detail. To discuss your home's specific needs, visit Southshorepaint and connect with the team directly.
FAQ
What is the difference between power washing and pressure washing?
Power washing uses heated water, while pressure washing uses unheated water. For home painting preparation, standard pressure washing is sufficient and safer for most exterior surfaces.
Is power washing necessary before painting a house?
Pressure washing before painting is strongly recommended. Dirt, mold, and chalky residue prevent paint from bonding properly, which leads to early peeling and a shortened paint lifespan.
How long should I wait after pressure washing before painting?
Surfaces need 24–48 hours to dry completely after washing. Wood siding may need closer to 48 hours, especially in humid or shaded conditions.
What PSI should I use to pressure wash before painting?
Use 1,200–2,000 PSI for vinyl siding, 1,200–1,500 PSI for wood, and 2,500–3,000 PSI for brick and concrete. Staying within these ranges prevents surface damage.
Can I paint immediately after pressure washing if the surface looks dry?
No. A surface that looks dry on the outside may still hold moisture inside, especially wood. Use a moisture meter and confirm wood siding reads below 15% moisture content before painting.