
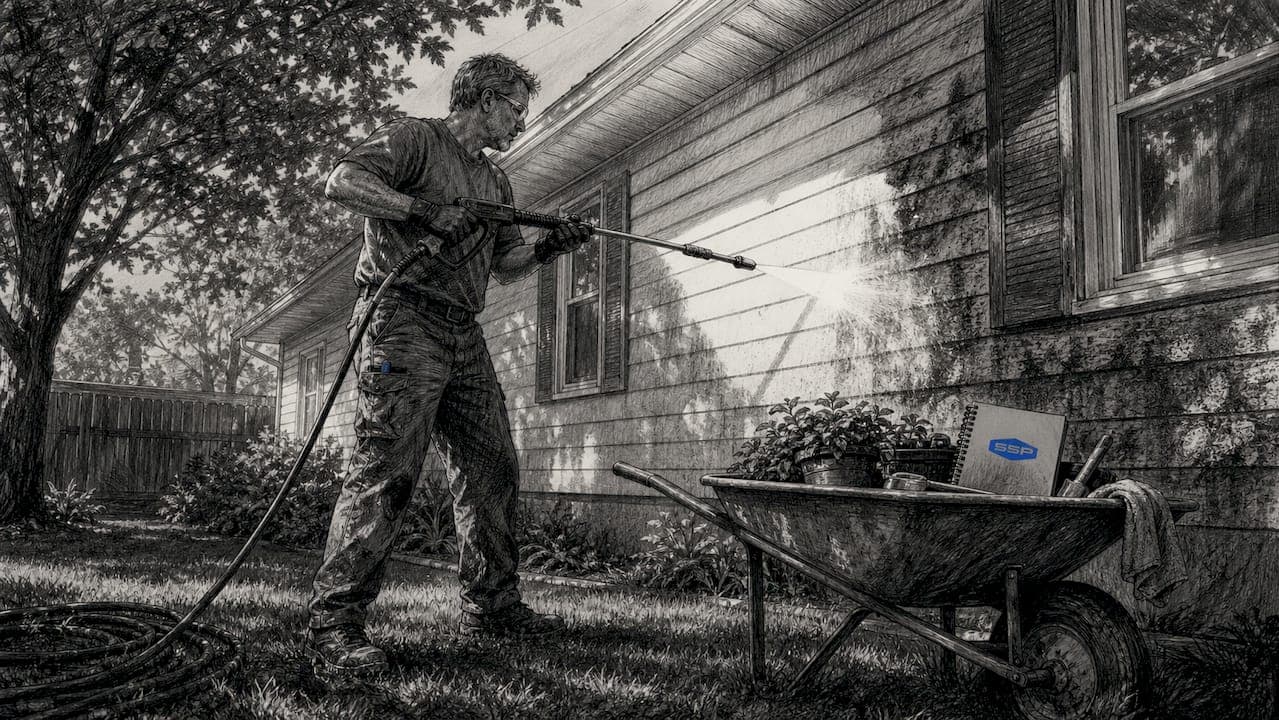
Exterior surface preparation is the foundational step that determines whether a paint job lasts two years or twelve. Surface preparation accounts for 70% of the labor and success in exterior painting. Skip it, and you get bubbling, peeling, and early failure. Follow it correctly, and a quality finish holds for 8–12 years. Knowing how to prep exteriors the right way means working through a specific sequence: clean, repair, caulk, and prime. Each step builds on the last, and cutting any one of them short shortens the life of everything that follows.
1. How to prep exteriors: start with power washing
Power washing is the first and most critical step in exterior painting preparation. Dirt, chalk, mildew, and oxidized paint all prevent new coatings from bonding to the surface. A pressure washer set between 1,600 and 2,500 PSI removes these contaminants without damaging sound wood or siding.
Mildew requires more than water alone. A 1:4 bleach to water solution applied before rinsing kills mildew at the root. Let the solution dwell for 10–15 minutes before rinsing, or the spores survive and grow back under the new paint.
Key steps for effective exterior cleaning:
- Work top to bottom so runoff does not re-contaminate cleaned areas
- Hold the nozzle at a consistent 12–18 inch distance to avoid gouging wood
- Apply the bleach solution with a garden sprayer before pressure washing
- Rinse thoroughly until no bleach residue remains
Pro Tip: Wear eye protection and rubber gloves when mixing and applying the bleach solution. Bleach splatter on skin or in eyes causes serious irritation.
Drying time after washing is where many homeowners lose the most ground. Most paint failures stem from inadequate drying after pressure washing. Paint applied over damp siding traps moisture and bubbles within weeks. Allow 24–48 hours of drying time after washing, and check the forecast for at least 10 consecutive dry days before moving forward. For a deeper look at how moisture affects adhesion, Southshorepaint's guide on moisture and exterior painting covers the full picture.
2. Scraping, sanding, and repairing damaged surfaces
Once the surface is dry, the next phase of preparing exterior surfaces begins with removing everything that will not hold paint. Loose, flaking, or peeling paint must come off completely. A quality pull scraper removes the bulk of it, but the technique matters. Scrape with the grain of the wood to avoid tearing fibers, and work at a low angle to lift paint cleanly.
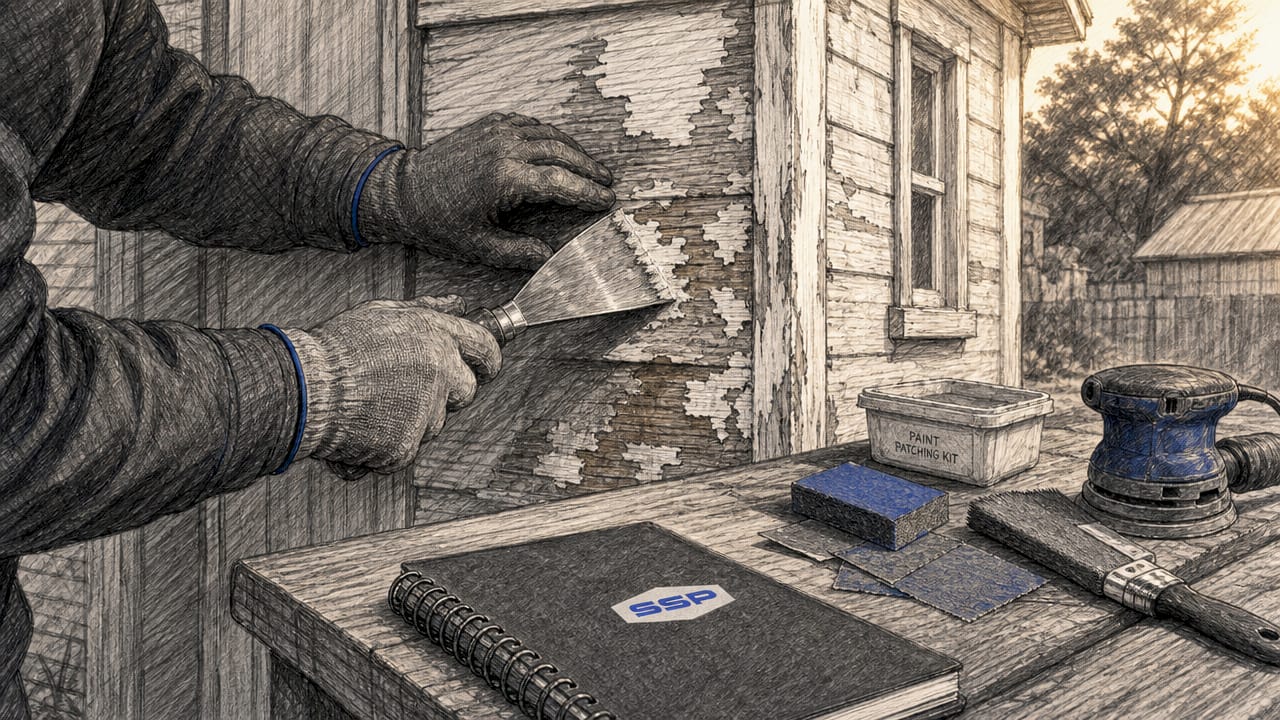
After scraping, feather the edges of scraped areas with 80-grit sandpaper. This eliminates the hard ridge between bare wood and intact paint. Without feathering, that ridge telegraphs through the finish coat and becomes a visible line where peeling restarts.
Repairing damage is the step most homeowners underestimate:
- Probe all wood trim and siding with a screwdriver to locate hidden rot beneath the surface
- Structural rot requires full board replacement; epoxy fillers only work for cosmetic surface damage
- Fill nail holes and small gouges with exterior-grade filler, then sand flush after drying
- Inspect window sills, door frames, and corner boards closely since these areas collect water
Pro Tip: If your screwdriver sinks more than a quarter inch into wood without resistance, that section needs replacement, not filler. Painting over structural rot accelerates the decay underneath.
Homes built before 1978 require an additional safety check. Lead paint safety rules mandate testing before scraping or sanding. If lead is present, use an N100 respirator and containment sheeting to prevent dust spread. This is not optional. Federal EPA RRP rules carry significant fines for non-compliance on renovation projects.
3. Caulking: water management, not just cosmetic sealing
Caulk serves one primary function in exterior prep: keeping water out of the wall assembly. Proper caulking prevents moisture intrusion behind siding, which is the leading cause of paint bubbling and wood rot. Treating caulk as a cosmetic finish step is the mistake that causes the most expensive callbacks.
Use exterior-grade paintable silicone or urethane caulk at every joint, seam, window frame, and door frame. These products flex with seasonal wood movement. Standard latex caulk cracks within one to two seasons and allows water back in.
Never caulk the bottom edge of horizontal lap siding. That gap is intentional. It allows any moisture that gets behind the siding to drain out. Sealing it traps water inside the wall cavity, where it causes rot and paint failure from the inside out. Improper caulk placement accelerates wood rot faster than leaving the joint open entirely.
Where to caulk and where to leave open:
- Caulk: vertical joints between trim and siding, window and door frames on sides and top, corner boards, and any penetrations like pipes or wires
- Leave open: bottom edge of lap siding courses, weep holes in masonry, and any joint designed to drain
Allow caulk to skin over fully before priming. Most exterior caulks require 30–60 minutes before they accept paint without smearing.
4. Priming: the step that holds everything together
Primer is not optional. Primer acts as an adhesion bridge, seals porous surfaces, blocks tannin stains, and evens out absorption so the finish coat lays uniformly. Skipping primer on bare wood or repaired areas is the single most common cause of adhesion failure on exterior repaints.
Spot-prime every area of bare wood, every repair, and every stain. Water stains, tannin bleed from cedar or redwood, and rust marks all bleed through standard paint within one season. Shellac-based primers block tannin bleed from cedar and redwood where latex primers fail. If more than 30% of the surface is bare wood, full priming of the entire surface produces better results than spot priming alone.
| Situation | Recommended primer type |
|---|---|
| Bare wood on pine or fir | 100% acrylic exterior primer |
| Cedar or redwood tannin bleed | Shellac-based stain-blocking primer |
| Repaired areas with epoxy filler | 100% acrylic exterior primer |
| Water stains or rust marks | Shellac-based stain-blocking primer |
| Previously painted, sound surface | Spot prime bare areas only |
Pro Tip: Apply primer in temperatures between 50°F and 90°F. Primer applied in cold or humid conditions does not cure properly and loses its adhesion benefit entirely.
Allow primer to dry for 4–24 hours before applying finish coats, depending on the product and conditions. Rushing this step causes the finish coat to lift the primer. Southshorepaint's guide on surface prep and priming walks through primer selection in detail for different substrates.
5. Protecting landscaping and adjacent surfaces
Protecting what you are not painting is as important as preparing what you are. Overspray, drips, and abrasive dust from sanding cause real damage to plants, windows, and hardscapes. Planning protection before you start saves cleanup time and prevents costly repairs.
Cover landscaping and flower beds with lightweight canvas tarps rather than plastic sheeting. Plastic traps heat and can burn plants within hours on a sunny day. Remove canvas covers each evening so plants breathe overnight.
Protection checklist for adjacent surfaces:
- Apply painter's tape to window glass, light fixtures, and outlet covers before any sanding or spraying begins
- Use removable plastic sheeting on walkways and patios to catch paint drips
- Remove or tape around hose bibs, downspout brackets, and exterior electrical boxes
- Plan ladder and scaffold placement to avoid setting legs directly on flower beds or fragile shrubs
Windows require special attention during the sanding phase. Fine dust from 80-grit sandpaper scratches glass if it is not covered. A single sheet of plastic film held with painter's tape protects the glass completely.
Key takeaways
Proper exterior prep is the only reliable way to get a paint job that holds for 8–12 years instead of failing within two to three seasons.
| Point | Details |
|---|---|
| Prep drives paint longevity | Surface preparation accounts for 70% of exterior painting success and determines how long the finish lasts. |
| Dry completely before painting | Allow 24–48 hours after power washing and confirm 10 consecutive dry days before applying any coating. |
| Caulk placement is structural | Never seal the bottom edge of lap siding; that gap allows moisture to drain and prevents rot. |
| Primer is non-negotiable | Spot-prime all bare wood, repairs, and stains; use shellac-based primer for cedar and redwood tannin bleed. |
| Protect what you are not painting | Cover plants with canvas tarps and tape windows before sanding or spraying to prevent collateral damage. |
What I have learned after years of watching prep get skipped
The most expensive exterior paint jobs I have seen fail were not caused by bad paint. They were caused by impatience. A homeowner or contractor skipped the drying window after washing, or painted over a soft spot they hoped was "just surface rot," or caulked the bottom of the lap siding because it looked neater. Every one of those decisions cost more to fix than the original job.
The part that surprises most homeowners is how much mildew hides in plain sight. It looks like gray or green discoloration, and people assume it is just dirt. Dirt washes off. Mildew grows back through paint if you do not kill it first with a bleach solution. I have seen fresh paint turn gray within one season because the mildew was never treated, only covered.
My honest advice: slow down at every drying and curing step. The 24–48 hour wait after washing feels like lost time. The 4–24 hour primer cure feels the same way. But those windows exist because the chemistry requires them. Rushing them does not save time. It creates a callback in 18 months.
When you hire a contractor, ask them specifically how long they plan to wait after washing before they start scraping. If the answer is "a few hours," that is a red flag. A crew that respects the drying window respects the whole process. Southshorepaint's breakdown of why professional prep matters explains exactly what to look for when evaluating a contractor's prep scope.
— Ryan
Southshorepaint has the products and guidance to get prep right
Exterior prep requires the right materials at every stage, from the primer you apply to bare wood to the caulk you run along window frames. Southshorepaint carries 100% acrylic exterior primers, paintable urethane caulks, and the full range of prep supplies built for lasting results, not just quick coverage.

Whether you are tackling a full repaint or addressing specific problem areas, Southshorepaint's team provides guidance on product selection for your specific substrate and conditions. Every product recommendation comes from the same standard Southshorepaint applies to its own professional work: prep thoroughly, use quality materials, and build a finish that holds. Visit Southshorepaint to find the primers, caulks, and prep supplies that match your project.
FAQ
How long does exterior prep take before painting?
Exterior prep typically takes two to four days for an average home, accounting for washing, drying time of 24–48 hours, scraping, repairs, caulking, and priming. Skipping or shortening any of these steps reduces the lifespan of the finish coat.
What PSI should I use to power wash exterior siding?
Use a pressure washer set between 1,600 and 2,500 PSI for most exterior siding materials. Higher pressure risks gouging wood fibers and forcing water behind siding, which causes the moisture problems you are trying to prevent.
Do I need to prime before painting exterior wood?
Primer is required on all bare wood, repaired areas, and any surface with stains or tannin bleed. Omitting primer is the leading cause of adhesion failure and uneven absorption on exterior repaints.
Where should I not apply caulk on exterior siding?
Never caulk the bottom edge of horizontal lap siding courses. That gap allows trapped moisture to drain out of the wall assembly. Sealing it causes water to accumulate inside the wall, leading to rot and paint failure.
How do I know if my home has lead paint?
Homes built before 1978 may contain lead-based paint. Use an EPA-approved lead test kit before scraping or sanding. If lead is confirmed, follow EPA RRP rules including N100 respirator use and containment to prevent hazardous dust exposure.