
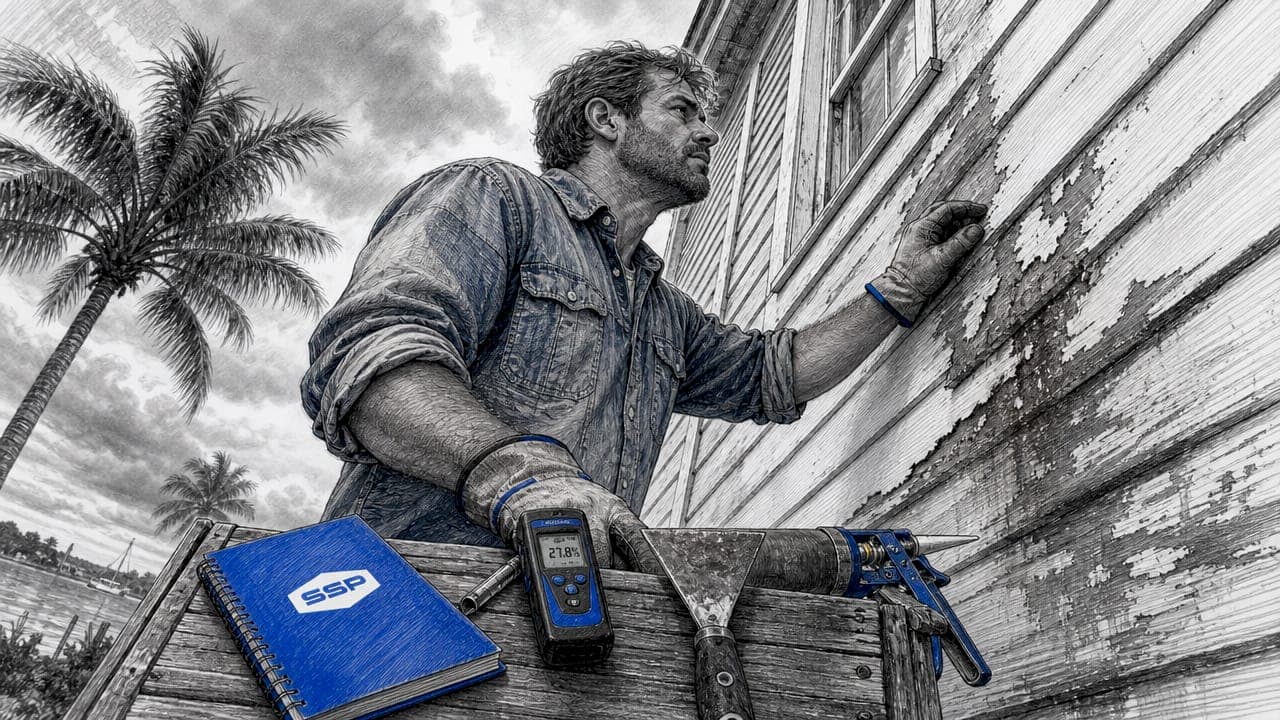
Moisture is the leading cause of exterior paint failure, responsible for about 80% of peeling cases on residential and commercial buildings. The role of moisture in exterior painting goes far beyond surface wetness. Water trapped within walls, absorbed into wood, or present as humidity in the air directly undermines paint adhesion, accelerates blistering, and shortens the life of any finish. Understanding how moisture behaves, how to measure it accurately, and how to control it before you pick up a brush separates a paint job that lasts a decade from one that fails within a season.
How does moisture affect exterior paint adhesion and longevity?
Paint is designed to shed water from the outside. It cannot withstand water pressure from behind. When moisture is trapped beneath a paint film, it builds hydraulic pressure that eventually forces the coating away from the surface, causing peeling and blistering.
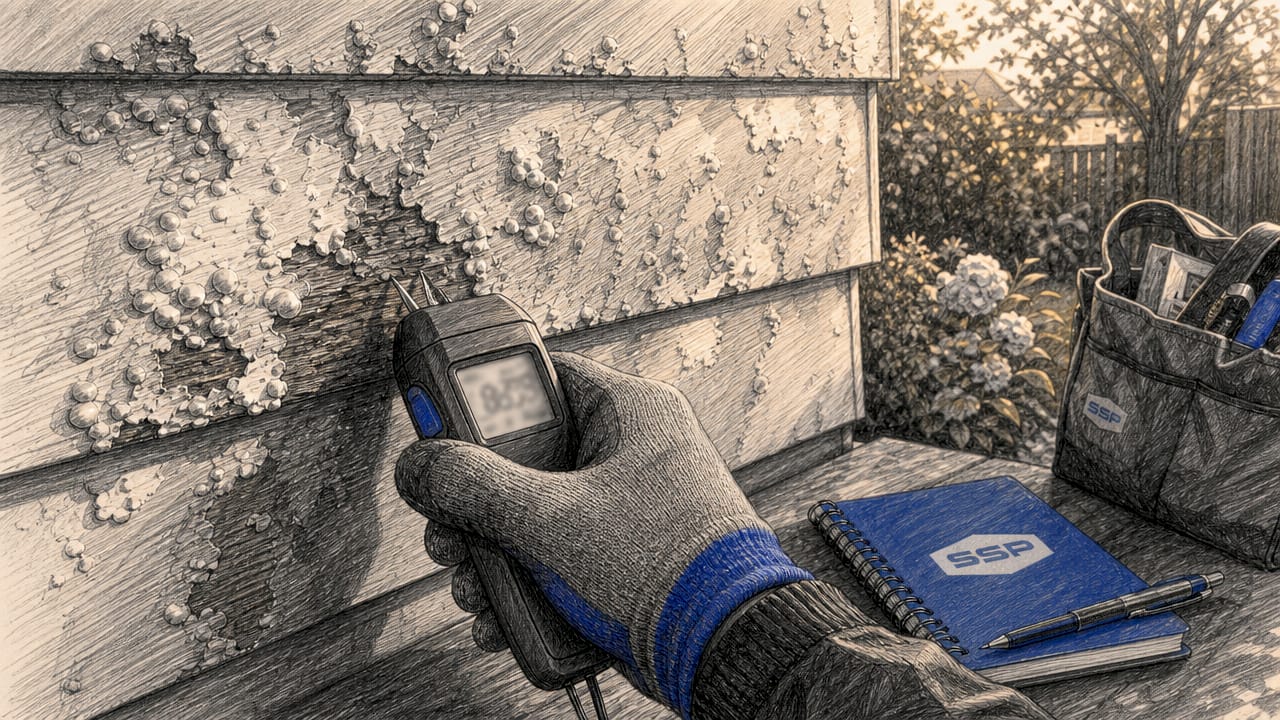
Humidity compounds this problem during application. High humidity traps moisture in the paint film as it dries, slowing the curing process and causing bubbles, streaking, and uneven adhesion. A surface that looks dry to the touch may still hold enough moisture vapor to compromise the bond between primer and substrate.
Paint type matters significantly here. Latex paints allow moisture vapor to pass through the film, which reduces blister risk on most exterior walls. Oil-based paints create a less permeable barrier, which traps moisture behind the film and accelerates failure on walls with any residual dampness. For most exterior applications, latex formulations offer better moisture management.
Environmental factors accelerate the damage further:
- Freeze-thaw cycles force water to expand inside porous surfaces, cracking paint from within
- UV radiation degrades paint resin binders, reducing elasticity and making surfaces more vulnerable to moisture penetration
- Salt air in coastal regions accelerates corrosion of metal substrates and degrades paint adhesion faster than inland climates
- High humidity climates, particularly in the Southeast and Gulf Coast, keep surfaces damp longer and increase the window of risk during application
UV exposure combined with moisture accelerates paint failure at a rate that neither factor achieves alone. This interaction explains why south-facing walls in sunny, humid climates often show the earliest signs of coating breakdown.
What are the common sources and signs of moisture problems in exterior walls?
Moisture enters exterior walls through two primary pathways: bulk water intrusion and vapor drive. Bulk water intrusion is the more obvious of the two. It includes rain penetrating through failed caulking, leaky gutters directing water against siding, and flashing failures around windows, doors, and roof lines.
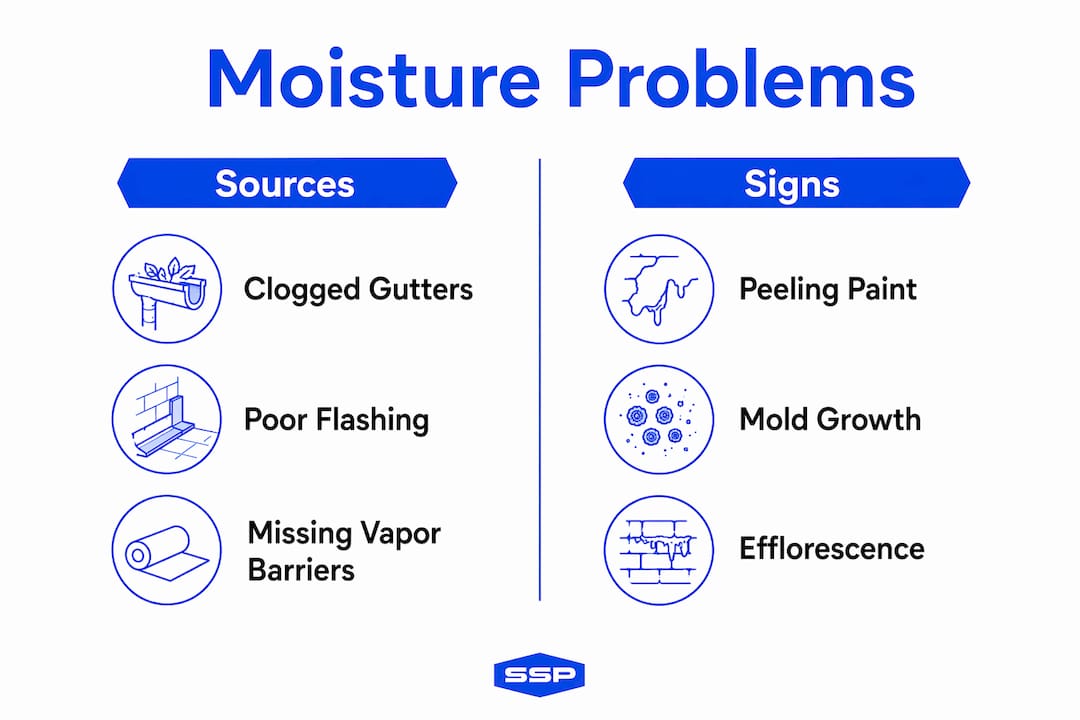
Common moisture intrusion sources include clogged gutters, poor flashing, missing vapor barriers, and condensation from temperature differentials between interior and exterior surfaces. Each of these creates a reservoir of moisture behind the paint film that no amount of surface prep can fix without first addressing the source.
Vapor drive is subtler. Warm, humid interior air moves toward cooler exterior surfaces, carrying moisture with it. Without adequate vapor barriers or ventilation, this vapor condenses inside wall assemblies and saturates the substrate from within.
Recognizing the signs of moisture problems before repainting prevents wasted effort:
- Blistering: Bubbles forming under the paint film, often the first visible sign of trapped moisture
- Peeling: Paint lifting in sheets or flakes, indicating adhesion failure from moisture pressure
- Efflorescence: White, chalky deposits on masonry surfaces caused by water carrying salts to the surface as it evaporates
- Mold or mildew growth: Dark staining that signals persistent moisture and organic contamination
- Discoloration or staining: Water marks or rust streaks indicating ongoing water movement through the substrate
- Chalking: A powdery residue on the surface caused by UV degradation accelerated by moisture cycling
Any one of these signs warrants investigation before repainting. Applying fresh paint over an active moisture problem is the single most common reason homeowners and contractors find themselves repeating the same job within two years.
How to measure moisture content before painting
Accurate moisture measurement is the foundation of proper surface preparation before any exterior paint project. Two types of moisture meters serve this purpose: pin meters and pinless meters.
Pin meters drive two small probes into the surface and measure electrical resistance between them. Higher moisture content reduces resistance and produces a higher reading. Pinless meters use electromagnetic signals to scan below the surface without penetrating it, making them useful for large areas and finished surfaces where probe marks are unacceptable.
Walls with moisture content above 15–16% WME should not be painted. Material-specific thresholds apply: wood should read below 12%, and drywall should read below 16% before painting begins. Exceeding these thresholds produces adhesion failures regardless of paint quality or application technique.
Using a moisture meter correctly requires more than a single reading:
- Calibrate for the material. Most meters include material-specific settings for wood, drywall, and masonry. Using the wrong setting produces inaccurate readings.
- Take multiple readings across the surface. Moisture distribution is rarely uniform. Check corners, areas near windows, and any zone that shows visible staining or discoloration.
- Compare suspect zones to known dry zones. Professionals compare readings from problem areas against clearly dry reference zones on the same structure to establish a reliable baseline.
- Plot a drying curve over several days. A single reading tells you where moisture is today. Readings taken over three to five days reveal whether the surface is actively drying or holding steady at an unsafe level.
- Supplement with a foil test. Tape a 12-inch square of plastic sheeting to the surface and seal all edges. After 24 hours, condensation on the underside of the foil confirms active moisture movement from within the substrate.
Pro Tip: Never rely on a single moisture reading taken the morning of a paint job. A surface that reads acceptable at 8:00 AM after a cool night may have absorbed overnight condensation. Take readings at midday after the surface has had time to dry.
Moisture meters detect hidden moisture that visual inspection misses entirely. A surface can look and feel dry while holding moisture levels that guarantee premature peeling. The meter removes the guesswork that causes most preventable paint failures.
Best surface preparation practices to manage moisture risks
Fixing the moisture source is the first step. Addressing clogged gutters, failed caulking, and venting errors before repainting prevents the same failure from recurring. Cosmetic repairs applied over active moisture intrusion fail quickly, often within one season.
Power washing is the standard first step for removing moisture-related contaminants like mold, mildew, efflorescence, and chalking. Allow the surface to dry completely after washing, typically 48–72 hours depending on temperature and humidity, before taking moisture readings.
Primer selection matters as much as paint selection. Moisture-tolerant primers, including alkyd-modified and masonry-specific formulations, create a stronger bond on surfaces that may retain trace moisture. They also seal porous substrates against vapor drive more effectively than standard primers.
Key preparation steps that prevent moisture-related paint failures:
- Repair all water intrusion points before any surface work begins: gutters, flashing, caulking around windows and penetrations
- Allow adequate drying time after power washing and after any rain, with moisture meter confirmation before proceeding
- Apply a moisture-tolerant primer suited to the substrate, whether wood, masonry, or composite
- Caulk all gaps and joints with a paintable, flexible sealant rated for exterior use
- Time the application to avoid painting in direct sun on hot days, which causes the paint surface to skin over before the underlying film cures
Pro Tip: On masonry surfaces showing efflorescence, treat with a masonry cleaner rated for salt removal before priming. Painting over efflorescence without treatment causes the new coating to fail at the same spots within months.
The surface condition directly determines how long any paint job lasts. Skipping preparation steps to save time is the most expensive decision a homeowner or contractor can make on an exterior project.
How do weather conditions and climate affect moisture-related paint challenges?
Climate determines the baseline moisture risk for any exterior painting project. High humidity climates trap moisture behind paint films, causing blistering, while freeze-thaw cycles in colder regions cause cracking and delamination as water expands inside porous substrates.
Regional climate shapes both the timing and the product choices for exterior painting:
| Climate Type | Primary Moisture Risk | Recommended Timing |
|---|---|---|
| High humidity (Southeast, Gulf Coast) | Blistering, mold growth | Late spring or early fall, low dew point days |
| Freeze-thaw (Northeast, Midwest) | Cracking, delamination | Late spring through early fall only |
| Arid (Southwest) | UV degradation, surface cracking | Spring or fall to avoid extreme heat |
| Coastal (salt air) | Corrosion, adhesion loss | Dry periods with low wind |
Seasonal timing is the most controllable weather variable. Painting during moderate temperatures, generally between 50°F and 85°F, with relative humidity below 70%, gives paint the best conditions to cure properly. Morning dew and evening condensation extend the effective drying window on both ends of the day, so midday application on dry days produces the most reliable results.
The impact of moisture on exterior finishes compounds over time in any climate. A paint job applied under poor moisture conditions may look acceptable for the first season and then deteriorate rapidly as the compromised adhesion gives way under weather cycling.
Key Takeaways
Moisture control is the single most critical factor in exterior paint durability, and no amount of premium paint compensates for a wet or improperly prepared surface.
| Point | Details |
|---|---|
| Moisture causes most failures | About 80% of exterior paint peeling traces back to moisture, making it the top cause of coating failure. |
| Measure before you paint | Wood must read below 12% and drywall below 16% moisture content before any coating is applied. |
| Fix the source first | Repainting over active moisture intrusion without repairing gutters, flashing, or caulking guarantees repeat failure. |
| Latex outperforms oil in moisture management | Latex paints allow vapor to pass through the film, reducing blister risk on most exterior surfaces. |
| Climate shapes your timing | Painting in moderate temperatures with humidity below 70% gives coatings the best conditions to cure and bond. |
What I've learned from watching moisture destroy good paint jobs
After seeing hundreds of exterior paint projects, the pattern that repeats most often is this: a homeowner or contractor skips the moisture check, applies quality paint to a surface that reads acceptable by eye, and calls the job done. Twelve months later, the peeling starts.
The mistake is not laziness. It's a misunderstanding of what paint actually does. Paint is a surface coating, not a waterproofing membrane. It cannot stop water that is already moving through a wall from the inside. When I see blistering on a freshly painted surface, my first question is always about the moisture source, not the paint brand.
The foil test is underused. It costs nothing and takes 24 hours. Taping a sheet of plastic to a wall and checking for condensation the next morning tells you more about active moisture movement than any visual inspection. Contractors who skip this step are guessing. Guessing on moisture is how you end up repainting the same wall twice.
The other observation worth sharing: moisture meters are only as useful as the person reading them. A single reading taken at the wrong time of day, without material calibration, in only one spot on the wall, is nearly meaningless. The drying curve method, taking readings over multiple days and plotting the trend, is what separates a professional assessment from a checkbox exercise.
Preparation is where the real work happens. The painting itself is straightforward once the surface is genuinely ready.
— Ryan
Southshorepaint's approach to moisture-aware exterior painting
Exterior painting done right starts well before the first coat goes on. At Southshorepaint, every exterior project begins with a thorough assessment of surface conditions, including moisture readings, identification of water intrusion points, and a preparation plan built around what the surface actually needs.

Southshorepaint specializes in exterior painting services built on proper prep and premium materials, not shortcuts. Whether you are dealing with a moisture-damaged surface that needs remediation before repainting, or planning a new exterior project and want it done correctly the first time, Southshorepaint brings the expertise to assess, prepare, and finish surfaces that hold up for years. Reach out to discuss your project and get guidance on the right approach for your specific conditions.
FAQ
What causes paint to peel on exterior walls?
Moisture is the cause of about 80% of exterior paint peeling. Water trapped behind the paint film builds pressure that forces the coating away from the surface.
What humidity level is safe for exterior painting?
Relative humidity below 70% is the standard threshold for exterior painting. High humidity slows drying, traps moisture in the film, and causes bubbling and poor adhesion.
How do I know if a wall is dry enough to paint?
Use a calibrated moisture meter and confirm the reading falls below the material threshold: below 12% for wood and below 16% for drywall or masonry. A drying curve over several days provides more reliable confirmation than a single reading.
Does paint type matter for moisture management?
Yes. Latex paints allow moisture vapor to pass through the film, which reduces blistering risk. Oil-based paints trap moisture behind the film and are more prone to failure on damp surfaces.
Can I paint over a wall that shows efflorescence or mold?
No. Efflorescence and mold indicate active moisture movement or contamination. Both must be treated and the moisture source resolved before any primer or paint is applied, or the new coating will fail at the same locations.