
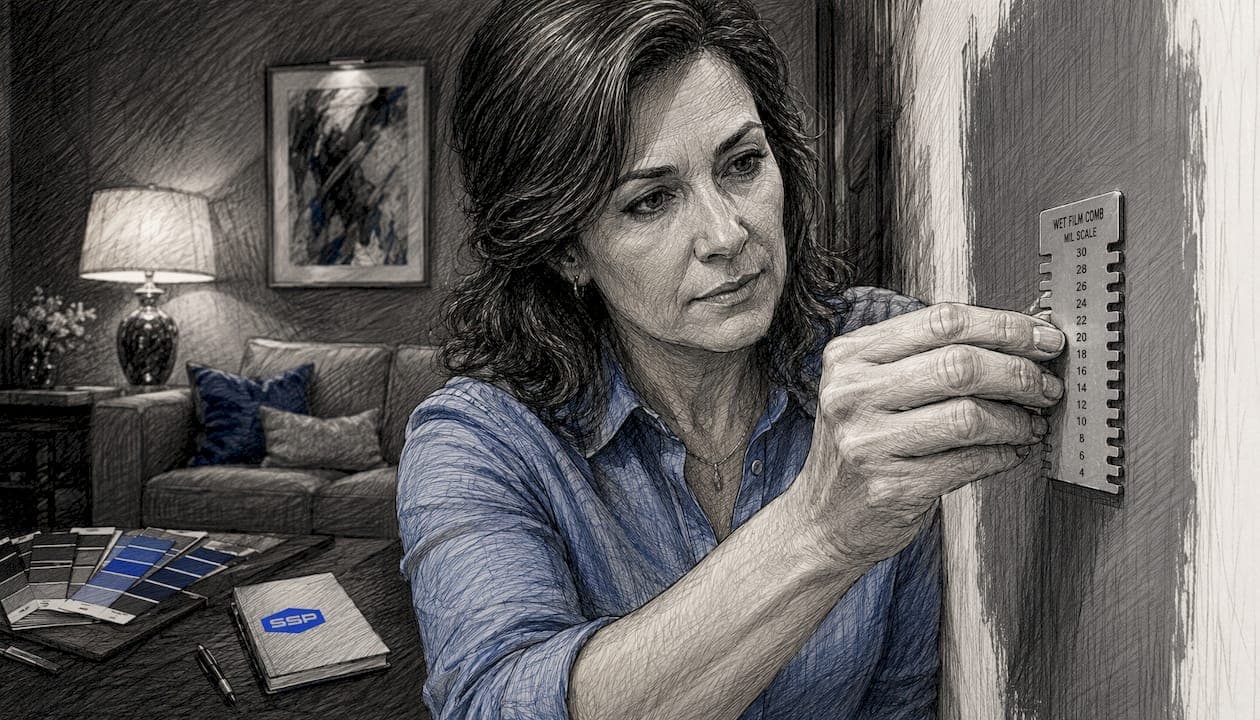
Paint thickness controls protection, coverage, and the long-term appearance of every interior and exterior surface in your home. Get it wrong in either direction and you're looking at premature failure, wasted material, or a finish that simply doesn't hold up. The two objective benchmarks professionals use are the paint manufacturer's Technical Data Sheet (TDS) and PCA acceptance criteria, which set spot and average minimums for inspected work.
Three things homeowners and property managers should know upfront:
- The TDS specifies the exact wet-film and dry-film thickness required for the product you're paying for.
- PCA P13 defines acceptance: any single spot must reach at least 80% of the specified dry-film thickness, and the project average must hit 95%.
- Thickness affects durability, appearance, and cost simultaneously — not one at a time.
Table of Contents
- What does paint thickness actually mean?
- Why the role of paint thickness goes beyond appearance
- What goes wrong when film thickness is off
- How to determine the correct thickness for your project
- How pros measure film thickness and what to request
- Proven techniques for consistent film build
- How paint thickness affects cost and project timeline
- When should you hire a professional for film build accuracy?
- Key Takeaways
- Why "more paint" is rarely the right answer
- Southshorepaint's process for verified film build
- Useful sources
What does paint thickness actually mean?
Paint thickness is measured at two stages: wet-film thickness (WFT), taken immediately after application, and dry-film thickness (DFT), measured after the film has cured. Both matter because WFT tells you what's going on during application, while DFT confirms what protection and coverage you actually got.
The unit you'll see on most TDS documents is the mil (one thousandth of an inch). One mil equals 25.4 microns, so 10 mils equals 250 microns. Converting WFT to DFT is straightforward: multiply WFT by the paint's percent solids by volume. A product with 50% solids applied at 8 mils WFT yields a 4-mil DFT. That math, explained by trade sources, is how contractors estimate material quantities and coat counts before a single drop hits the wall.
Residential exterior topcoats commonly fall in a typical range per coat, though specialized products like elastomerics require thicker films. The manufacturer TDS, not a general rule of thumb, controls the actual requirement for any specific product.
Key measurement tools:
- Wet-film comb (gauge): A notched metal or plastic comb pressed into fresh paint; the highest notch that contacts the film indicates WFT.
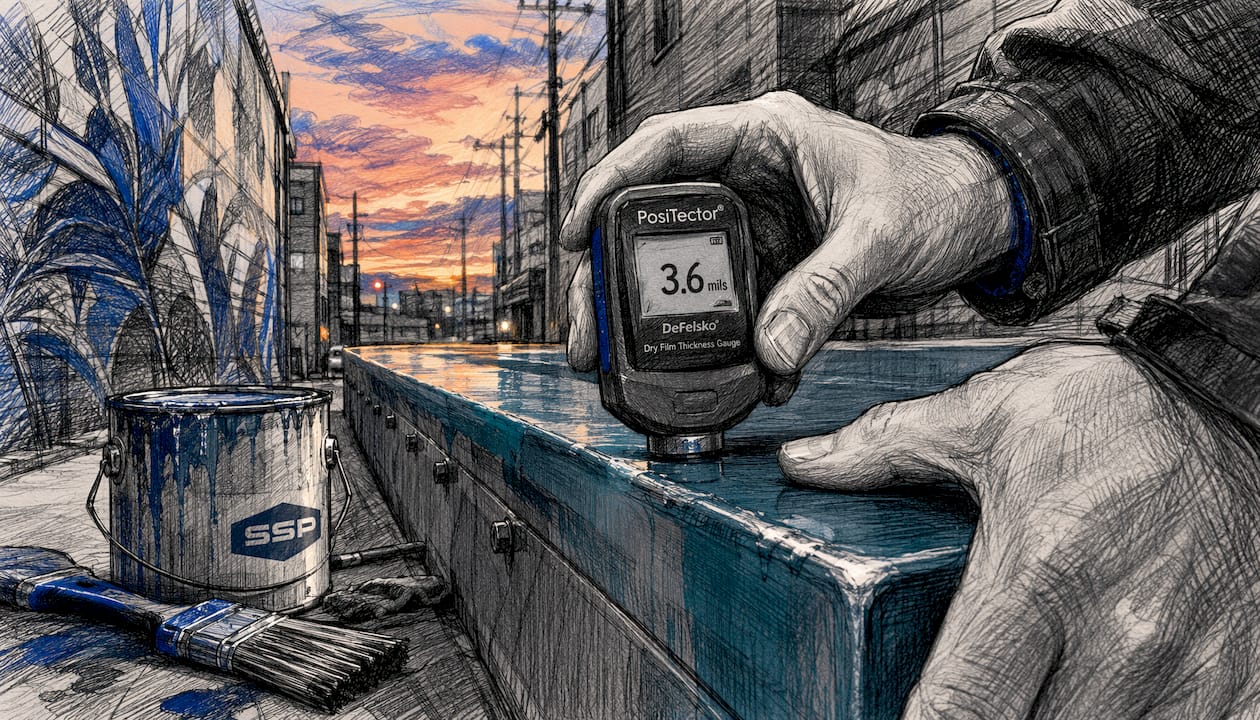
- Dry-film thickness gauge: A nondestructive electronic instrument used after curing; magnetic gauges work on steel, eddy-current gauges on nonferrous metals.
Why the role of paint thickness goes beyond appearance
Thickness affects two distinct outcomes that homeowners often treat as separate concerns: how the surface looks and how long it lasts. They're connected.
On interiors, the primary priorities are hide (full coverage of the substrate color), sheen uniformity, and scrub resistance. A film that's too thin leaves the substrate color telegraphing through, produces uneven sheen, and wears through faster under routine cleaning. On exteriors, the stakes are higher: the paint film is the primary moisture and UV barrier. An under-built exterior film allows water infiltration, accelerates mildew growth, and exposes wood or masonry to freeze-thaw damage.
Metal surfaces add a corrosion dimension. A properly specified DFT on ferrous metal creates the barrier that slows oxidation; a thin spot is where rust starts. The impact of paint thickness on barrier performance is why industrial and commercial specifications often call for higher DFTs than residential work — though homeowners should not assume thicker is always better for their project.
Pro Tip: When getting estimates, ask each contractor: "Which TDS are you following, and what DFT and coat count does it specify?" A contractor who can answer that question without hesitation is working from a real specification, not a habit.
What goes wrong when film thickness is off
Both directions — too thin and too thick — produce recognizable defects. Knowing them helps you catch problems during or right after a project.
Too thin:
- Holidays (missed or bare areas) visible under raking light
- Poor hide, with the previous color or substrate showing through
- Faster erosion, chalking, and mildew on exteriors
- Reduced scrub resistance on interior walls
Too thick:
- Runs and sags on vertical surfaces, especially around trim
- Orange peel texture from excessive film weight
- Mud cracking as the surface skin cures before the underlying material releases solvents
- Delamination in cross-linked coatings like epoxies, where internal stresses from trapped solvents cause the film to lift
Environmental factors amplify both failure modes. High humidity during application can make films thinner than intended and slow curing, weakening adhesion even when the applicator's technique is correct. Temperature extremes push the same risks in different directions.
Quick inspection checklist for homeowners:
- Check under raking light for holidays or thin spots
- Look at sheen consistency across large flat areas
- Inspect corners, edges, and trim for runs or sags
- Press a fingernail lightly on a cured surface — a film that dents easily may be under-built
How to determine the correct thickness for your project
The first rule is simple: read the TDS. Every reputable paint manufacturer — Sherwin-Williams, Benjamin Moore, and others — publishes a TDS for each product that specifies WFT, DFT, spread rate, and recoat windows. That document removes subjectivity from the conversation.
From the spread rate, you can estimate coat count. If a product covers 400 square feet per gallon at the specified DFT, and your room has 800 square feet of wall area, you need at least two gallons per coat before accounting for waste and texture absorption. Add coats until the cumulative DFT meets the TDS target.
Research note: Durability gains for atmospheric coating systems flatten out around 250 microns (10 mils) total DFT. Beyond that threshold, additional thickness does not meaningfully extend service life for residential applications — follow the TDS rather than assuming more is better.
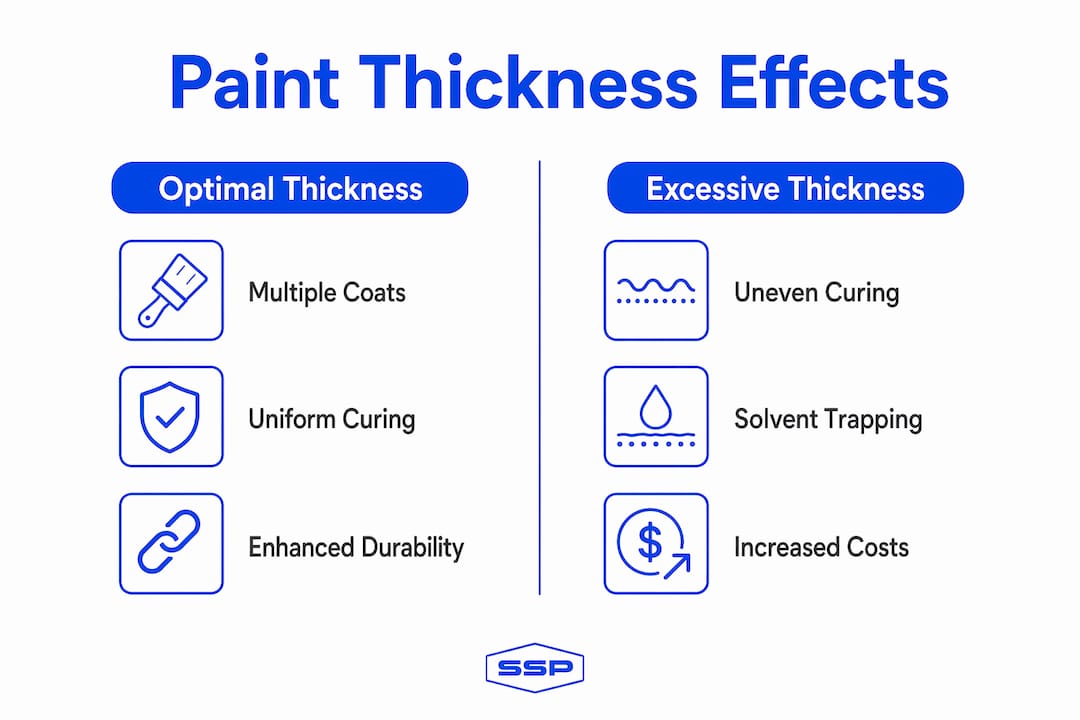
Multiple thinner coats consistently outperform a single heavy coat. Heavy single applications risk uneven curing and trapped solvents that reduce adhesion, even when the total film weight looks correct on paper.
Pro Tip: Target the TDS-specified DFT across two or three coats rather than trying to hit it in one pass. Each coat bonds to a properly prepared surface; stacking thin coats builds a more cohesive film than a single heavy application.
How pros measure film thickness and what to request
PCA P13 defines the measurement protocol professionals follow: one spot measurement per 100 square feet, with each spot consisting of multiple readings averaged together. Acceptance requires that no individual spot fall below 80% of the specified DFT, and that the overall project average reach at least 95%.
| Measurement Stage | Tool | Substrate | When Used |
|---|---|---|---|
| During application | Wet-film comb | Any fresh paint | Immediately after each coat |
| After cure | Magnetic DFT gauge | Steel/ferrous | After full cure |
| After cure | Eddy-current gauge | Aluminum/nonferrous | After full cure |
| After cure | Coated-board test | Drywall/masonry | When electronic gauges aren't suitable |
Instruments must be calibrated before use. On architectural interiors, nondestructive methods are preferred to avoid damaging the finished surface.
What to ask your contractor:
- When during the project will thickness measurements be taken?
- Who provides the calibrated gauge, and can you see the calibration record?
- Will you receive a written spot-measurement log at project completion?
- Is a benchmark sample panel available for color and sheen reference?
Pro Tip: Request that wet-film readings be taken during the first coat on a representative wall section. That one step catches application problems before they're locked under additional coats.
Proven techniques for consistent film build
Achieving correct film build depends on applicator choice, mixing discipline, and environment control — not just the paint itself. Contractors working on interior walls and exterior surfaces use different tools for a reason: a 3/8-inch nap roller deposits a different WFT than a 1/2-inch nap roller on the same surface, and airless spray requires careful tip selection to hit the specified mil range.
Step sequence for common residential projects:
- Surface prep: clean, sand, fill, and prime per TDS requirements.
- Primer coat: apply at specified WFT; take wet-film readings on a sample area.
- First topcoat: apply at TDS-specified WFT; allow full flash time before recoating.
- Second topcoat: apply and verify DFT with a calibrated gauge after cure.
- Final inspection: check under raking light and document spot readings.
Mixing and environment rules:
- Thin only per manufacturer directions; over-thinning drops solids content and reduces achievable DFT.
- Apply between the temperature and humidity limits stated on the TDS — typically 50–90°F and below 85% relative humidity for most latex products.
- Allow adequate ventilation to support solvent release and proper film formation.
For trim and doors, where film build affects both appearance and defect visibility, correct film thickness is especially critical — runs and orange peel are far more obvious on flat, glossy trim than on textured walls.
How paint thickness affects cost and project timeline
Required DFT directly drives material consumption and labor hours. More coats mean more material, more setup and cleanup cycles, and longer flash times between passes. A project that genuinely requires three coats to reach the specified DFT costs more than a two-coat job — and that's a legitimate cost, not padding.
| Scenario | Coat Count | Timeline Impact | Cost Driver |
|---|---|---|---|
| TDS-specified two-coat system | 2 | Standard recoat window per TDS | Material + labor for two full passes |
| Under-built (one heavy coat) | 1 | Shorter schedule, higher failure risk | Lower upfront; rework likely |
| Three-coat system (primer + 2 topcoats) | 3 | Adds one full flash/dry cycle | Higher material and labor; longer durability |
The false economy of a single heavy coat is well documented: heavy films cure unevenly, trap solvents, and often require remedial work within a year or two. When comparing bids, ask each contractor to show the coat count and DFT target from the TDS — a lower bid that omits a required coat is not a savings.
For scheduling guidance that accounts for drying and flash times across multiple coats, planning your project timeline carefully prevents the rushed recoating that causes adhesion failures.
When should you hire a professional for film build accuracy?
Some projects genuinely require professional measurement and specification: exterior surfaces with direct weather exposure, corrosion-prone metal substrates, surfaces under a manufacturer or contractor warranty, and any project where a property manager needs documented acceptance records. The risks of DIY painting on these substrates go well beyond aesthetics.
Exact questions to ask during an estimate:
- Which TDS are you following for this product?
- What WFT and DFT does that TDS specify, and how many coats will you apply?
- Will you take spot measurements and provide a written log?
- How is your gauge calibrated, and can I see that documentation?
Red flags to watch for:
- Vague answers like "we always do two coats" with no reference to a TDS
- Refusal to take measurements or provide documentation
- No mention of surface prep requirements before discussing coat count
Documents to request and keep:
- Copy of the TDS for each product used
- Spot-measurement log with instrument calibration record
- Final acceptance sign-off referencing PCA P13 benchmarks
Key Takeaways
Correct paint film thickness, verified against the manufacturer's TDS and PCA P13 benchmarks, is the single most reliable predictor of how long and how well a paint job performs.
| Point | Details |
|---|---|
| Follow the TDS | The manufacturer's Technical Data Sheet specifies the required WFT, DFT, and coat count for every product. |
| Use multiple thin coats | Two or three coats reaching the DFT target outperform one heavy coat in adhesion and cure quality. |
| Know the durability ceiling | Durability gains flatten around 250 microns (10 mils) for atmospheric systems; more thickness beyond that doesn't extend service life. |
| Request spot measurements | PCA P13 requires one spot per 100 sq ft; no spot below 80% of specified DFT, project average at 95%. |
| Southshorepaint's approach | Southshorepaint specifies DFT from the TDS, measures during and after application, and provides documented acceptance records. |
Why "more paint" is rarely the right answer
The most persistent misconception in residential painting is that a thicker coat means a better result. It's understandable — more material feels like more protection. But the evidence points the other way: durability improvements plateau well before most homeowners imagine, and excessive film build introduces its own failure modes that are expensive to remediate.
What actually separates a durable paint job from a mediocre one isn't the total volume of paint applied. It's whether the film was built correctly — the right product, at the right thickness, in the right conditions, on a properly prepared surface. A contractor who references the TDS, takes wet-film readings during application, and documents DFT at completion is doing something qualitatively different from one who eyeballs two coats and calls it done.
The homeowners and property managers who get the best long-term value from a paint project are the ones who ask the right questions before the first drop hits the wall. Thickness specs, coat counts, and measurement protocols aren't bureaucratic details — they're the difference between a finish that lasts a decade and one that needs attention in three years.
Southshorepaint's process for verified film build
Southshorepaint builds every project around TDS-specified DFT targets, not guesswork. The process starts at the estimate: the product TDS is reviewed, the required coat count is confirmed, and the expected DFT range is documented before work begins. During application, wet-film readings are taken on representative surfaces so problems are caught early. After cure, calibrated dry-film gauges verify that the finished work meets PCA P13 acceptance benchmarks, and homeowners receive written documentation they can keep with their property records.

That documentation matters especially for property managers who need proof of acceptance for warranty purposes or future maintenance planning. If you want a quote that includes a written film-thickness specification and post-project measurement log, request a free estimate from Southshorepaint. The team brings calibrated instruments and TDS-driven specs to every residential and commercial project.
Useful sources
- PCA P13 Industry Standards: Defines spot-measurement protocols, acceptance thresholds (80% spot / 95% average), and instrument calibration requirements for DFT inspection.
- Dry Film Thickness: Is More Coating Always Better?: Peer-reviewed analysis of durability as a function of DFT for atmospheric and immersion coating systems; source for the 250-micron threshold finding.
- Getting the Job Done Through Thick or Thin (inPAINT): Trade-level coverage of WFT-to-DFT conversion math, measurement tools, and common defects from incorrect film build.
- Film Thickness: The Hidden Reason Paint Fails Early (Paint Sprayer Zone): Practical explanation of how humidity, temperature, and surface prep affect film consistency and adhesion.
- Thin Coats: Painting's Biggest Mistake? (CyPaint): Industry perspective on why multiple thin coats outperform single heavy applications for curing and adhesion.
- Best Painting Practices 2026: A Homeowner's Guide (Southshorepaint): Operational guidance on coat sequencing, applicator selection, and environment control for residential projects.