
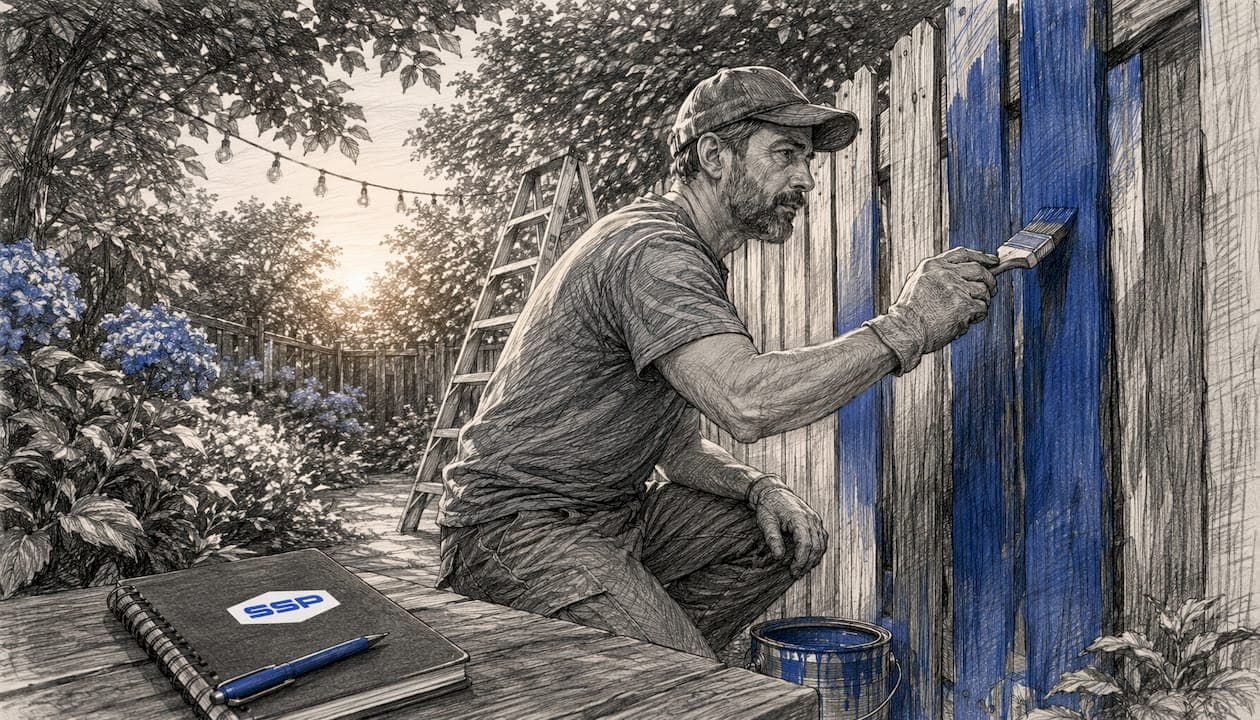
What is fence painting, and which paints work for each material?
Fence painting is the process of applying exterior-grade protective and decorative coatings to fences made from wood, metal, or vinyl. The goal goes beyond aesthetics: a properly applied paint system acts as a barrier against moisture infiltration, UV degradation, rot, and insect damage, extending the functional life of the fence by years. Paint protects fences from rot, insects, and environmental damage when done with proper prep and quality materials.
Selecting the right paint type for the fence material is where most homeowners make their first mistake. Here is what each material actually requires:
- Wood fences: Latex (water-based) paint is the most common choice because it resists cracking as wood expands and contracts seasonally. Oil-based paints offer a harder finish and deeper penetration into porous wood grain, though they take longer to dry and require solvent cleanup. Either way, a dedicated exterior wood primer is non-negotiable on bare or weathered wood.
- Metal and aluminum fences: Enamel or epoxy-based paints bond to metal surfaces and resist corrosion. A rust-inhibiting primer must go on first, especially for wrought iron, which is prone to oxidation. Skipping the primer on metal is the single most common reason metal fence paint fails within a season.
- Vinyl fences: Most vinyl does not hold paint well without an adhesive primer. Epoxy-based acrylic paint is the standard recommendation. Homeowners should also verify that painting will not void the fence's manufacturer warranty before proceeding.
Paint delivers a uniform, opaque finish with a wide range of color options. It creates a thicker moisture barrier than stain, which makes it particularly effective in humid or rainy climates. The trade-off is that paint eventually chips and peels, requiring more intensive maintenance than stain over the long term.
Table of Contents
- How to paint a fence from start to finish
- Should you paint or stain your fence?
- Preparation and timing tips that determine how long your paint lasts
- Southshorepaint delivers the prep-first results your fence actually needs
- Key Takeaways
How to paint a fence from start to finish
A successful fence paint job depends far more on preparation than on the paint itself. Rushing through prep is the primary reason paint peels within a year or two.
What you will need
According to Lowe's fence painting guidance, homeowners should budget for these tools and materials:
- Wide nylon/polyester brushes (3–4 inches) for cutting in and detail work
- Rollers with a medium-nap sleeve for flat board sections
- A paint sprayer for large fence runs (speeds up application significantly)
- Drop cloths to protect plants, concrete, and adjacent surfaces
- Sandpaper (80–120 grit) and a sanding block or orbital sander
- Exterior wood or metal primer appropriate to the fence material
- Exterior-grade latex or enamel paint in the chosen finish
- A garden hose or pressure washer for initial cleaning
Step-by-step process
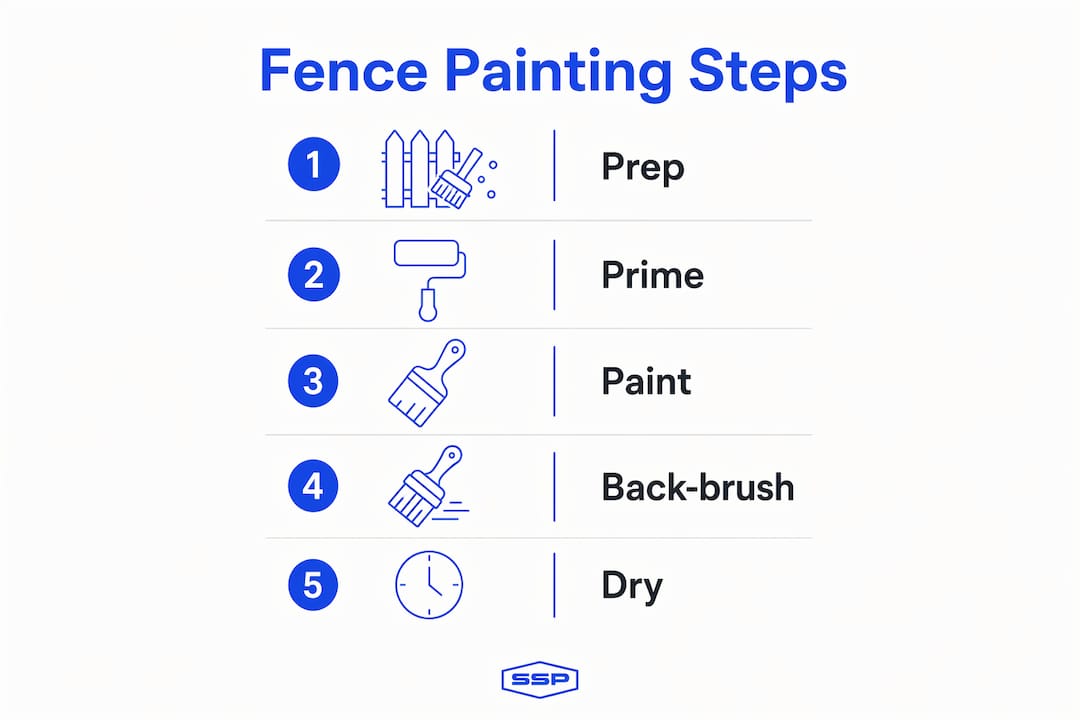
- Inspect and repair. Check every board, post, and rail for rot, cracks, or loose fasteners. Replace damaged sections before painting; paint will not stabilize structurally compromised wood.
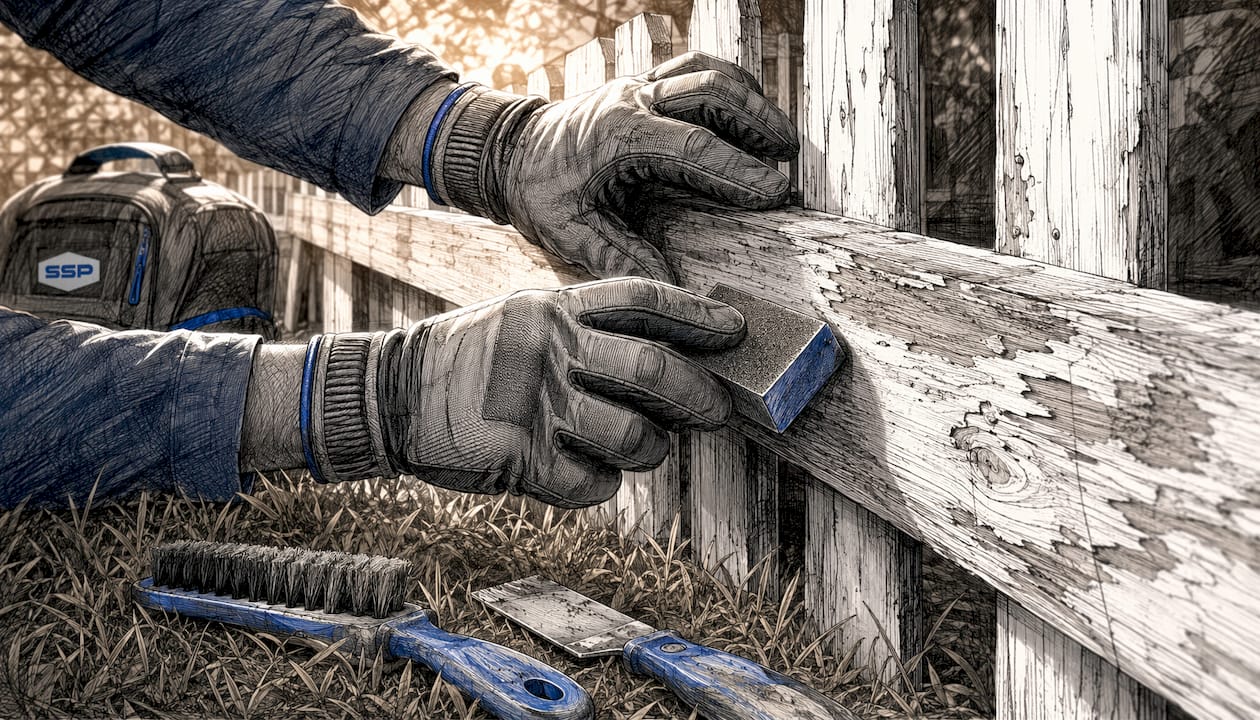
- Scrape and sand. Remove all peeling or flaking paint with a scraper, then sand to bare wood on any affected areas. Feather the edges so the transition between bare wood and intact paint is smooth.
- Clean the surface. Wash the entire fence with a cleaning solution or a pressure washer to remove dirt, mildew, and chalky residue. Allow it to dry completely before moving on.
- Prime. Apply a coat of exterior primer to all bare wood, metal, or vinyl surfaces. On weathered wood, primer dramatically improves adhesion and finish longevity.
- Apply the first coat. Work from top to bottom. Paint horizontal rails and cross members before moving to vertical pickets. This order prevents drips from landing on freshly painted surfaces below.
- Back-brush after spraying. If using a sprayer, back-brush every few feet immediately after applying. This forces paint into the wood grain and eliminates lap marks, producing a finish that looks hand-applied and adheres far better.
- Allow proper drying time, then apply a second coat. Most exterior paints require at least 4 hours between coats; check the manufacturer's label. Two coats are standard for full coverage and durability.
- Touch up and clean up. Inspect for thin spots, drips, or missed areas once the final coat dries. Address them with a brush before removing drop cloths and cleaning tools.
For wire or lattice fences, paint thinning and overspray protection are worth the extra effort to get even coverage on intricate surfaces.
Should you paint or stain your fence?
The paint-versus-stain decision comes down to five factors: durability, appearance, maintenance effort, fence material compatibility, and moisture protection. Neither option is universally better; the right choice depends on what the fence is made of and where it lives.
| Factor | Paint | Stain |
|---|---|---|
| Durability | Lasts several years before repainting; chips and peels over time | Fades gradually; no chipping or peeling |
| Appearance | Uniform, opaque finish; wide color range | Preserves natural wood grain; limited color options |
| Maintenance effort | Labor-intensive when it fails; requires scraping and sanding | Easier recoating with minimal prep |
| Material compatibility | Wood, metal, and vinyl | Wood only (stain does not bond to metal or vinyl) |
| Moisture protection | Strong barrier; better in wet climates | Breathable; better in dry, sunny climates |
Paint advantages:
- Covers imperfections and discoloration completely
- Stronger moisture seal for rainy or coastal environments
- Works on all three major fence materials
Paint disadvantages:
- Requires stripping down to bare wood when it fails
- More prep time and product cost upfront
Stain advantages:
- Ages gracefully without peeling
- Faster reapplication every few years with minimal surface prep
- Lets natural wood character show through
Stain disadvantages:
- Not suitable for metal or vinyl
- Fewer color options; transparent finishes offer limited UV protection
Climate is a deciding factor many homeowners overlook. In damp, rainy regions, paint outperforms stain as a moisture-sealing barrier. In dry, sunny climates, stain's flexibility and breathability prevent the cracking that paint is prone to under intense UV exposure. For pool deck staining and similar exterior surfaces in high-sun environments, the same logic applies: breathable finishes tend to hold up better where heat and UV are the primary stressors.
Preparation and timing tips that determine how long your paint lasts
Surface preparation and project timing are where professional results separate from amateur ones. Getting both right is not complicated, but skipping either step reliably leads to premature failure.
Critical prep steps:
- Scrape all peeling paint back to bare wood; do not paint over loose material
- Sand bare sections smooth and feather edges to avoid visible ridges under the new coat
- Clean the entire fence surface to remove mildew, dirt, and chalky residue
- Prime every bare or weathered area before topcoating; primer improves adhesion and finish longevity significantly
Moisture management: Trapped moisture is one of the most common causes of early paint failure. If you power wash the fence, allow it to dry fully, typically 24–48 hours depending on conditions, before applying any primer or paint. Painting over damp wood causes bubbles and premature peeling that no amount of quality paint can prevent.
Timing your project: Paint in temperatures between 35°F and 100°F with low humidity, and plan for a continuous 36-hour dry window after application. Painting ahead of rain or in high humidity traps moisture under the film and undermines adhesion. A simple test: splash water on the fence boards. If it beads up, the surface still has enough residual sealer or moisture to resist new paint.
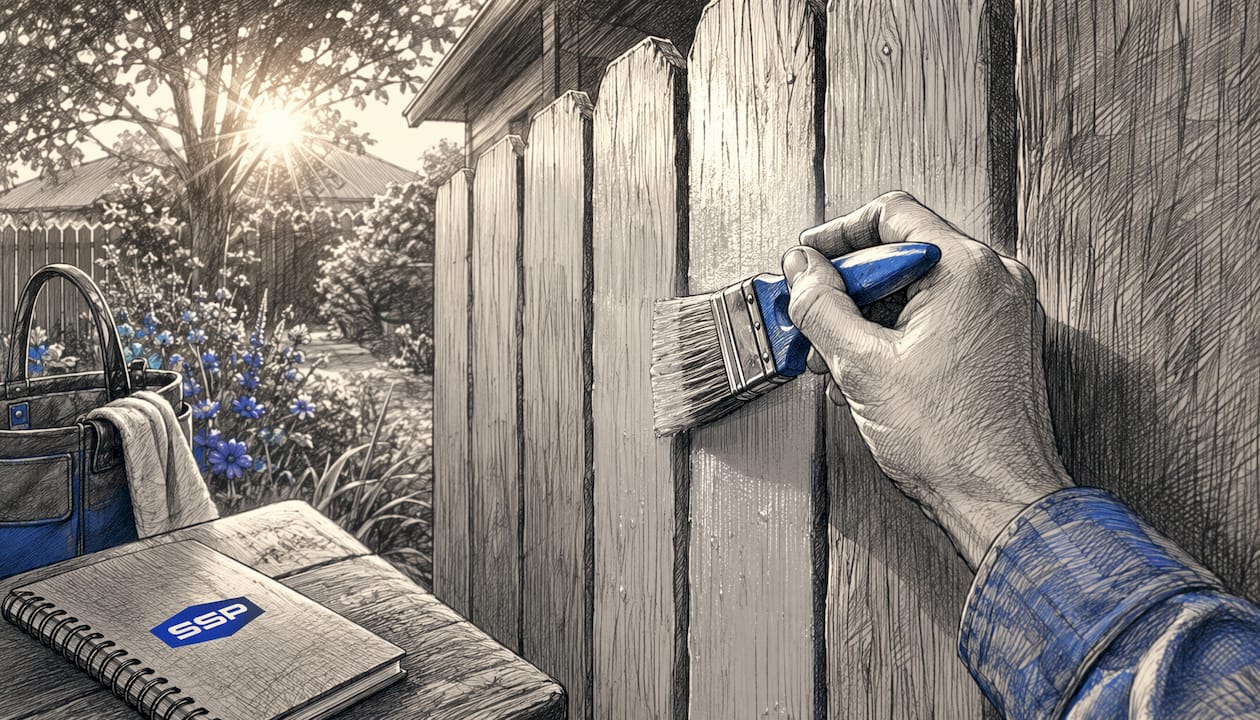
Pro Tip: After spraying a section, immediately back-brush the wet paint with a wide brush. This technique forces the coating into wood grain and surface irregularities, eliminating lap marks and producing a finish that bonds more durably than spray-only application.
For a deeper look at how weather patterns affect exterior paint performance, South Bay weather and paint jobs covers the specific conditions that most affect adhesion and curing. Proper exterior surface prep is equally worth reviewing before you start any fence project.
Southshorepaint delivers the prep-first results your fence actually needs
Most fence paint failures trace back to one thing: shortcuts on preparation. Southshorepaint was built around the opposite philosophy. Every project starts with thorough surface assessment, proper scraping and sanding, and the right primer for the material, whether that is bare wood, weathered metal, or aging vinyl.

For homeowners who want a fence that holds its finish for years rather than seasons, Southshorepaint brings professional-grade prep, premium exterior coatings, and the workmanship to apply them correctly the first time. No guesswork on paint selection, no skipped primer coats, no rushed drying times. The result is a finish that looks sharp and actually lasts.
Ready to get a durable, professional finish on your fence? Get a quote from Southshorepaint and find out what proper prep and quality materials can do for your property.
Key Takeaways
Fence painting done right requires the correct paint for the material, thorough surface preparation, and application in the right weather window to deliver a finish that protects and lasts.
| Point | Details |
|---|---|
| Match paint to material | Wood takes latex or oil-based paint; metal needs enamel with rust-inhibiting primer; vinyl requires adhesive primer and epoxy-based acrylic. |
| Prep determines longevity | Scraping, sanding, cleaning, and priming before painting prevents premature peeling and adhesion failure. |
| Paint vs. stain by climate | Paint is the stronger moisture barrier in wet climates; stain performs better in dry, sunny regions where breathability matters. |
| Timing and temperature matter | Paint between 35°F and 100°F with low humidity, and allow a 36-hour dry window after application for proper curing. |
| Southshorepaint's approach | Southshorepaint prioritizes prep-first workmanship and premium exterior coatings for fence and exterior projects that hold their finish for years. |