
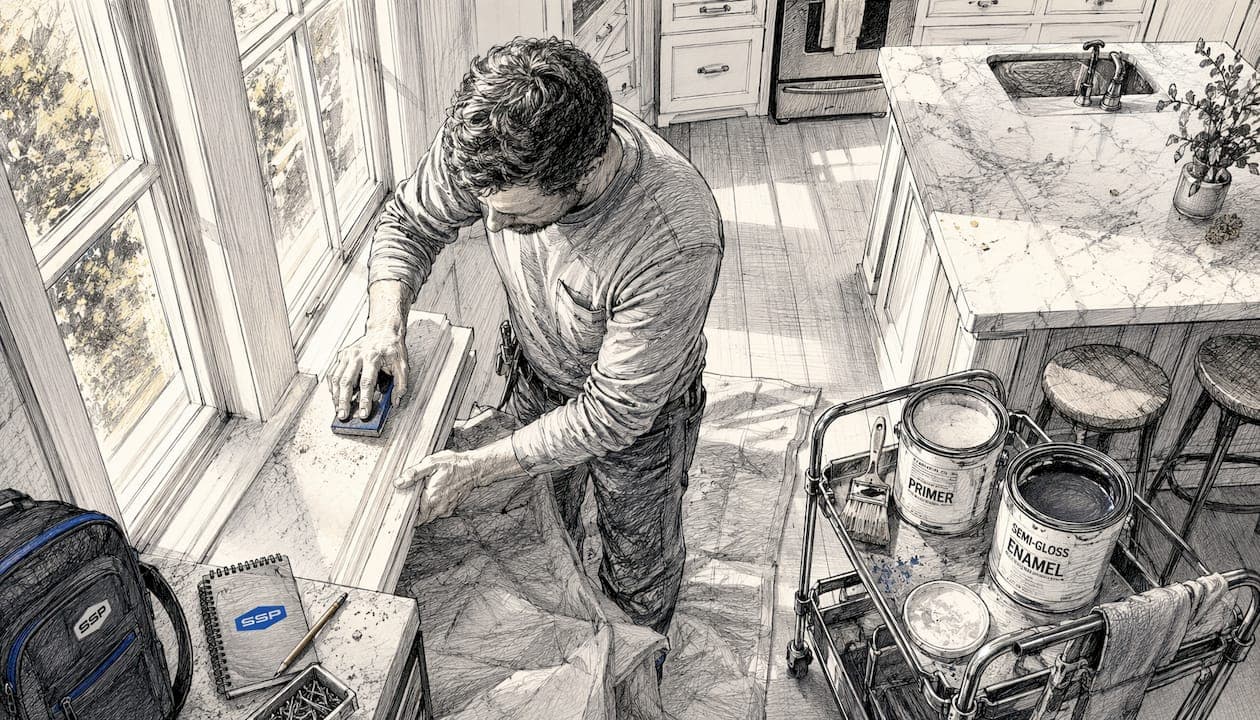
Trim painting is the application of durable, high-sheen enamel to the architectural details of a home, including baseboards, window casings, door frames, and crown molding. Unlike standard wall paint, trim paint is formulated to cure into a hard, washable shell that resists scuffs, moisture, and the daily contact these surfaces endure. The result is a clean, defined frame around every wall, window, and doorway that makes a room feel finished and professionally done.
Think of trim as the frame around a painting. Even a beautifully painted wall loses its visual impact when the surrounding trim is chipped, yellowed, or dull. Specialized trim paint addresses this directly: it levels out brush marks as it dries, resists blocking when doors close against freshly painted frames, and holds its color far longer than any wall paint applied to the same surface.
The key properties that separate trim paint from wall paint:
- Hardness: Cures to a film tough enough to handle repeated scrubbing and contact
- Self-leveling: Flows out after application so brush marks soften and disappear
- Washability: Higher sheen resists handprints and grime without burnishing
- Blocking resistance: Prevents doors and windows from sticking to freshly painted frames
- Durability: Maintains appearance under the wear that baseboards and door edges take daily
What surfaces does trim painting actually cover?
Trim painting applies to a wider range of surfaces than most homeowners initially realize. Recognizing each surface type matters because material and condition determine which prep steps and paint formulas will perform best.
Interior trim surfaces:
- Baseboards: The most frequently painted trim, sitting at floor level where kicks, vacuum cleaners, and furniture legs cause constant wear
- Door casings: The frames surrounding interior and exterior doors, subject to handprints and incidental contact
- Window casings: Frames around windows that catch raking light and show every imperfection
- Crown molding: The decorative molding at the ceiling line, less prone to physical damage but highly visible
- Chair rails: Horizontal molding running along walls, typically at chair-back height
- Wainscoting: Paneling covering the lower portion of a wall, often painted in the same enamel as surrounding trim
Exterior trim surfaces:
- Window and door trim: Exposed to UV, moisture, and temperature swings, requiring paint with strong adhesion and weather resistance
- Fascia boards: The horizontal boards running along the roofline, prone to moisture damage if paint fails
- Soffits: The underside of roof overhangs, where peeling paint often signals moisture infiltration
Material considerations: Most residential trim is wood or MDF (medium-density fiberboard). Raw wood is porous and absorbs paint unevenly without primer. MDF has a smooth, dense face but absorbs heavily at cut edges. Composite materials vary widely, so checking the manufacturer's recommendations before painting is worth the extra step.
How to choose the right paint and finish for trim
The single most important decision in any trim painting project is choosing a paint specifically formulated for doors, trim, and cabinets. Wall paint is engineered for vertical, low-touch surfaces. Applied to trim, it burnishes under scrubbing and wears through at edges far faster than a dedicated enamel.
Essential properties to look for:
- Self-leveling formula that flows out and hides brush marks
- Hard cured film resistant to scuffs and blocking
- Low yellowing, especially critical for white trim in low-light areas like hallways
- Good adhesion over previously painted or glossy surfaces
Paint sheen for trim: Semi-gloss is the standard for baseboards, door casings, and window frames because it cleans well, resists knocks, and frames a room crisply against lower-sheen walls. Satin is acceptable in lower-traffic areas and hides minor surface imperfections slightly better. Gloss delivers a harder, more reflective finish suited to front doors and accent trim, but it reveals every surface flaw under direct light, so prep must be thorough. Flat or matte paint has no place on trim: it is too soft, burnishes immediately under cleaning, and offers none of the durability the surface demands.
Top-tier paint options: Two products consistently stand out among professionals. Benjamin Moore Advance is a waterborne alkyd that combines the low odor and easy cleanup of latex with the leveling and hardness of traditional oil paint. Its long open time lets brush marks settle out over several minutes, producing a near-spray finish from a brush. The trade-off is a longer recoat window and a cure period before the film reaches full hardness. Sherwin-Williams Emerald Urethane cures to a harder film and allows a faster recoat, making it practical for projects where time is a constraint. Both products hold white trim within a tight color range over time, avoiding the cream-yellow shift that plagued older oil-based enamels.
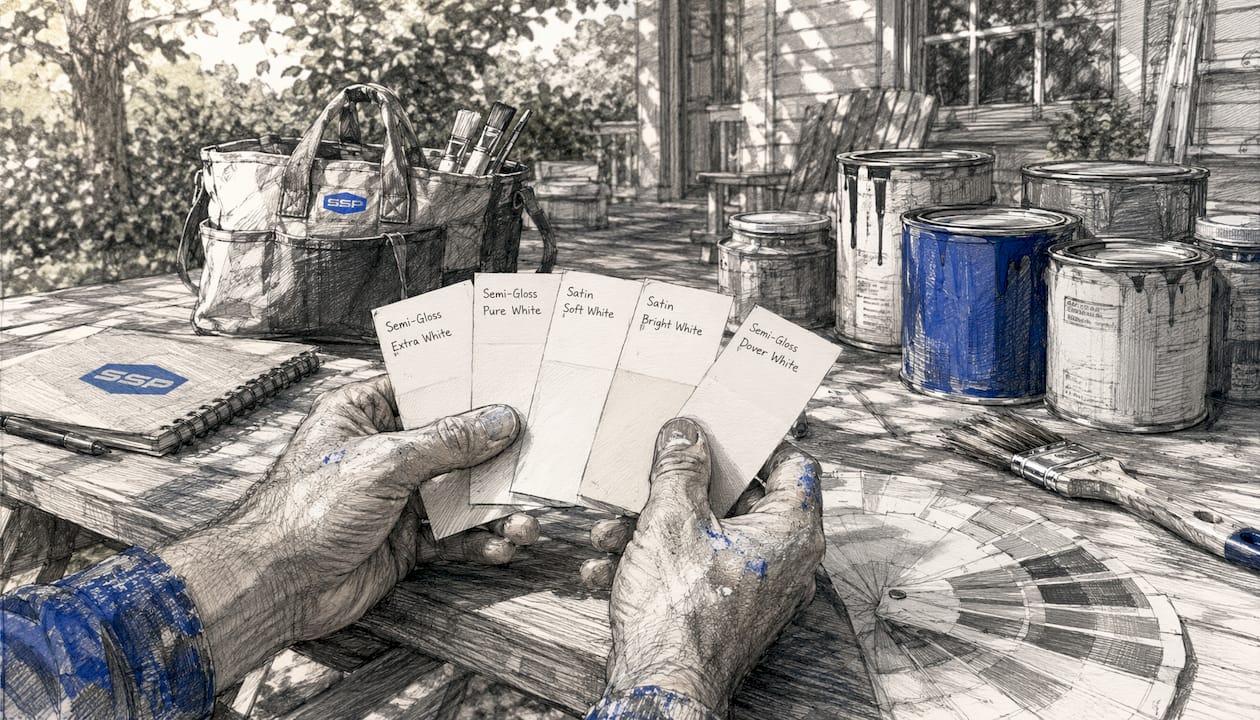
Color considerations: Bright white is the classic trim color because it frames walls crisply and signals a clean, finished room. Warm whites and greige tones hide marks slightly better and suit homes with warmer wall palettes. Whatever color you choose, the paint finish type and enamel quality do more for long-term durability than the shade itself.
Why primer matters: Bare wood, stained trim, and any surface switching from a dark to a light color all need primer before topcoat. Primer seals the substrate, improves adhesion, and prevents tannins in raw wood from bleeding through the finish.
Preparation steps before painting trim
Preparation is where most DIY trim projects succeed or fail. Skipping primer or neglecting sanding leads to premature paint failure, regardless of how good the topcoat is. Surface prep directly determines how well paint adheres and how long it holds up.
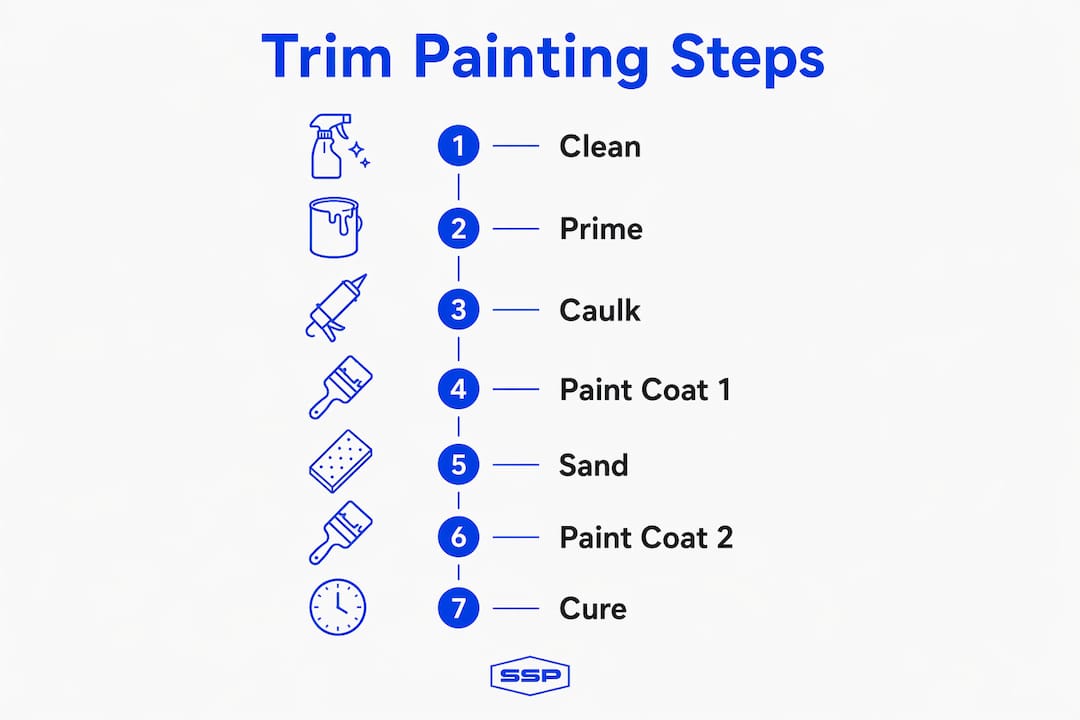
Step-by-step prep process:
-
Clean the trim. Wash off dust, grease, and grime with a damp sponge or a solution of trisodium phosphate (TSP) and warm water for heavily soiled surfaces. Grease left on trim gums up sandpaper and prevents paint from bonding.
-
Sand the surface. For existing painted trim in good condition, a light scuff with 220-grit sandpaper deglossed the surface and gives the new paint something to grip. For trim in rough shape with layered or chipping paint, start with 80-grit, move to 100-grit, then finish with 120-grit. Wipe away all sanding dust with a tack cloth before moving on.
-
Prime the trim. Pro painters recommend priming raw wood before caulking to maximize adhesion. Oil-based primer is the preferred choice for bare wood in new construction because it seals the grain and provides a stable base that waterborne topcoats alone cannot match. For previously painted trim in good condition, spot-prime any filled areas and allow to dry fully.
-
Fill holes and cracks. Use a lightweight spackling compound or wood filler to fill nail holes, dents, and small cracks. Once dry, sand smooth with 120-grit paper and wipe clean.
-
Caulk the gaps. Run a thin bead of paintable caulk along every joint where trim meets wall or ceiling. Caulking seals out moisture, prevents future cracking, and creates the seamless, built-in look that separates professional results from amateur ones.
-
Apply painter's tape. Dust off adjacent walls and ceilings before taping so the tape adheres cleanly. Use one long piece of painter's tape rather than multiple short pieces to prevent paint bleed at the seams. Press the tape edge firmly with a putty knife to seal it against the surface.
Pro Tip: Prime first, then caulk. Caulk applied over raw wood without primer tends to pull away from the surface as the wood moves seasonally. Priming first gives the caulk a stable, sealed surface to bond to, which extends the life of both the caulk and the paint.
Trim painting techniques and common mistakes to avoid
With prep complete, the quality of the finish comes down to tools, brush technique, and patience. Good angled sash brushes and foam or microfiber mini rollers are the right tools for trim. A quality angled sash brush lets you cut clean lines and lay enamel down without heavy drag marks. For wide, flat surfaces like door panels, a foam roller followed by a light tip-off with the brush produces an almost sprayed appearance.
Application technique:
- Load the brush by dipping no more than 1 inch of the bristles into the paint, then wipe off excess on the side of the tray
- Apply paint in sections using short horizontal strokes to cover the area
- Smooth each section with one long continuous stroke while the paint is still wet, then leave it alone
- Do not go back over a section that has begun to set: overbrushing after the enamel starts to skin creates permanent drag marks that no amount of sanding will fully correct
- Apply thin, even coats rather than one heavy coat; thick coats cause drips and runs that are difficult to fix once dry
Between coats: Allow the first coat to dry fully, typically at least four hours for waterborne enamels, then sand lightly with 220-grit paper to knock down any texture. Wipe away dust with a tack cloth before applying the second coat. Two thin coats always outperform one heavy one.
Tape removal: Pull painter's tape off while the paint is still slightly wet, not after it has fully dried. Removing tape from dried paint risks tearing the edge of the finish. Pull the tape back at a 90-degree angle to the surface for the cleanest result.
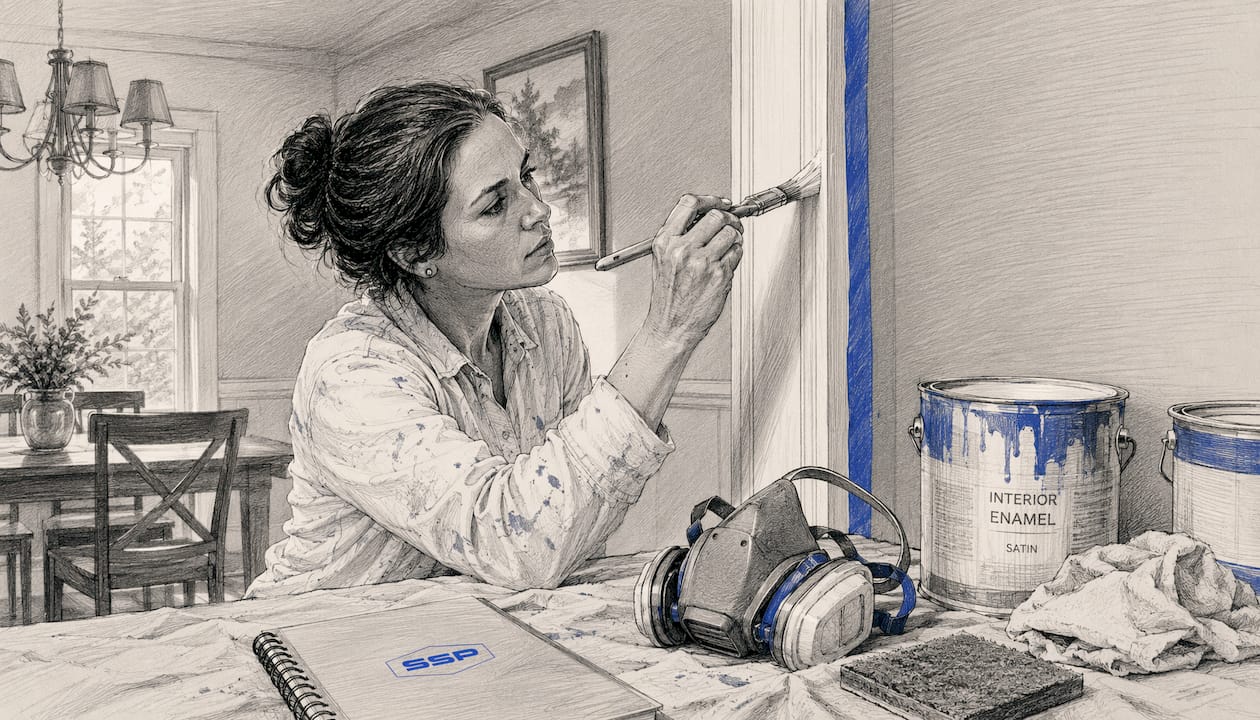
Pro Tip: After painting a section, lay off the wet enamel with one final long stroke from end to end using a nearly dry brush. This technique, called "laying off," lets the paint self-level and eliminates the short-stroke texture that shows up once the surface dries.
Common mistakes that compromise results:
- Using wall paint instead of a dedicated trim enamel
- Skipping prep steps, particularly sanding and priming
- Overloading the brush, which leads to drips on vertical surfaces
- Going back over paint that has started to set
- Removing tape too late, after the paint has fully hardened
- Using cheap brushes that shed bristles and drag through the wet film
Avoiding common DIY painting errors at the start saves considerable rework later, particularly on high-visibility surfaces like door casings and crown molding.
When should you repaint trim, and how often?
Trim does not need repainting on a fixed schedule. The right time to repaint depends on visible condition, traffic level, and the quality of the paint originally applied.
Signs trim needs repainting:
- Visible chips or peeling where the paint film has lost adhesion
- Scuffs and scratches that cleaning cannot remove
- Yellowing on white trim, particularly in low-light areas like hallways and closets
- Caulk that has cracked or pulled away from joints, allowing moisture to reach the substrate
- A generally dull or dingy appearance that makes the room feel dated
Repainting frequency: Interior trim in low-traffic areas with a quality enamel can go many years before needing attention beyond minor touch-ups. High-traffic areas, such as door frames in busy hallways or baseboards in children's rooms, show wear faster and may need repainting sooner. Exterior trim faces UV exposure, moisture, and temperature cycling, so it typically requires more frequent attention than interior surfaces.
Extending finish life: Regular cleaning with a damp cloth removes grime before it becomes embedded in the paint film. Touch up small chips and scuffs promptly with the original paint rather than waiting for damage to spread. Keeping caulk joints intact prevents moisture from working behind the paint and causing adhesion failure from the substrate outward.
Premium enamels like Benjamin Moore Advance and Sherwin-Williams Emerald Urethane hold up longer between repaints because their cured films resist scuffing and yellowing better than budget alternatives. The benefits of premium paint are most visible on trim, where the surface sits at eye level in a reflective sheen and every flaw shows. Since trim uses far less paint than walls, upgrading to a quality enamel adds little to the total project cost while delivering a measurably longer-lasting result.
Prioritizing repaint projects: Start with trim that is peeling or has exposed bare wood, since unprotected substrate deteriorates quickly. Yellowed trim in main living areas comes next, as it affects the overall impression of the room. Cosmetic scuffing in low-visibility areas can wait until a broader interior refresh makes sense.
Professional insights on achieving durable trim results
At Southshorepaint, we have painted trim in hundreds of residential and commercial properties across the South Bay, and the pattern is consistent: the projects that hold up longest share the same foundation. Thorough prep, the right primer, and a paint specifically labeled for doors, trim, and cabinets are non-negotiable elements of a durable finish.
The choice of paint matters more on trim than anywhere else in a home. Enamels built for trim feature self-leveling resins that flow out and hide brush marks, whereas standard wall paint is too soft and not durable enough for surfaces that take daily contact. Benjamin Moore Advance levels exceptionally well, producing a near-spray finish from a brush once the enamel has had time to flow out. Sherwin-Williams Emerald Urethane cures to a harder film faster, which suits projects where doors need to be back in service quickly. Both are waterborne alkyd formulas that combine the leveling of traditional oil paint with low odor and water cleanup.
Adhesion failures are the most common reason trim paint fails prematurely. When trim painting fails, it almost always fails at the adhesion layer, not the topcoat. This is why we prime everything, or at minimum perform an adhesion test before applying topcoat. Oil-based primer on bare wood provides a bond that waterborne topcoats alone cannot replicate, particularly in new construction where the wood has never been sealed.
Cost is rarely the obstacle homeowners expect. Trim uses a fraction of the paint that walls require, so the upgrade from a budget semi-gloss to a premium waterborne alkyd enamel adds very little to the total material cost of a project. The difference in finish quality and longevity, however, is visible from across the room.
Pro Tip: Patience during the curing phase protects everything you have invested in prep and application. Waterborne alkyds like Benjamin Moore Advance reach full film hardness after 30 days. Avoid scrubbing or placing objects against freshly painted trim during that window, and the finish will hold up to years of normal use.
Homeowners who feel confident in their prep and application skills can achieve genuinely professional results on trim. Those who want the finish guaranteed should reach out to a professional. Either way, regular paint maintenance after the project is complete, cleaning trim regularly and touching up chips promptly, extends the life of any quality enamel finish considerably.
Key Takeaways
Trim painting done right requires a dedicated enamel, thorough surface prep, and proper brush technique to produce a durable, professional-looking finish that lasts.
| Point | Details |
|---|---|
| Use a dedicated trim enamel | Wall paint burnishes and wears quickly on trim; a semi-gloss or satin enamel cures harder and cleans far better. |
| Prime before you caulk | Priming raw wood first gives caulk a stable surface to bond to, extending the life of both the caulk and the topcoat. |
| Choose the right sheen | Semi-gloss is the standard for most trim; satin works in lower-traffic areas; flat paint has no place on trim surfaces. |
| Top products for leveling | Benjamin Moore Advance and Sherwin-Williams Emerald Urethane are waterborne alkyds that level brush marks and resist yellowing. |
| Repaint based on condition | Repaint when you see chips, peeling, yellowing, or failed caulk joints, not on a fixed calendar schedule. |