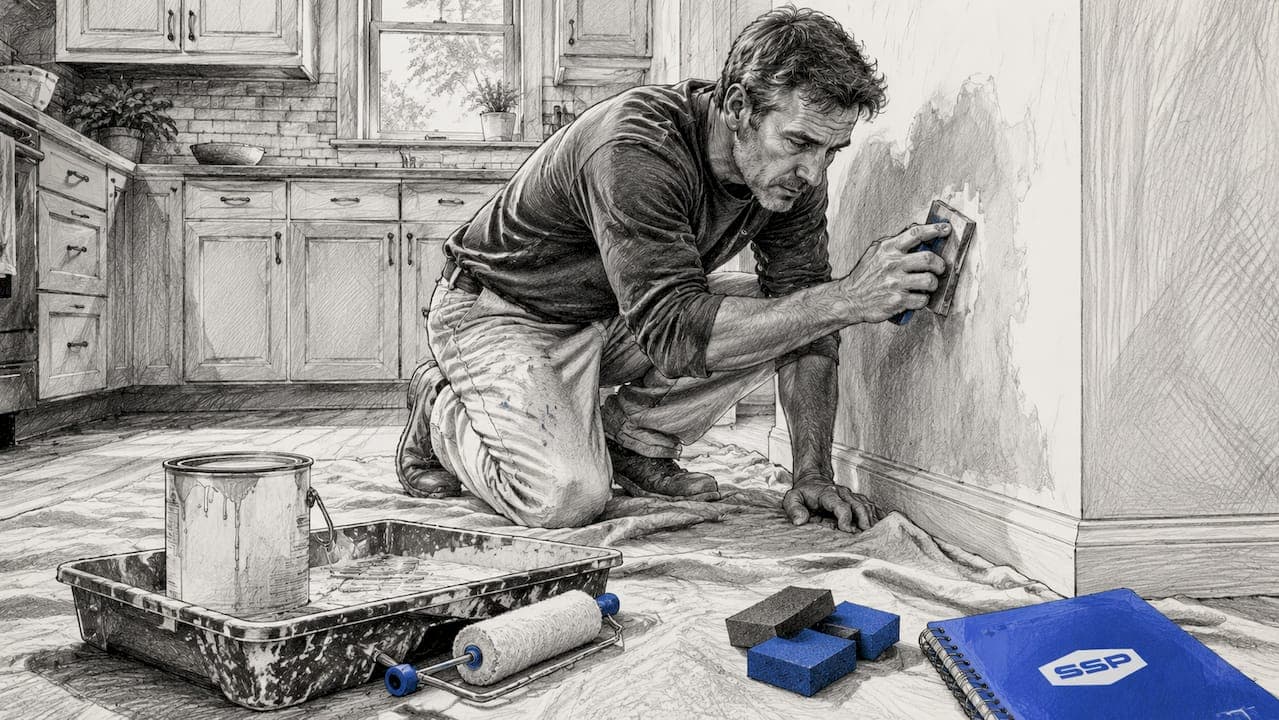
Surface prep and priming are the two steps that determine whether a paint job lasts two years or twenty. Proper surface preparation, the industry term for cleaning, sanding, and profiling a substrate before any coating is applied, directly controls how well paint adheres and how long it holds up. Surface preparation determines 70–80% of a coating system's lifespan. That single fact reframes every painting decision you make. At Southshorepaint, we build every interior and exterior project on this foundation, because no premium paint can compensate for a surface that was never ready to receive it.
What tools and materials do you need for surface prep and priming?
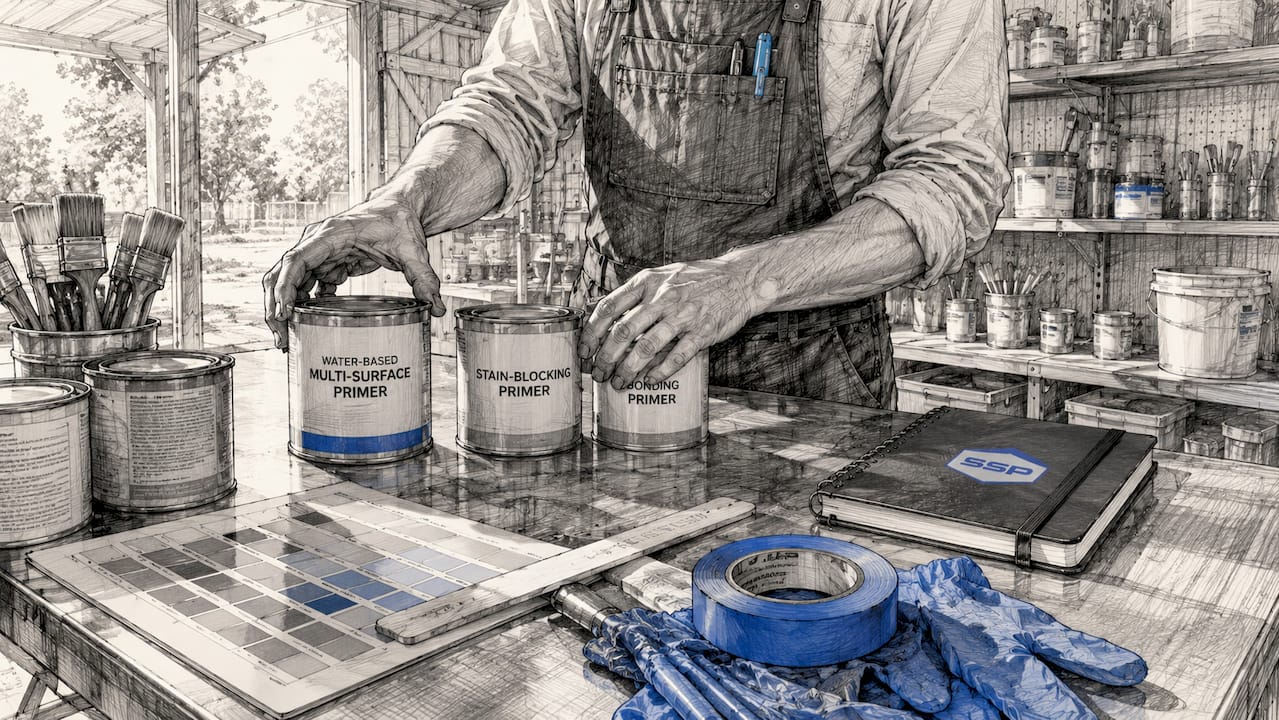
A complete surface prep checklist covers three categories: abrasive tools, cleaning agents, and primers matched to the substrate. Missing any one of them creates a weak link in the system.
Abrasive tools form the backbone of mechanical preparation:
- Sanding blocks and hand sanders for flat surfaces and trim
- Random orbital sanders or belt sanders for large wood surfaces
- Sandpaper in 80–120 grit for initial material removal
- Sandpaper in 180–320 grit for finish sanding before primer
- Wire brushes and scrapers for removing loose paint or rust on metal
- Putty knives for filling cracks and holes before sanding
Cleaning agents remove contamination that prevents adhesion:
- Trisodium phosphate (TSP) or TSP substitute for heavy grease and grime
- Liquid deglosser for glossy surfaces where sanding is impractical
- Mild dish soap and water for light surface cleaning on interior walls
- Mold and mildew cleaners for exterior surfaces with biological growth
Safety equipment is non-negotiable on any prep job:
- N95 or P100 respirator masks when sanding or working with solvent-based primers
- Chemical-resistant gloves when handling degreasers or shellac-based products
- Safety glasses or goggles during all sanding and scraping tasks
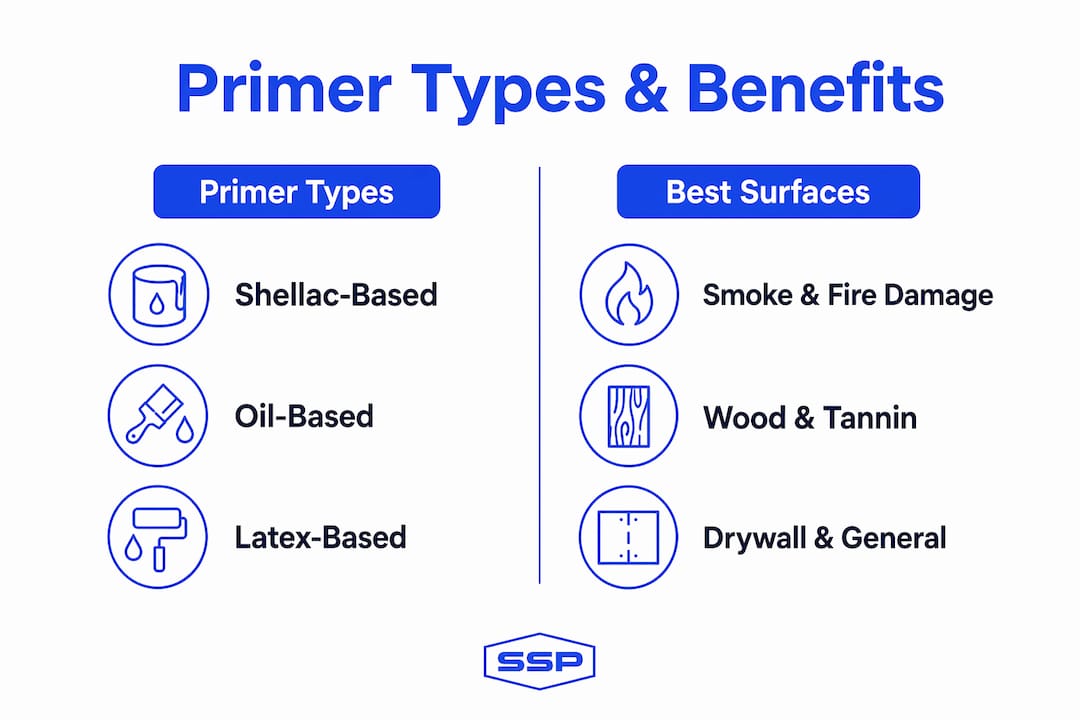
The primer you choose depends entirely on the substrate. Primers are chemically engineered for adhesion, stain blocking, or sealing. Topcoats cannot replace them. The table below shows the right primer for each common surface type.
| Primer type | Best surface | Key benefit |
|---|---|---|
| Shellac-based (e.g., Zinsser B-I-N) | Smoke, fire, or severe water stains | Blocks the most stubborn stains |
| PVA primer | New drywall | Seals porous paper face evenly |
| Acrylic bonding primer | Slick or glossy surfaces | Grips where standard primers fail |
| Oil-based primer | Bare wood with tannins | Prevents bleed-through on cedar or pine |
| Masonry primer | Concrete and brick | Fills pores and neutralizes alkalinity |
Pro Tip: Buy a quart of shellac-based primer even if you only need it for spot work. One untreated smoke stain will bleed through three coats of standard paint.
How do you prepare different surface types for painting?
Each surface type requires a specific sequence of steps. Skipping or reordering those steps is the most common cause of premature coating failure.
Wood surfaces
- Scrape off any loose, flaking, or peeling paint with a stiff putty knife.
- Sand with 80–100 grit to remove mill glaze or old finish, then finish with 150–180 grit.
- Wipe down with a tack cloth or damp rag to remove all dust.
- Fill nail holes and cracks with a paintable wood filler. Let it cure fully.
- Spot prime bare wood and filled areas with an oil-based or shellac primer before full priming.
Cedar and redwood contain natural tannins that bleed through water-based coatings. An oil-based primer applied to bare wood seals those tannins before the topcoat goes on.
Drywall
New drywall is highly porous and uneven in absorbency. The paper face and the joint compound absorb paint at different rates, which causes flashing (visible dull patches) in the finished coat. A PVA primer applied to new drywall equalizes that absorbency and gives the topcoat a uniform surface to grip.
For previously painted drywall, clean with a TSP substitute, sand any rough patches smooth, and spot prime bare areas before full priming.
Metal surfaces
Metal requires the most rigorous preparation. ISO 8501-1 grades specify surface cleanliness standards for metal primer adhesion, with grade Sa 2½ requiring near-white blast cleaning for demanding environments. For residential metal surfaces like doors, railings, or window frames, wire brushing to remove rust and loose scale, followed by sanding to a clean profile, is the standard approach.
Proper surface profile depth should be approximately 25–30% of the primer's dry film thickness. Too shallow and the primer has nothing to grip. Too deep and the peaks of the profile telegraph through the topcoat.
Previously painted walls
Painting over gloss without sanding or applying a bonding primer leads to adhesion failure. Scuff sand glossy surfaces with 180–220 grit before priming. Remove any chalking or powdery residue by washing with a TSP substitute and rinsing thoroughly.
Pro Tip: Run your hand across a cleaned wall before priming. If you feel any grit, dust, or slick spots, the surface is not ready. Primer applied over contamination will fail regardless of brand.
What are the best priming methods for lasting adhesion?
Choosing the right primer matters. Applying it correctly matters just as much. Shellac-based primers like Zinsser B-I-N are the definitive choice for severe stains from smoke, fire, or water damage. Acrylic bonding primers are the right call for slick or previously glossed surfaces. PVA primers belong on new drywall. Matching primer chemistry to the substrate is not optional. It is the decision that determines whether the topcoat holds.
Spot priming vs. full priming
Spot priming means applying primer only to bare patches, repairs, or stained areas before a full coat. Full priming covers the entire surface. Both have their place. Spot priming alone is acceptable when repainting a surface in good condition with no bare spots larger than a few inches. Full priming is required on new surfaces, heavily repaired areas, surfaces with widespread staining, or any substrate that has never been painted.
Application methods
- Brush: Best for trim, edges, and tight areas. Use a quality synthetic brush for water-based primers and a natural bristle brush for oil-based or shellac products.
- Roller: Best for large flat walls and ceilings. A 3/8-inch nap roller works well on smooth drywall. Use a 1/2-inch or 3/4-inch nap on textured or masonry surfaces.
- Spray: Fastest method for large areas or complex surfaces like lattice or spindles. Requires masking and back-rolling on porous surfaces to work primer into the substrate.
Drying time matters as much as application method. Most water-based primers dry to touch in 30–60 minutes but need a full hour before topcoating in normal conditions. Shellac-based primers dry faster, often in 45 minutes. Oil-based primers require 8–24 hours. High humidity and low temperatures extend all of these times significantly.
The myth that paint-and-primer-in-one products eliminate the need for a dedicated primer coat persists in the market. Premium paint is no substitute for primer. Primers have engineered adhesion and sealing functions that topcoats lack. A paint-and-primer-in-one product performs adequately only on surfaces already in excellent condition with no bare spots, stains, or adhesion concerns.
How do you avoid common surface prep and priming mistakes?
The most expensive painting mistakes are not paint choices. They are prep decisions made before a brush ever touches a wall. Using the wrong primer or skipping priming results in poor sheen, peeling, or premature failure regardless of paint quality.
The most frequent errors include:
- Skipping the cleaning step. Dust, grease, and mildew prevent adhesion. Even a visually clean wall can carry enough surface contamination to cause peeling within months.
- Choosing primer by price rather than substrate. A $12 all-purpose primer on a smoke-damaged wall will fail. Zinsser B-I-N costs more and solves the problem completely.
- Not allowing primer to dry fully. Applying topcoat over tacky primer traps solvents, causes wrinkling, and creates adhesion problems that show up weeks later.
- Ignoring manufacturer prep recommendations. Every primer data sheet specifies surface temperature, humidity range, and application method. Deviating from those specs voids the product's performance.
- Skipping inspection at prep milestones. Surface preparation must be inspected at multiple phases. Without checkpoint inspections, contamination or inadequate sanding passes undetected until the topcoat reveals it.
"Vague prep language in a painting proposal is a warning sign. If a contractor cannot describe exactly how they will clean, sand, and prime your surfaces, the prep is probably not happening." — Jaspector
Homeowners reviewing contractor proposals should treat vague prep mentions as red flags. A professional painting process spells out every prep step in writing before work begins.
Key takeaways
Proper surface prep and priming account for 70–80% of a coating system's lifespan, making preparation the single most important factor in any paint job's long-term success.
| Point | Details |
|---|---|
| Prep drives longevity | Surface preparation determines 70–80% of how long a coating system lasts. |
| Match primer to substrate | Use shellac-based primers for stains, PVA for new drywall, and bonding primers for slick surfaces. |
| Inspect at every milestone | Check cleaning, sanding, and priming quality at each phase before moving to the next step. |
| Paint-and-primer-in-one has limits | Dedicated primers outperform combination products on bare, stained, or previously glossed surfaces. |
| Vague prep is a red flag | Any proposal that does not detail cleaning, sanding, and priming steps should raise concern. |
Why prep always outweighs the paint brand
I have walked through hundreds of paint jobs over the years, and the pattern is consistent. The failures almost never come from a bad can of paint. They come from a wall that was not ready. A homeowner spends $80 per gallon on a premium topcoat, skips the bonding primer on a glossy surface, and watches the whole thing peel by the following spring. Meanwhile, a contractor who uses a mid-range paint over a properly cleaned, sanded, and primed surface delivers a finish that holds for a decade.
The uncomfortable truth is that prep is where the real work happens, and it is also where corners get cut most often. Cleaning takes time. Sanding is tedious. Waiting for primer to dry feels like lost productivity. But every shortcut at the prep stage compounds into a visible problem at the topcoat stage. I have seen professional painters who treat prep as the craft and painting as the reward. That mindset produces the results that last.
My advice to any homeowner: ask your contractor to walk you through the prep plan before work starts. If they cannot describe the grit sequence, the primer type, and the drying window, you already know what the finished job will look like in two years.
— Ryan
Southshorepaint's approach to prep and priming
At Southshorepaint, every project starts with a thorough prep assessment before a single drop of paint is mixed. We specify the right primer for each substrate, whether that means shellac-based products for stain-heavy surfaces, PVA for fresh drywall, or acrylic bonding primers for previously glossed walls.

Our team carries a full range of surface prep materials and primers for both residential and commercial projects across the South Bay. If you want a paint job that holds up for years rather than months, explore our painting services and see how a preparation-first approach changes the outcome. You can also read our guide on painting interior walls for a closer look at how prep translates into lasting results.
FAQ
What does surface prep and priming actually involve?
Surface preparation covers cleaning, sanding, scraping, and profiling a substrate before any coating is applied. Priming means applying a chemically engineered base coat that improves adhesion, blocks stains, and seals the surface for the topcoat.
How much of a paint job's lifespan depends on prep?
Surface preparation determines 70–80% of a coating system's lifespan. That means the quality of your prep work matters far more than the brand or price of the paint you choose.
Can I skip primer if I use a paint-and-primer-in-one product?
Paint-and-primer-in-one products work adequately on surfaces already in good condition with no bare spots or staining. On new drywall, bare wood, stained surfaces, or previously glossed walls, a dedicated primer is required for proper adhesion and stain blocking.
What primer should I use on smoke-damaged walls?
Shellac-based primers like Zinsser B-I-N are the correct choice for smoke, fire, or severe water stains. Standard water-based primers will not block these stains, and they will bleed through multiple topcoats.
How do I know if a surface is ready to prime?
A surface is ready to prime when it is clean, dry, dull (not glossy), and free of loose material. Run your hand across it. Any grit, dust, or slick patches mean the surface needs more preparation before primer is applied.