
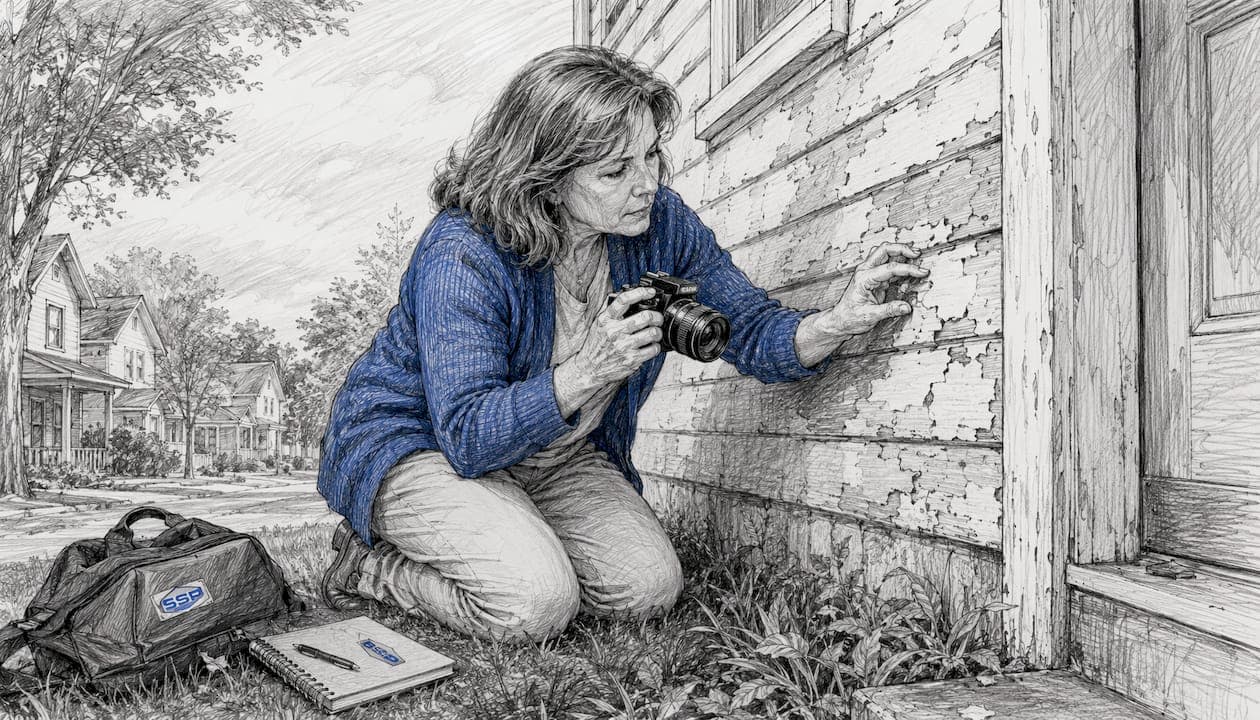
Inspect peeling paint as soon as you notice it. What looks like a cosmetic flaw is almost always a diagnostic symptom of moisture intrusion, substrate deterioration, or a potential lead-paint hazard in pre-1978 housing. Waiting compounds every one of those problems.
Three reasons to act now:
- Moisture and structural risk. Peeling paint typically signals water entering the wall system through failed flashing, clogged gutters, failed caulking, or unsealed trim joints. Left unaddressed, that moisture leads to rot, framing damage, and interior water intrusion.
- Health and legal exposure. In homes built before 1978, deteriorating paint can be a lead-based paint hazard. Disturbing it without proper precautions creates health risks and regulatory liability.
- Cost escalation. A small peeling area caught early costs a fraction of what rot repair or interior remediation runs once moisture has had a season or two to work.
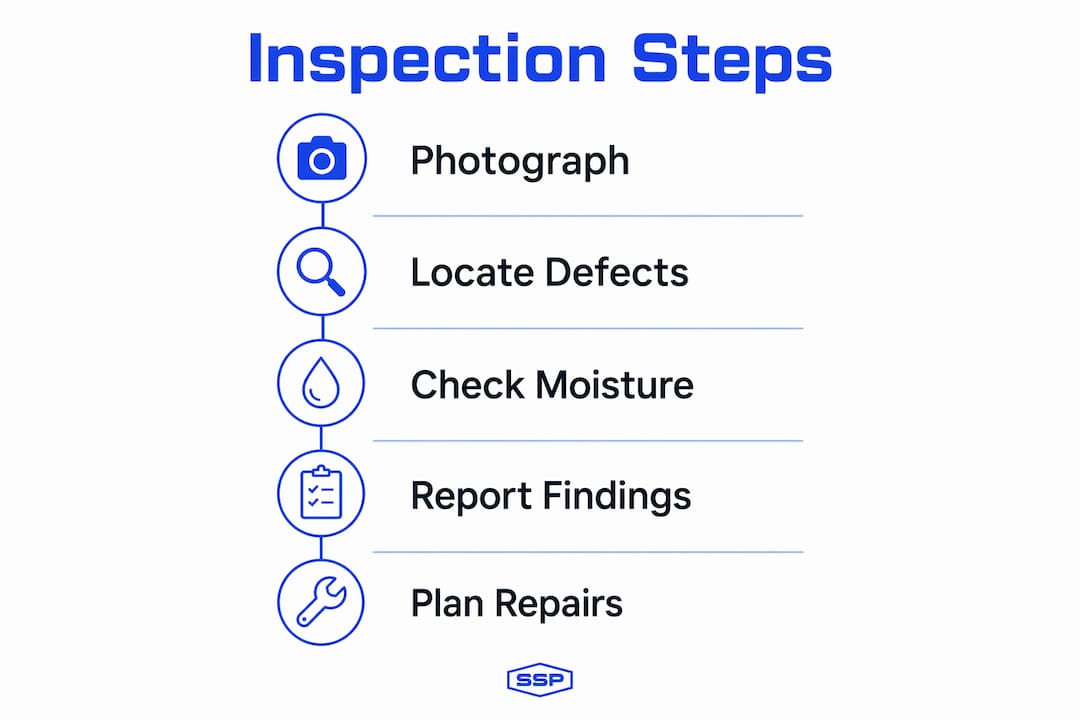
Next steps: Photograph the affected areas, note their location and sun exposure, and avoid scraping or sanding any surface on a pre-1978 property until you know what you are dealing with. Then schedule a moisture-inventory inspection or a certified lead inspection as appropriate.
Pro Tip: Document peeling with your phone camera before touching anything. Date-stamped photos protect you legally and give an inspector a baseline to work from.
Table of Contents
- Why peeling paint signals more than a cosmetic problem
- What does a professional paint inspection actually check?
- Repairs and surface prep you need before repainting
- When should you hire a pro instead of doing it yourself?
- How often should you inspect and what should you check?
- What does inspection, repair, and repainting typically cost?
- Key Takeaways
- A perspective on what peeling paint actually tells you
- Southshorepaint offers inspection, repairs, and premium exterior painting
- Authoritative sources and further reading
Why peeling paint signals more than a cosmetic problem
Peeling paint is rarely the problem itself. It is the visible result of a moisture-management failure somewhere in the building envelope, and that failure is what needs to be fixed.
The most common culprits are physical: failed caulking at trim joints, improperly installed or deteriorated flashing around windows and doors, clogged or improperly pitched gutters, and inadequate separation between wood trim and grade. South- and west-facing surfaces degrade fastest because they receive the most sun and rain. Interior moisture sources, such as unvented bathroom fans or a leaking dryer duct, can also drive moisture outward through walls and cause exterior paint to peel from behind.
The health and legal stakes are significant for older properties:
- Deteriorating paint in pre-1978 housing is a recognized lead hazard. Lead-based paint was banned for residential use in 1978; it remains present in many U.S. homes, often hidden under later paint layers.
- The Lead-based Paint Disclosure Rule requires landlords and sellers to notify prospective renters and buyers of known lead hazards before contracts are signed. Noncompliance carries federal penalties.
- Landlords who ignore deteriorating paint on rental properties face compounding liability: tenant health claims, code violations, and potential enforcement action.
Keeping paint in good condition is a legal and health-protection responsibility for landlords and property managers, not only a cosmetic maintenance task. The U.S. EPA frames it exactly that way, and property owners who treat it as optional do so at real financial and legal risk.
The cost argument is equally direct. Paint maintenance that catches a failed caulk joint early is a minor repair. The same moisture source left for two or three seasons can produce rot in structural framing, interior ceiling staining, and mold, repairs that routinely run several times the cost of timely remediation.
What does a professional paint inspection actually check?
A professional moisture-inventory inspection is a systematic exterior survey designed to trace the path water takes into the wall system. The goal is not simply to note where paint is peeling; it is to identify the water entry point so repairs address the source, not just the symptom.
A thorough inspection typically covers:
- Visual survey of all exterior surfaces, with priority on south and west exposures
- Probe and sounding of soft or suspect areas to detect hidden rot or delamination
- Examination of all flashing at windows, doors, and roof-to-wall transitions
- Assessment of caulking condition at every trim joint and penetration
- Gutter inspection for clogs, improper pitch, and separation from fascia
- Moisture testing of suspect wall sections to distinguish wet from dry substrate
One technique that separates a skilled inspector from a surface-level review is the rain's eye method: the inspector either simulates rainfall with a hose or schedules the visit during actual rain to observe exactly where water enters the assembly. This differentiates external intrusion (flashing, gutters) from internal condensation or vapor-barrier failures, which require entirely different repairs.
A complete inspection report should include photos of every defect, a prioritized repair list, and a surface-preparation and paint-system specification. That documentation lets a contractor price the work accurately and prevents the scope gaps that lead to shortcuts and fast re-failure.
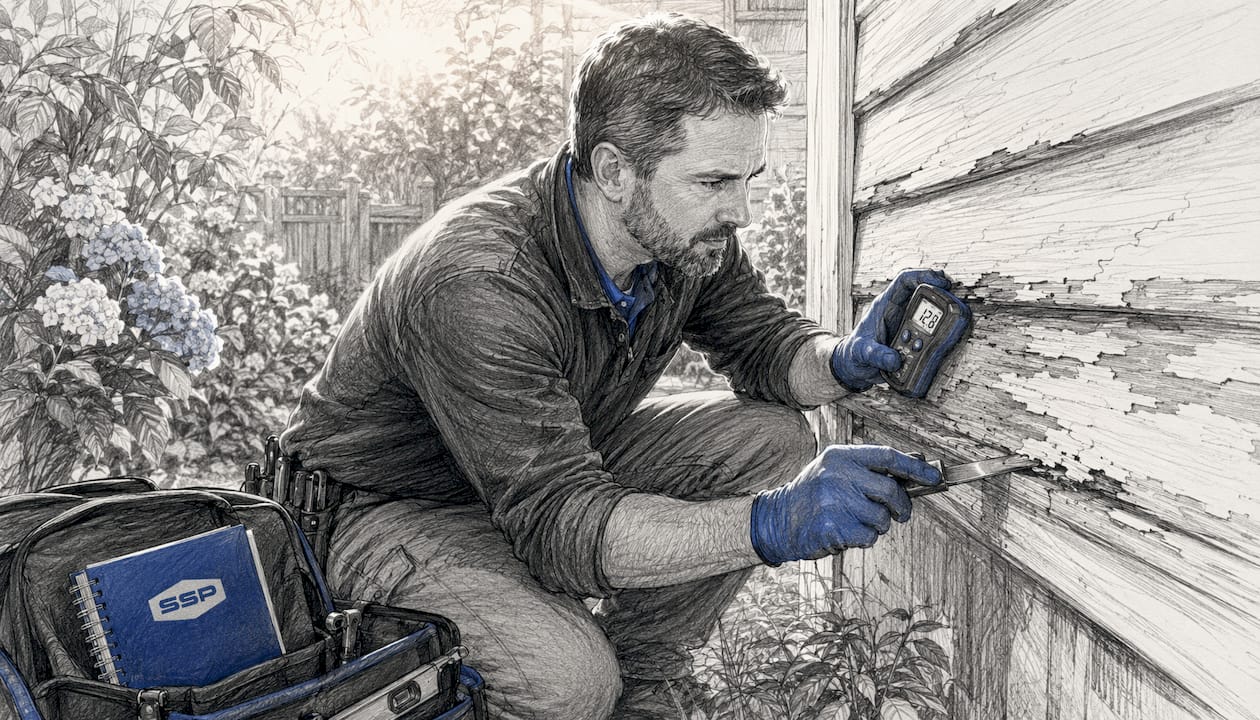
Pro Tip: Ask any inspector for a written specification, not just a verbal summary. A documented repair sequence protects you if the contractor later claims additional work was outside scope.
Repairs and surface prep you need before repainting
Painting over a moisture problem without fixing the source produces near-certain failure of the new coat, often within a single season. The repair sequence matters as much as the materials.
The correct order is:
- Fix all water-entry points: repair or replace flashing, clear and re-pitch gutters, replace failed caulk with premium exterior-grade sealant, and seal all trim joints.
- Remove all loose paint by scraping and sanding to a sound substrate; feather edges so the new coat bonds cleanly.
- Replace or repair any rotten wood with exterior-grade or rot-resistant material.
- Prime all bare wood and repaired areas with a primer matched to the substrate and the finish coat.
- Apply a premium exterior paint system in the specified number of coats.
Skipping any step undermines the longevity of every step that follows. For surface prep best practices, the sequence is non-negotiable.
If the property was built before 1978, any scraping or sanding that disturbs painted surfaces triggers the EPA's Renovation, Repair, and Painting (RRP) Rule. Paid contractors must be lead-safe certified and must follow containment, HEPA cleanup, and proper disposal protocols. Homeowners doing their own work are not covered by RRP, but the EPA's 2026 Protect Your Family pamphlet strongly recommends hiring certified firms for any disturbance of suspect paint.
Containment and HEPA vacuuming are not optional add-ons on pre-1978 properties. They are the difference between a compliant repair and one that spreads lead dust to adjacent surfaces, soil, and occupants.
When should you hire a pro instead of doing it yourself?
The honest answer is that most peeling-paint situations on older or larger properties warrant professional assessment, even when the visible damage looks minor. Here is a practical decision framework:
- DIY is reasonable when the peeling is isolated to a small, accessible area, the paint underneath is intact and sound, no structural moisture source is present, and the property was built after 1978.
- Call a professional when you find failed flashing, widespread peeling across multiple surfaces, soft or spongy trim, or any peeling that has recurred after a previous repaint.
- Require immediate professional attention when you find visible rot, water staining on interior walls adjacent to the peeling area, or any evidence that moisture has reached structural framing.
- Always hire a certified contractor for any scraping, sanding, or substrate replacement on a pre-1978 property where lead paint may be present.
Recurring paint failure after a repaint is the clearest sign that a moisture source was never identified. Repainting the same surface twice without a moisture inventory is not maintenance; it is deferred repair with a cosmetic cover.
Pro Tip: Before calling for quotes, run through this checklist: Is the substrate soft when pressed? Is there water staining nearby? Has this area peeled before? Three "yes" answers mean you need a moisture-inventory inspection, not just a painter.
How often should you inspect and what should you check?
Annual inspections catch most problems before they escalate. For coastal properties, high-exposure locations, or homes with a history of paint failure, add a post-storm check and a dedicated spring or fall walkthrough.
A practical maintenance cadence:
- Spring: Clear gutters of winter debris, check all caulk joints at windows and trim, look for any paint that lifted or cracked over winter.
- Fall: Clear gutters before the rainy season, re-caulk any open joints, touch up high-wear areas on south and west exposures.
- After major storms: Check flashing, gutters, and any area where water pooled or ran against the building.
For a year-round inspection routine, the following homeowner checklist covers the essentials without disturbing suspect paint:
- Walk the full exterior perimeter and photograph any new peeling, cracking, or bubbling.
- Check gutters for clogs, sagging, or separation from the fascia.
- Inspect all caulk joints at windows, doors, and trim for cracking or gaps.
- Look at flashing above windows and doors for rust, separation, or missing sections.
- Note any discoloration or staining on siding, which can indicate moisture behind the surface.
- Check exterior cleaning needs, since dirt and mildew buildup accelerates paint degradation.
What does inspection, repair, and repainting typically cost?
Cost ranges vary by region, property size, extent of damage, and whether lead-safe work is required. The figures below reflect typical ranges for residential projects in the South Bay, CA area; your specific scope will determine the final number.
- Moisture-inventory inspection: Typically charged as a flat fee or hourly rate by a qualified inspector or painting contractor. Expect to pay more when a certified lead inspector is also required.
- Caulking and flashing repairs: Minor caulk replacement is a low-cost repair. Flashing replacement at multiple windows or a roof-to-wall transition adds labor and material cost.
- Rot repair and trim replacement: Costs scale with the extent of decay. Small sections of trim can be repaired with epoxy consolidant and filler; larger sections require full board replacement with exterior-grade lumber.
- Surface prep and premium repaint: A properly prepped and painted exterior costs more upfront than a quick coat over existing paint, but the service life is substantially longer.
The single largest cost driver is how long moisture damage has been active before it was addressed. A one-season delay can turn a caulk-and-paint repair into a rot-and-reframe job.
Timeline expectations: inspection and report delivery typically take a few days to a week. Repairs, depending on scope, can run from a single day to several weeks for extensive rot. After repairs, substrate must dry fully before priming, and primer must cure before the finish coat. Rushing drying time is one of the most common causes of premature paint failure.
Key Takeaways
Peeling paint is a moisture-management failure, not a cosmetic issue, and addressing the water source before repainting is the only approach that produces lasting results.
| Point | Details |
|---|---|
| Inspect immediately | Photograph damage, note location and exposure, and avoid disturbing suspect surfaces on pre-1978 properties. |
| Lead risk is real | Deteriorating paint in pre-1978 homes is a recognized EPA hazard; landlords must disclose and manage it. |
| Fix the source first | Painting over an active moisture source causes near-certain re-failure, often within a single season. |
| Hire certified contractors | Any scraping or sanding on pre-1978 properties requires EPA RRP lead-safe certified crews. |
| Southshorepaint's approach | Southshorepaint performs moisture-inventory inspections and substrate repairs before applying premium finishes, preventing repeat failures. |
A perspective on what peeling paint actually tells you
Most property owners think about peeling paint as a maintenance backlog item, something to schedule when the budget allows. That framing consistently leads to the wrong outcome.
Peeling paint is a building diagnostic, not a cosmetic queue. When it appears on a south-facing wall near a window, it is telling you something specific about flashing, caulk, or gutter performance at that exact location. When it recurs after a repaint, it is telling you that the previous contractor painted over a moisture source without identifying it. The paint is not failing; the building envelope is failing, and the paint is just the part you can see.
The conventional wisdom that "a fresh coat fixes it" is wrong in almost every case where peeling is recurring or widespread. What fixes it is a documented moisture inventory, a prioritized repair list, and a contractor who will not pick up a brush until the substrate is sound and dry. That process takes longer and costs more upfront. It also produces a finish that lasts years longer than a quick repaint over a compromised surface.
For landlords and property managers, the stakes are higher still. Deteriorating paint on a pre-1978 rental property is not a deferred maintenance item. It is an active liability, and the landlord's responsibility to manage it is well-established under federal disclosure rules. Treating it as cosmetic is the kind of decision that looks reasonable until it isn't.
Southshorepaint offers inspection, repairs, and premium exterior painting
When peeling paint signals a moisture problem or a potential lead hazard, the right next step is a contractor who diagnoses before they paint.

Southshorepaint serves homeowners, landlords, and property managers across the South Bay, CA with moisture-inventory inspections, substrate repairs, lead-safe-certified crews where required, and premium exterior paint systems built to last. The process starts with identifying the water source, not covering it up. Every project includes documented findings, a prioritized repair scope, and a surface-preparation specification before a brush touches the wall.
If you are seeing peeling paint on your property, schedule an inspection with Southshorepaint before the next rainy season. Request a project estimate and get a clear picture of what your property actually needs.
Authoritative sources and further reading
- Questions and Answers for Homeowners and Renters: Lead Inspections, Risk Assessments, and Abatements — U.S. EPA
- Real Estate Disclosures About Potential Lead Hazards — U.S. EPA
- Protect Your Family from Sources of Lead (2026 pamphlet) — U.S. EPA
- Lead Renovation, Repair and Painting Program (RRP Rule) — U.S. EPA
- Protect Your Family from Sources of Lead — U.S. EPA
- Peeling Paint Mystery — Fine Homebuilding (moisture-inventory inspection methodology)
- Paint Failure Site History — InspectApedia
- How Insulation Controls Moisture in Your Home — The Attic Genius (interior moisture and vapor control)
- Moisture's Role in Exterior Painting — Southshorepaint blog
- Why Inspect Paint Yearly: A Homeowner's Guide — Southshorepaint blog
- Surface Prep and Priming: A Homeowner's 2026 Guide — Southshorepaint blog