
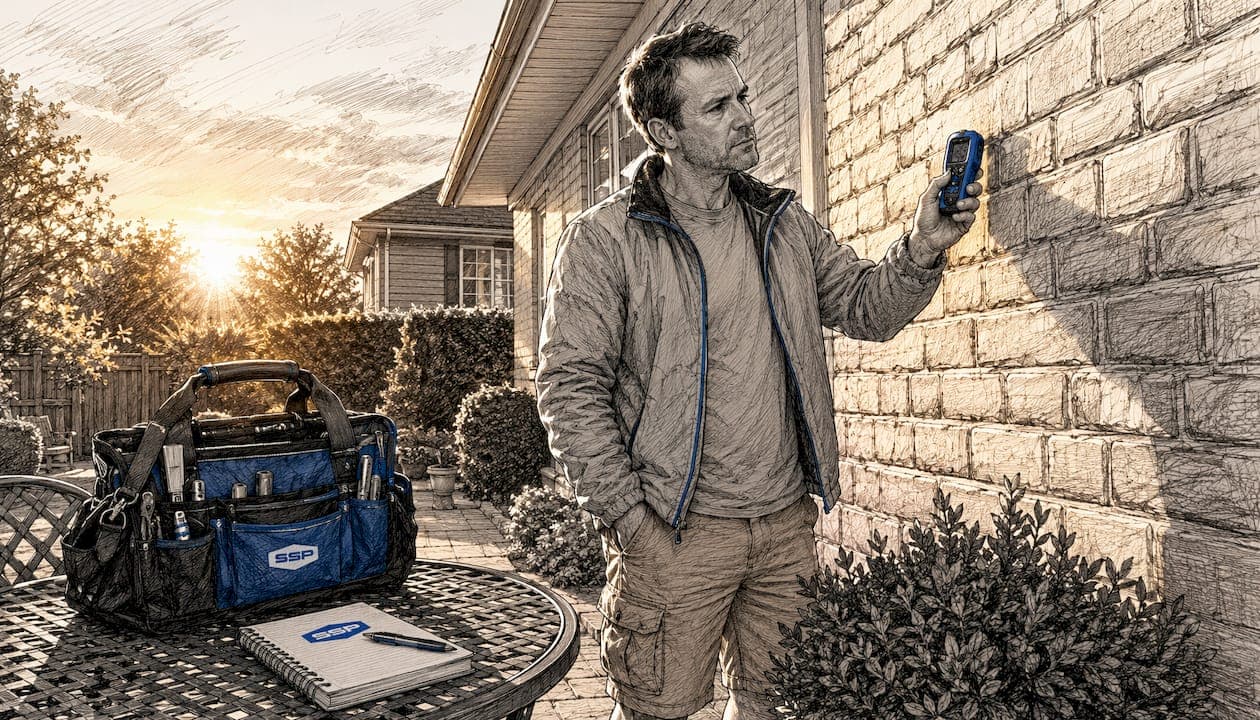
Yes, exterior walls should be waterproofed as part of a coordinated moisture-management system. Without it, water infiltration shortens paint life, degrades structural framing, and creates conditions for mold growth. The International Residential Code (IRC), EPA moisture guidance, and Building Science Corporation all point to the same conclusion: surface coatings alone are not enough. A layered system combining a water-resistive barrier (WRB), drainage plane, and properly integrated flashing is what actually protects a building.
At a glance:
- Structural protection: Moisture-managed walls resist rot, freeze-thaw damage, and framing decay
- Paint longevity: Dry substrates hold primer and topcoats far longer than wet ones
- Mold prevention: Controlling liquid water and vapor limits conditions that support mold and allergen growth
- Energy performance: Wet insulation loses thermal effectiveness and raises heating and cooling costs
- Resale value: Documented moisture-control improvements increase buyer confidence and reduce risk of moisture damage
Table of Contents
- Why waterproof exterior walls? The real cost of skipping it
- How exterior waterproofing actually works as a system
- When do you actually need full exterior waterproofing?
- What waterproofing solutions are available and where each fits
- Why DIY waterproofing often makes things worse
- How waterproofing changes what you should require from a painter
- Key Takeaways
- What a contractor-first approach to moisture actually looks like
- Southshorepaint brings inspection-first exterior painting to your project
- Useful sources for homeowners who want the technical details
Why waterproof exterior walls? The real cost of skipping it
Water does not need a large opening to cause serious damage. Wind pressure and capillary action can drive rain through the small gaps and joints common in virtually every cladding system. Once moisture reaches the wall cavity, it attacks paint adhesion from the inside out: absorbed water causes blistering, freeze-thaw cycling lifts coatings off the substrate, and persistent dampness feeds mold colonies beneath the surface. The result is paint failure measured in years, not decades.
The energy impact is equally concrete. According to EPA moisture-control guidance, wet insulation from envelope leaks reduces thermal performance and supports mold growth and freezing risks. A wall that cannot dry loses its R-value and becomes a source of indoor air quality problems, including elevated allergen loads from mold spores.
One source notes that documented waterproofing improvements can increase resale attractiveness, with some market analyses citing significant value increases when improvements are on record. Buyers and their inspectors notice moisture history; proactive waterproofing converts a liability into a documented asset.
Signs water is already affecting your exterior walls or paint:
- Paint blistering, peeling, or bubbling on the exterior surface
- Efflorescence (white mineral deposits) on masonry or stucco
- Soft, spongy, or discolored siding near windows, doors, or grade level
- Staining or dark streaking below window sills and at wall-to-roof intersections
- Musty odors inside rooms adjacent to exterior walls
- Visible mold or mildew on interior surfaces near exterior walls
How exterior waterproofing actually works as a system
The most important shift in thinking: there is no such thing as a perfectly sealed exterior wall. Most exterior cladding systems leak. Wind pressure and capillary action push water through joints and gaps that caulks and sealants cannot permanently seal. The practical solution is a drainage approach, not a barrier approach.
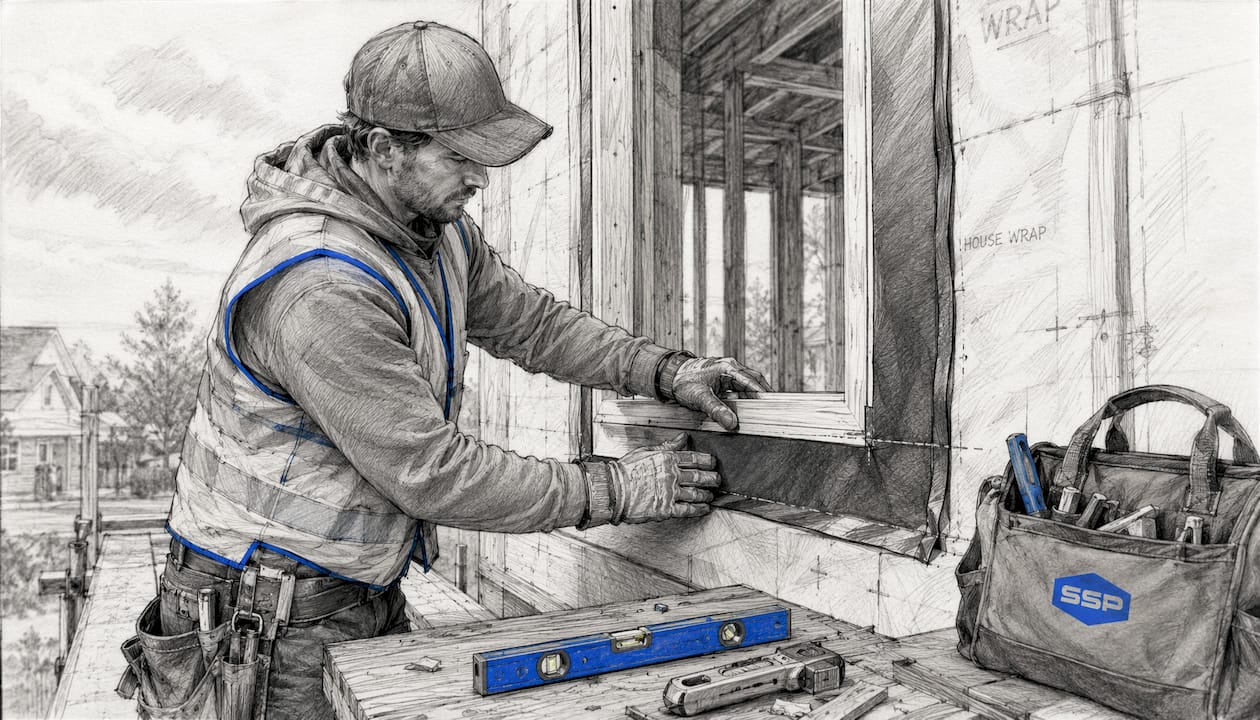
A drainage-capable wall assembly expects some water to get past the cladding and provides a path for it to run safely out. Building Science Corporation recommends drained and screened wall assemblies because they tolerate imperfect installation and normal maintenance lapses far better than barrier walls.
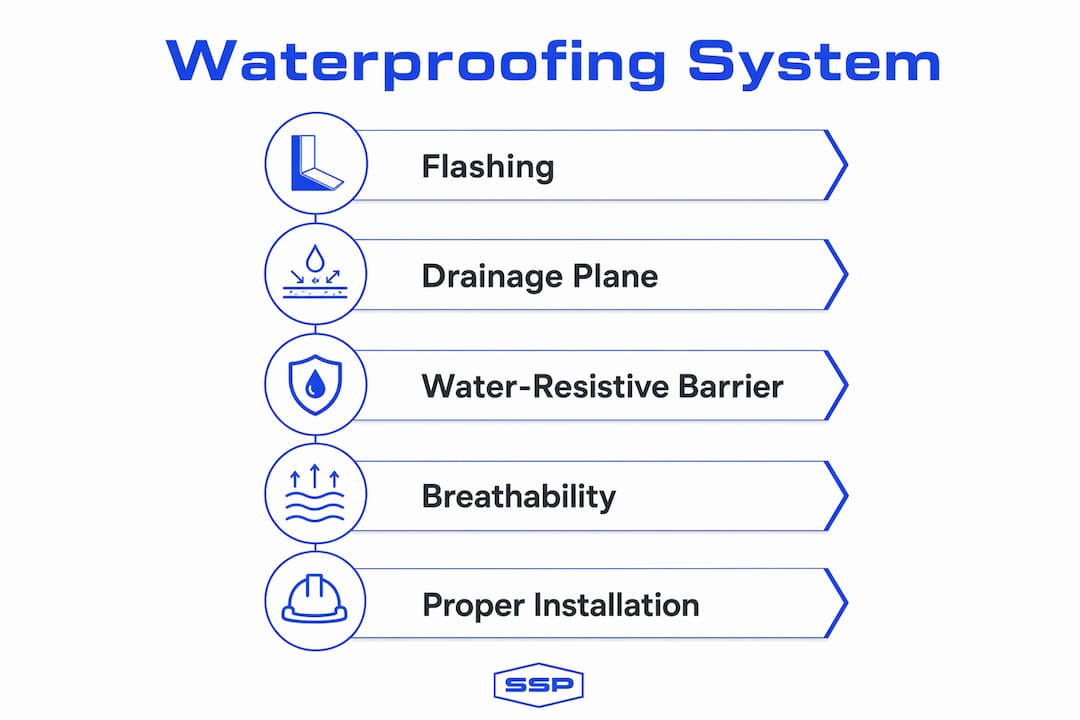
The system has four interdependent layers:
- Cladding: The outermost layer that sheds the bulk of rain; it is not expected to be watertight
- Air gap or drainage cavity: A small gap (at least 1/6 inch behind lap siding, ¾ inch behind stucco) that allows water to drain and air to circulate
- Water-resistive barrier (WRB): Housewrap, #15 asphalt felt, or taped rigid foam sheathing installed continuously and lapped shingle-fashion; IRC R703.2 requires a WRB behind all exterior cladding
- Flashing: Waterproof material at windows, doors, roof-wall intersections, and penetrations; must be installed shingle-fashion and slope outward
Flashing quality is often the deciding factor. Even one reverse-lapped flashing at a window jamb can channel water directly into the wall cavity. Siding kept well above grade and downspout extensions routed away from the foundation further reduce rain exposure and splash-back.
The system must also allow drying. Non-breathable products installed on the wrong side of the assembly create vapor traps that accelerate rot and paint failure. Breathable WRBs and vapor-permeable topcoats let the wall dry toward the exterior when conditions allow.
Pro Tip: When inspecting an existing wall, check flashings and sill pans first. A missing or improperly lapped flashing at a window is the single most common source of wall cavity moisture, and it is often invisible until paint failure or rot reveals it.
When do you actually need full exterior waterproofing?
Not every moisture problem requires a full waterproofing system. The IRC draws a clear line: dampproofing (IRC R406) addresses capillary moisture in below-grade walls where hydrostatic pressure is absent, while waterproofing under IRC R406.2 is required where high water tables or hydrostatic pressure exist. Above grade, the question is whether the existing WRB and flashing system is intact or has failed.
Indicators that warrant a full exterior waterproofing assessment:
- Persistent leaks or seepage through foundation walls
- Recurrent basement or wall moisture after repeated repairs
- High groundwater or consistently poor drainage around the property
- Visible structural decay, soft framing, or deteriorated sheathing
- Large-scale paint blistering across multiple wall faces
- Efflorescence or block wall seepage throughout a foundation
Prioritization framework:
- Immediate fixes: Stop active leaks, extend downspouts at least 5 feet from the foundation, regrade soil away from the building
- Medium-term: Replace failed WRB sections, repair or upgrade flashing at windows and roof-wall intersections, re-caulk penetrations
- Major intervention: Exterior foundation waterproofing involving excavation, membrane application, French drain installation, and regrading; scope and cost vary significantly with site conditions and excavation depth
What waterproofing solutions are available and where each fits
| Solution | Best use | Breathable? | Key limitation |
|---|---|---|---|
| Painted coatings / sealants | Above-grade cladding surface | Varies | UV breakdown; fails over wet substrates |
| Cementitious coatings | Masonry, block, concrete walls | No | Cracks with movement; not for hydrostatic pressure alone |
| Liquid-applied membranes | Above-grade WRB, transitions | Yes (when specified) | Requires dry, prepared substrate |
| Self-adhered sheet membranes | Flashing zones, window rough openings | No | Sequencing critical; laps must be shingle-fashion |
| Drainage planes / rainscreens | Above-grade cladding systems | Yes | Requires proper gap and drainage to grade |
| Flashing and pan flashings | Windows, doors, roof-wall intersections | N/A | Installation quality is everything |
| Exterior foundation membrane + French drain | Below-grade foundation walls | No | Excavation required; highest cost driver |
No single product does the whole job. Building Science recommends combining a WRB with a rainscreen gap and properly sequenced flashing rather than relying on any coating alone. Coatings applied over a wet or damaged substrate can trap moisture and accelerate the very decay they are meant to prevent.
Why DIY waterproofing often makes things worse
The most common DIY mistake is applying a waterproof coating over a wall that is already wet or has unresolved flashing failures. Coatings over wet walls trap moisture inside the assembly, accelerating rot and paint failure rather than stopping them. A professional inspection before any coating work is the single most effective risk-reduction step.
Common DIY pitfalls:
- Coating over damp or saturated substrates without moisture testing
- Using non-breathable products in positions that prevent drying
- Missing flashing failures at windows, doors, or roof-wall intersections
- Inadequate surface prep: skipping priming, failing to remove deteriorated caulk, or painting over mold
- Ignoring grade and gutter issues that continue to drive water toward the wall
A professional inspection covers:
- Moisture meter readings at suspect wall areas
- Visual trace of leaks at all penetrations and transitions
- WRB continuity check, including lap sequencing and tape adhesion
- Flashing and sill pan condition at every window and door
- Grade slope, gutter condition, and downspout routing
Pro Tip: Require concrete moisture testing or a calibrated moisture meter reading before any coating is applied to masonry or concrete surfaces. A reading above the product's specified threshold means the coating will fail, regardless of product quality.
How waterproofing changes what you should require from a painter
Waterproofing preparation changes the scope of an exterior paint project in concrete ways. Proper prep includes WRB and flashing repairs, full substrate drying, breathable primers, and topcoats matched to the wall assembly's vapor profile. Skipping those steps and painting over a compromised wall produces a finish that looks good for one season and fails the next. Moisture's role in paint adhesion is direct: a wet substrate breaks the bond between primer and surface.
What to require in writing from a premium exterior painting contractor:
- Moisture testing results before coating begins
- Written scope for any flashing or WRB repairs included in the project
- Specified products: breathable primers and membranes where the assembly requires them
- Defined dry-time and temperature conditions for application
- Warranty coverage that includes substrate prep, not just material defects
Seven questions to ask before hiring:
- Will you perform a moisture inspection before preparing the surface?
- What moisture meter readings will you accept before applying primer?
- How do you handle flashing or WRB deficiencies you find during prep?
- Which primers and topcoats do you specify for this wall assembly, and why?
- What warranty do you offer, and does it cover workmanship on prep and flashing integration?
- What is the realistic project timeline, including required dry time between coats?
- Can you provide references or photos from comparable projects in similar climate conditions?
After painting, protect the investment with annual gutter cleaning, a visual flashing check each fall, and prompt re-caulking of any cracked sealant at penetrations. Maintaining exterior paint is far less expensive than repainting over a wall that has been allowed to re-saturate.
Key Takeaways
Exterior walls require a coordinated moisture-management system, including a water-resistive barrier, drainage plane, and properly integrated flashing, to protect structural integrity and extend paint life.
| Point | Details |
|---|---|
| System over coating | A WRB, drainage plane, and flashing together outperform any surface coating applied alone. |
| Inspection before coating | Applying coatings over wet or damaged walls traps moisture and accelerates decay. |
| IRC code distinction | Dampproofing covers capillary moisture; waterproofing is required where hydrostatic pressure exists. |
| Resale and value | Documented moisture-control improvements increase resale attractiveness. |
| Southshorepaint's approach | Southshorepaint integrates moisture inspection, flashing and WRB prep, and premium breathable coatings before painting. |
What a contractor-first approach to moisture actually looks like
Most painting articles treat waterproofing as a footnote. In practice, it is the foundation of every durable exterior finish. The conventional wisdom that a "waterproof paint" solves moisture problems is a persistent misunderstanding, and it costs homeowners real money when paint fails in year two or three because the substrate was never properly addressed.
What actually matters is the sequence: inspect first, fix the system, then paint. A premium contractor who skips moisture testing and flashing evaluation is not saving time; they are transferring the cost of that shortcut to the homeowner in the form of premature paint failure. The questions in the contractor guidance section above are not optional extras for demanding clients. They are the baseline for any project that is expected to last.
The other underestimated factor is breathability. Non-breathable coatings applied to the wrong side of a wall assembly are one of the most reliable ways to create a vapor trap. Matching product vapor permeability to the wall assembly's drying direction is a technical decision, not a product-label choice, and it requires someone who understands the full system.
Southshorepaint brings inspection-first exterior painting to your project
Durable exterior finishes start well before the first coat of paint. Southshorepaint's process begins with a thorough on-site evaluation: moisture readings, flashing and WRB condition, substrate assessment, and drainage review. Where repairs are needed, the scope is written out clearly before any coating work begins.

Services include moisture testing coordination, flashing and WRB prep and repair coordination, premium breathable coating systems, and warranty coverage that reflects the full scope of work, not just the paint. Whether you are managing a single-family home or a commercial building, the process is the same: fix the system, then protect it with a finish built to last.
To schedule an on-site evaluation and receive a written scope, request an estimate from Southshorepaint. The inspection identifies what needs to be addressed before painting begins, so the finished result holds up for years, not seasons.
Useful sources for homeowners who want the technical details
These are the primary references used throughout this article. Bring them to an inspection or contractor conversation to ground the discussion in authoritative guidance.
- Drainage Plane Behind Exterior Wall Cladding (Building America Solution Center / PNNL): Detailed installation guidance on WRBs, drainage gaps, and integration with flashings. Start here for design and installation specifics.
- Rain & Groundwater Management (NAHB Tech Note): Covers IRC R406 dampproofing vs. waterproofing distinctions and WRB code requirements. Useful for contractor conversations about code compliance.
- Water-Managed Wall Systems (Building Science Corporation): The foundational argument for drainage-capable assemblies over barrier walls. Read this before specifying any cladding or WRB system.
- Building Science Digest 013: Rain Control of Buildings (Building Science Corporation): Covers flashing sequencing, grade and overhang details, and rain exposure reduction. Useful for both design review and DIY assessment.
- Moisture Control Guidance (U.S. EPA): Connects moisture intrusion to insulation performance, mold risk, and indoor air quality. Reference this when discussing energy and health impacts with a building manager.
- Exterior Foundation Waterproofing (Modernize): Practical overview of below-grade waterproofing scope, cost drivers, and process. Use it to understand what a foundation waterproofing project actually involves before getting estimates.