Patching walls before painting is the single most important preparation step for achieving a smooth, professional finish that lasts. Surface preparation, including patching, sanding, and caulking, accounts for 40–60% of the total effort in a high-quality paint job. That share reflects how much the final result depends on what happens before the first coat goes on. Skipping this step reduces paint lifespan from a potential 5–10 years down to just 1–3 years. Southshorepaint sees this pattern repeatedly: homeowners who invest time in proper wall repair enjoy finishes that look sharp for years, while those who skip it repaint far sooner than expected.
Why patch walls before painting: the core reason
Patching fills holes, dents, and cracks to create a uniform surface that paint can adhere to evenly. Without a flat, sealed surface, paint reveals every flaw rather than hiding it. Walls with unrepaired damage have varying levels of porosity, meaning some areas absorb paint faster than others. That uneven absorption creates visible differences in sheen and texture, even when the same paint and roller are used throughout.
The importance of patching walls goes beyond aesthetics. A well-maintained interior with seamless wall repairs can increase a home's selling price by up to 10%. That figure puts the value of a $20 patch kit and an afternoon of work into sharp perspective. Buyers notice walls. Inspectors notice walls. A flawless finish signals a well-cared-for home.
How patching improves paint adhesion and finish quality
Paint does not adhere uniformly to damaged or porous surfaces. A hole, dent, or crack creates a surface irregularity that the paint film cannot bridge cleanly. The result is a thin, stressed layer of paint over the void that chips, cracks, or peels faster than the surrounding wall.
Joint compound absorbs paint differently than the surrounding drywall paper. Fresh compound is more porous, so it pulls paint in faster and creates dull spots called "flashing." Flashing is the most common complaint homeowners have after painting over patched areas without priming first. The patch looks fine when wet, but once the paint dries, a dull, flat circle appears where the repair was made.
Here is what unpatched or unprimed repairs cause in practice:
- Texture inconsistency: The patch area feels or looks rougher than the surrounding wall.
- Sheen variation: Glossy or satin paint shows flashing clearly under natural light.
- Poor adhesion: Paint over a crumbling or dusty repair edge lifts and peels within months.
- Visible ridges: Edges of a patch that were not feathered properly cast shadows under raking light.
Pro Tip: Prime every patched area with a dedicated sealing primer before applying your topcoat. Paint-and-primer-in-one products do not replace a separate sealing primer over patched drywall. The patch behaves differently from intact wall surfaces, and only a dedicated primer seals it properly.
What happens when patching is skipped or done poorly
Skipping repairs before painting does not hide damage. It makes damage more visible. Fresh paint draws the eye across the entire wall surface, and any bump, crack, or hollow becomes more noticeable under a uniform coat of color.
Repair is not complete until the patch is feathered and primed. Without those two steps, patches will show through paint due to light reflection or texture differences, regardless of how many coats of paint are applied.
The most common visible problems from skipped or poor patching include:
- Flashing: Unprimed joint compound creates dull circles that show through even multiple paint coats.
- Ridges and bumps: Insufficient sanding or feathering leaves raised edges that cast shadows.
- Recurring cracks: Hairline cracks that reappear after painting signal a structural or moisture issue that surface patching alone cannot fix.
- Uneven sheen: Satin or semi-gloss finishes amplify any texture difference between patched and unpatched areas.
These issues affect more than appearance. A paint job with visible flaws signals poor workmanship to buyers and appraisers. Repainting to correct the problem costs more than doing it right the first time, because the walls need to be stripped, re-patched, primed, and repainted. The cost of skipping prep compounds quickly.
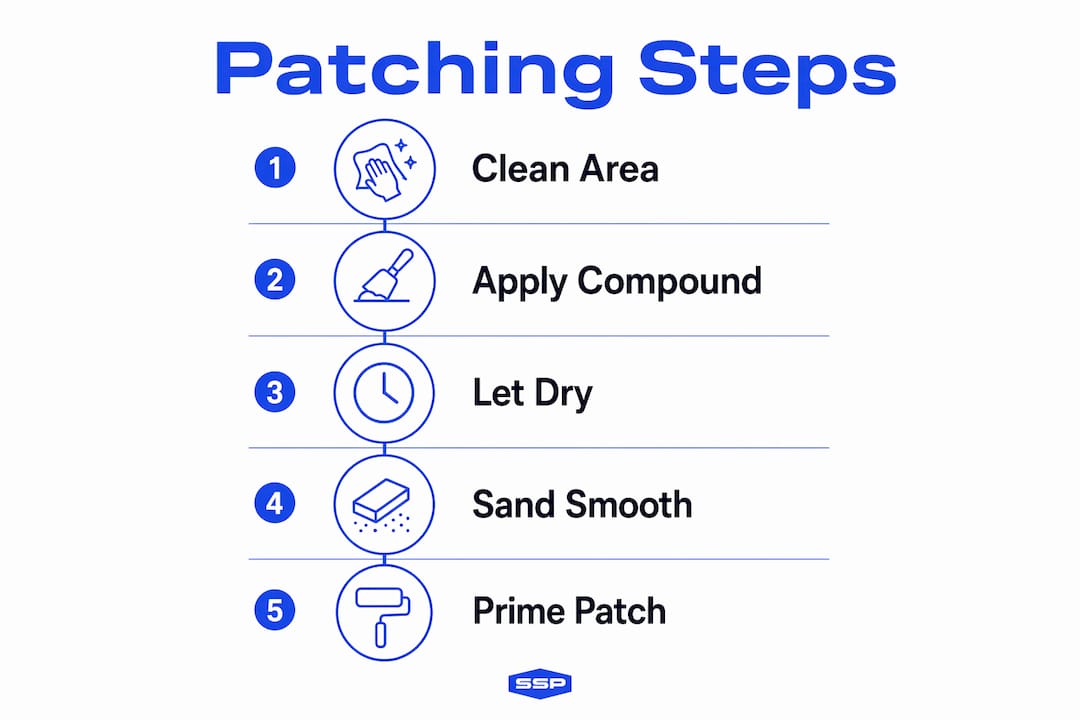
How to patch walls properly: a step-by-step guide
Proper wall patching follows a clear sequence. Rushing any step produces a result that shows through paint.
-
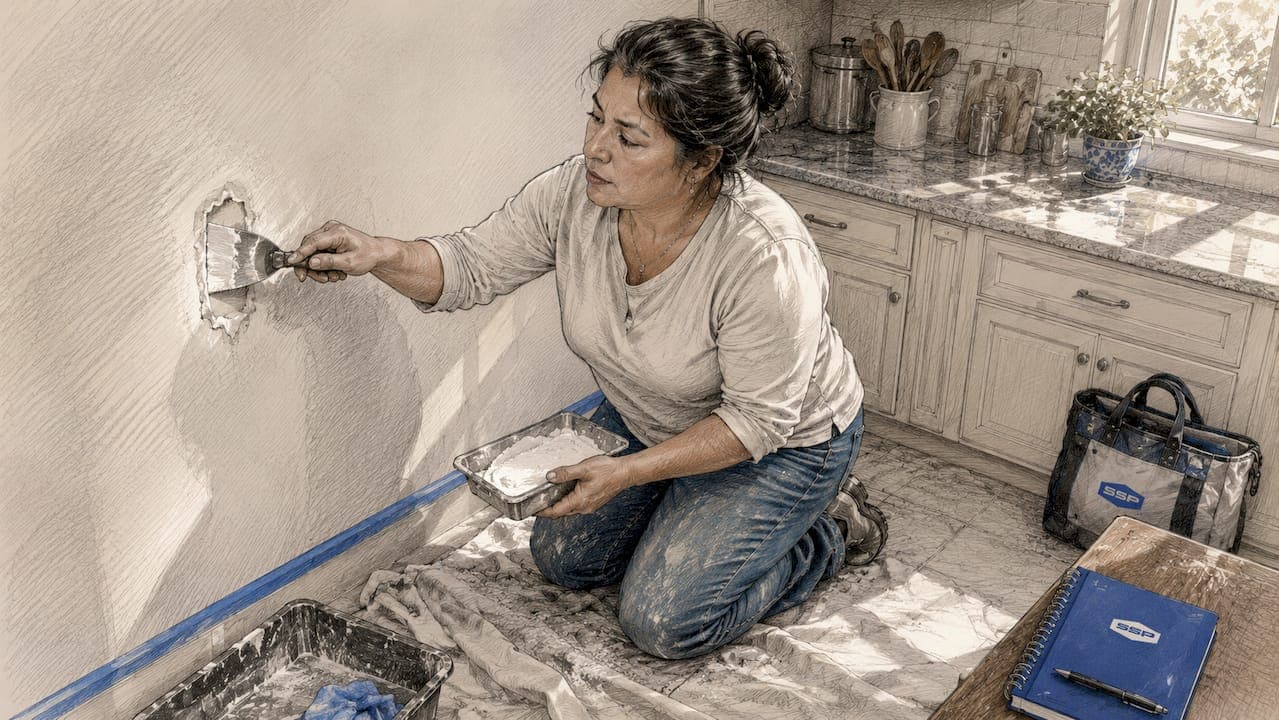
Inspect and clean the surface. Remove loose paint, dust, and debris from around the damaged area. Wipe the surface with a damp cloth and let it dry fully. Painting over dust or grease causes adhesion failure.
-
Choose the right patching material. Spackling compound works for small nail holes and minor dents. Joint compound suits larger repairs and skim-coating. Mesh patch kits with joint compound handle holes up to 6 inches across.
-
Apply the first coat thinly. Press compound firmly into the hole or crack. Spread it flat with a putty knife, extending the edges slightly beyond the damage. Thin coats dry faster and shrink less than thick ones.
-
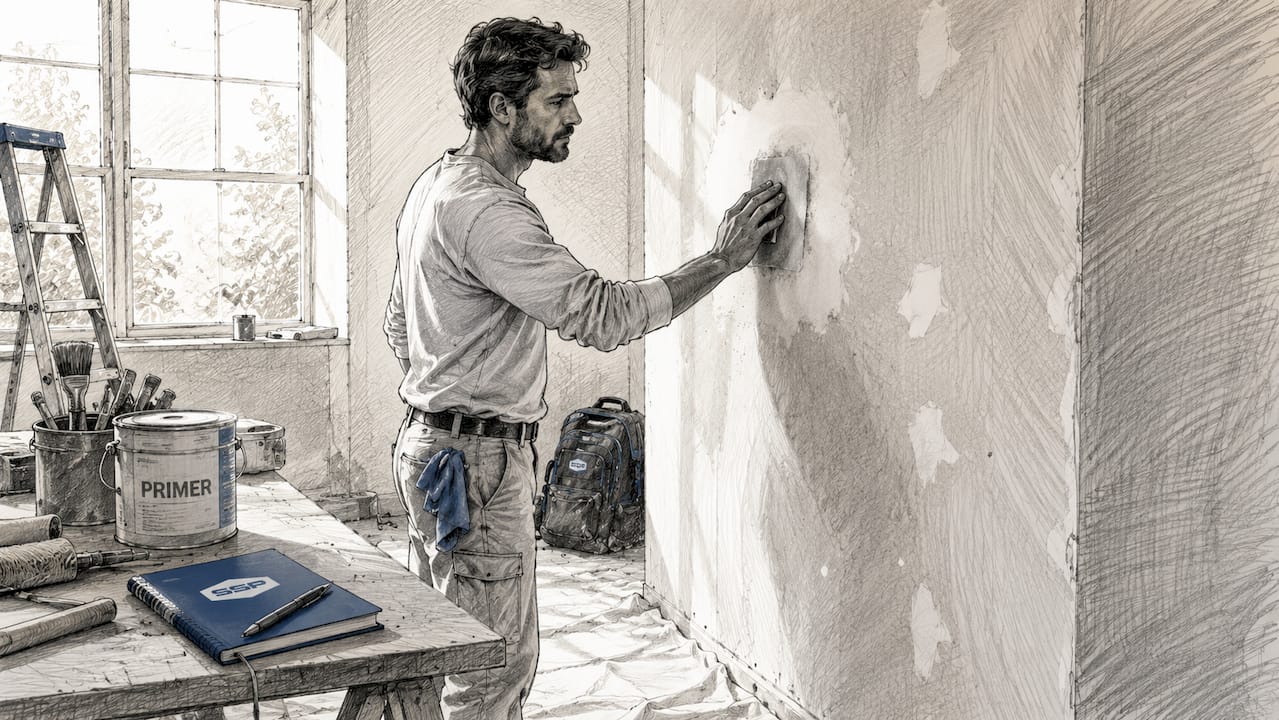
Feather the edges. Proper drywall repair requires feathering, which means blending the patch edges into the surrounding wall so no ridge is detectable by touch. Use a wider knife on each successive coat to extend the feathered zone.
-
Sand between coats and after the final coat. Use 120-grit sandpaper for intermediate sanding and 220-grit for the final pass. Sand in circular motions, then wipe away all dust with a tack cloth.
-
Prime before painting. Apply a dedicated sealing primer such as Zinsser Bulls Eye 1-2-3 to every patched area before painting. This seals the porous compound and creates a surface that absorbs topcoat paint at the same rate as the rest of the wall.
Pro Tip: Apply at least two thin coats of joint compound rather than one thick coat. Thick coats crack as they dry and require more sanding. Two thin coats produce a flatter, harder surface with far less effort.
DIY patching vs. hiring a professional: how to decide
Not every wall repair is a DIY job. Knowing the difference saves time, money, and frustration.
| Repair type | Best approach | Estimated cost |
|---|---|---|
| Nail holes, small dents | DIY spackling kit | About $17 for a kit |
| Holes up to 6 inches | DIY mesh patch kit | $20–$35 |
| Large holes, extensive damage | Professional drywall repair | Starting at $75 per repair |
| Structural or recurring cracks | Professional assessment required | Varies by scope |
DIY patching works well for cosmetic damage: nail holes, small dents from furniture, and minor scrapes. These repairs take under an hour and require only basic tools. A quality spackling compound, a putty knife, sandpaper, and a primer are all that is needed.
Larger holes, water-damaged sections, and cracks that reappear after patching require professional attention. Recurring cracks need professional evaluation because they often signal structural movement or moisture intrusion. Surface patching over a structural crack will fail within months. A professional identifies the root cause before making the repair.
The benefits of professional repair extend beyond the patch itself. Pros feather repairs over a wider area, match existing wall texture, and prime correctly. The result is a finish that looks factory-smooth under any lighting condition. For homeowners planning to sell or undertaking a full interior repaint, professional patching is a sound investment. You can learn more about painting after remodeling to understand how repairs fit into a larger project timeline.
Key Takeaways
Patching walls before painting is the foundation of a durable, professional finish, and skipping it guarantees visible flaws and a shortened paint lifespan.
| Point | Details |
|---|---|
| Prep drives paint longevity | Proper patching and priming extends paint life from 1–3 years to 5–10 years. |
| Priming patches is non-negotiable | Joint compound absorbs paint differently; only a dedicated sealing primer prevents flashing. |
| Feathering prevents visible ridges | Blend patch edges over a wide area so no ridge shows under raking light. |
| Know when to call a pro | Recurring cracks and large holes need professional repair, not just surface compound. |
| Patching adds home value | Seamless wall repairs can increase a home's selling price by up to 10%. |
The part most homeowners underestimate
I have walked into hundreds of homes where the homeowner painted over walls that were never properly patched. The paint looked fine in photos. Under natural light, every repair glowed like a spotlight. That is the thing about flashing: it is invisible in low light and impossible to ignore in daylight.
The mistake I see most often is not skipping patching entirely. It is stopping too soon. Homeowners fill the hole, let it dry, and paint directly over it without priming. They assume the paint will cover it. It does not. The compound pulls the paint in faster than the surrounding wall, and the dull spot appears within hours of the paint drying.
The second most common mistake is applying one thick coat of compound instead of two or three thin ones. A thick coat shrinks as it dries, leaving a slight depression in the center of the patch. That depression catches light and shows through paint just as clearly as an unpatched hole.
Patching is not glamorous work. It is dusty, repetitive, and easy to rush. But every hour spent on proper repairs saves two or three hours of repainting later. The walls that look effortlessly perfect are the ones where someone did the unglamorous work first. That is the part worth understanding before you open a single can of paint.
— Ryan
Southshorepaint: prep done right, results that last
Southshorepaint is built on the principle that a great paint job starts long before the first coat goes on. Whether you are tackling a single room or a full interior repaint, getting the prep right makes the difference between a finish that lasts a decade and one that shows its age in two years.

Visit Southshorepaint for expert guidance on surface preparation, product recommendations, and homeowner resources that walk you through every stage of an interior paint project. The team at Southshorepaint is available to answer questions about patching, priming, and choosing the right products for your specific walls. For a deeper look at interior painting techniques that hold up over time, the Southshorepaint blog covers every step in detail.
FAQ
Why do patches show through paint even after painting?
Patches show through paint because unprimed joint compound absorbs paint faster than the surrounding wall, creating dull spots called flashing. Applying a dedicated sealing primer over every patched area before painting eliminates this problem.
Can I use paint-and-primer-in-one over patched drywall?
Paint-and-primer-in-one products do not replace a separate sealing primer on patched areas. Patched drywall behaves differently from intact wall surfaces, and only a dedicated primer seals the compound properly to prevent uneven absorption.
How many coats of joint compound do I need for a smooth patch?
Two to three thin coats produce a smoother, harder result than one thick coat. Thick coats shrink as they dry and leave a slight depression that shows through paint.
When should I hire a professional instead of patching myself?
Hire a professional for holes larger than 6 inches, water-damaged sections, or cracks that reappear after patching. Recurring cracks often signal structural movement or moisture issues that surface compound cannot fix.
Does patching walls increase home value?
A well-maintained interior with seamless wall repairs can increase a home's selling price by up to 10%. Buyers and appraisers notice wall condition, and visible flaws signal deferred maintenance.