
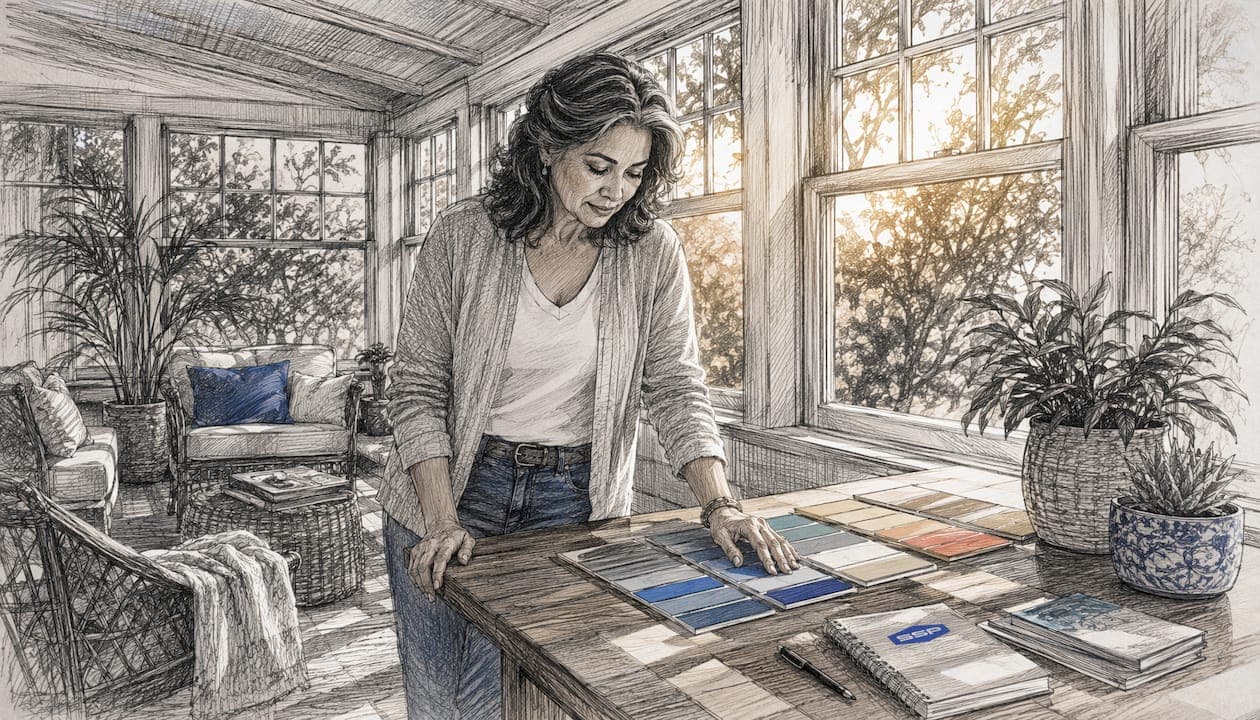
Sampling paint colors reveals how a finish will actually behave on your walls — under your light, against your trim, and at full scale. The single most important rule: apply at least two full coats on a neutral backing, then observe the result across multiple lighting conditions before committing. Skip that step, and even a carefully chosen color can disappoint once the crew rolls it across an entire room.
Table of Contents
- Why sampling paint colors is something you cannot skip
- How to sample paint colors step by step
- What changes when you are sampling for an exterior
- Common sampling mistakes and how to correct them
- When to bring in a professional color consultant
- A one-day sampling plan you can hand to your crew
- Key Takeaways
- Why professional sampling changes the outcome
- Southshorepaint's color consultation and sampling service
- Sources and further reading
Why sampling paint colors is something you cannot skip
Light is the variable most property owners underestimate. A warm greige that reads beautifully under a showroom's incandescent bulbs can shift noticeably cooler under the LED recessed lighting common in South Bay homes built after 2010. Morning sun hitting a north-facing wall produces a completely different reading than afternoon light on the same surface. The time of day you evaluate a sample genuinely changes what you see.
Substrate and existing color compound the problem. A deep charcoal accent wall will bleed through a single coat of almost any lighter color, making the sample look muddy and unrepresentative. Sheen matters equally: the same hue in satin versus flat/matte reflects light differently enough to alter perceived color, so always sample in the sheen you plan to use for the finished job.
Scale is the third factor. A 2-inch chip from a fan deck is a poor proxy for 400 square feet of wall. Colors tend to appear more saturated and intense at scale, which means a chip that looks subtle in your hand can feel overwhelming once it covers a full room.
Two coats, two walls, two lighting conditions. That combination is the minimum standard recommended by major paint manufacturers and professional color consultants for any sampling session.
- Test on at least two walls: one in direct natural light, one shaded.
- Sample in the same sheen you intend to use for the final application.
- Observe at morning, midday, and evening, including under artificial light.
- Use digital visualizers to narrow your options first, then confirm with physical samples.
How to sample paint colors step by step
A structured process removes most of the guesswork. Professionals often start with a small set of chips, narrow to a few favorites, then move to physical samples for the final decision.
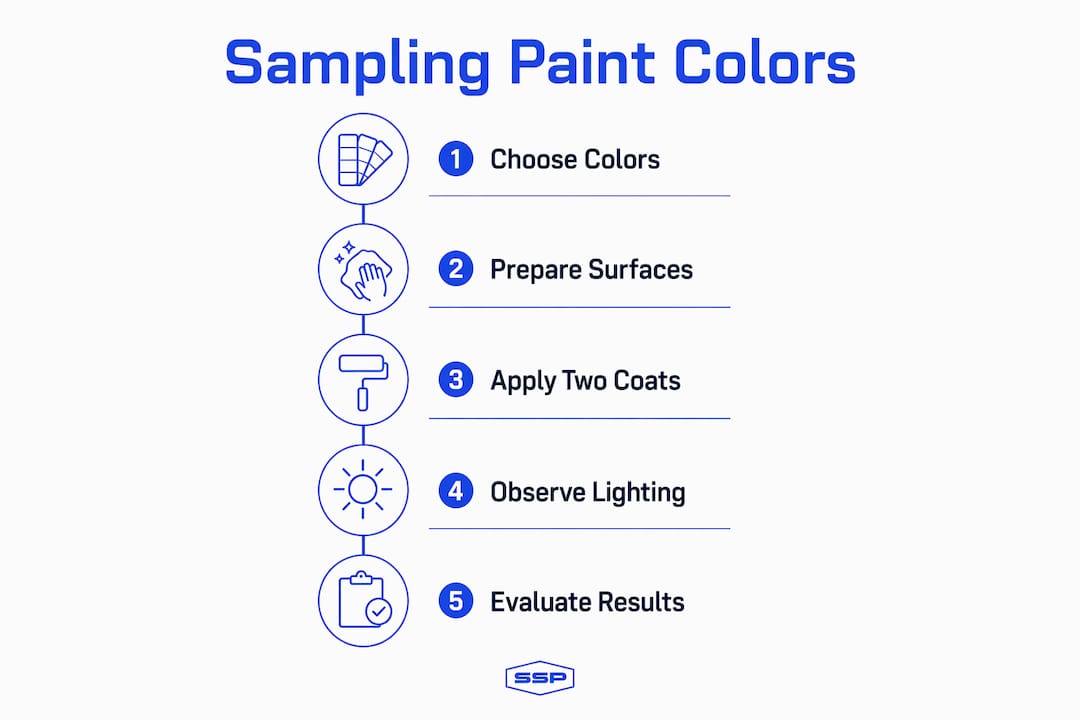
- Narrow your choices. Use a digital visualizer or fan deck to cut your options to three to five candidates. This limits the number of physical samples you need to buy.
- Choose your sample format. Quart samples painted onto poster board, peel-and-stick sheets, or painted directly on the wall each have trade-offs (see table below).
- Prepare a neutral backing. A 2'×2' poster board with two full coats of sample paint prevents the existing wall color from biasing what you see.
- Apply two full coats. Let the first coat dry completely before applying the second. One coat will not show true pigment depth or sheen behavior.
- Place samples on multiple walls. Position boards on a sunlit wall and a shaded wall in the same room.
- Observe across the day. Check samples in morning light, midday, late afternoon, and under your evening artificial lighting.
- Document with photos and notes. Record the time of day, wall orientation, and any adjacent finishes. This is especially useful for landlords managing multi-unit properties where consistent decisions matter.
- Confirm sheen. If you are considering both satin and eggshell for the same color, sample both side by side.
Pro Tip: For rental units or staged homes where time is short, painted poster boards are faster than waiting for wall samples to dry. You can prepare several boards off-site and bring them to the property for a single observation session.
| Sample method | Approximate cost | Best use | Limitation |
|---|---|---|---|
| Quart pot on wall | $5 | Permanent test on actual surface | Hard to reposition; affects existing finish |
| Painted poster board (2'×2') | $5 + board | Portable; neutral backing | Requires prep time and two drying cycles |
| Peel-and-stick sheet (~8×8 in.) | $4–$8 | Rapid repositioning; no painting | Smaller area; less accurate at scale |
What changes when you are sampling for an exterior
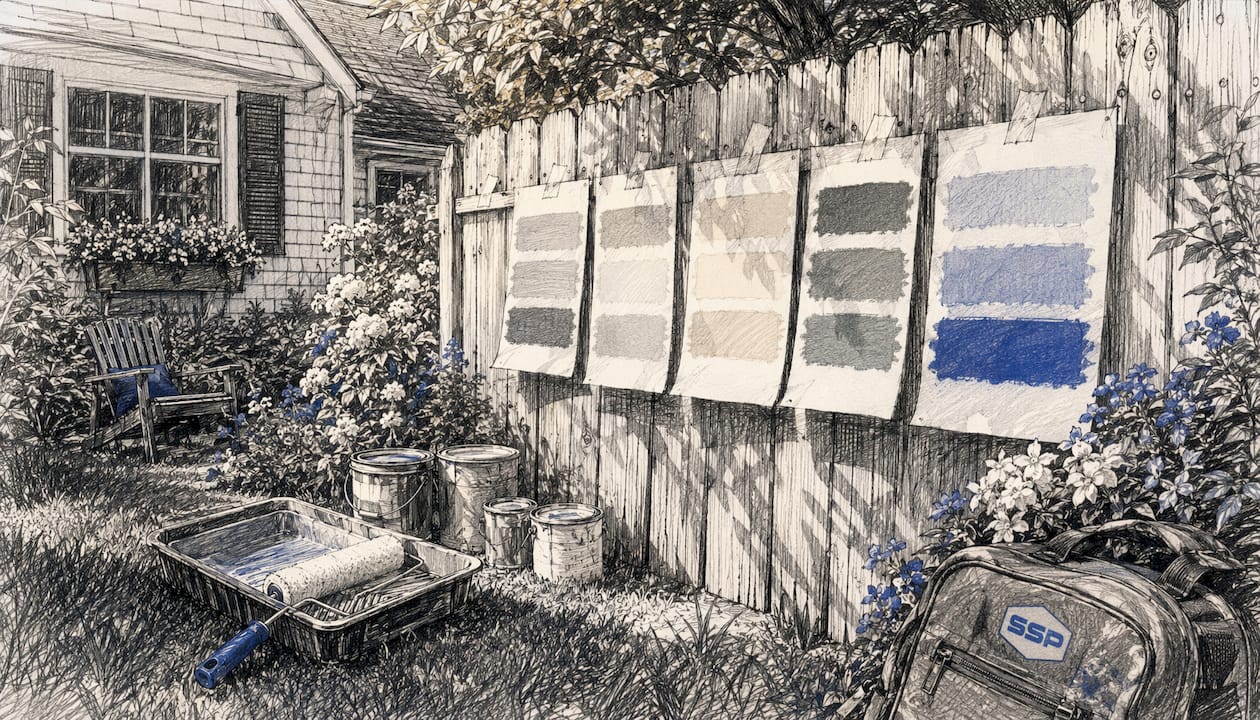
Exterior sampling follows different rules than interior work. Intense outdoor sunlight tends to wash out colors, making them appear lighter and less saturated than they look on a chip or even on an interior wall. A color that feels rich and grounded inside can look washed out on a south-facing facade in full afternoon sun.
- Paint large sample boards (at least 2'×2', two coats) and attach them directly to the siding in the areas that will be painted.
- View samples from the street, not just from arm's length. Curb appeal is judged at a distance, and what looks good up close can fail that test entirely.
- Check the sample next to every fixed element: roof shingles, brick, stone, garage door, and existing trim. These elements will not change, so the new color must work with all of them.
- Observe at multiple times of day, including overcast conditions, which are common in coastal South Bay areas and shift color perception significantly.
- After rain, check again. Wet siding darkens temporarily and can reveal undertones you did not notice when dry.
Pro Tip: Tape your sample board so it overlaps slightly onto the existing siding color. That overlap lets you see the contrast directly and judge whether the transition reads as intended.
For guidance on how exterior color choices affect curb appeal, the interaction between siding, trim, and fixed materials is the central variable most homeowners overlook until after the job is done.
Common sampling mistakes and how to correct them
Most color regret traces back to a small set of avoidable errors.
- Testing only one coat. A single coat shows the underlying color bleeding through and misrepresents the final pigment. Fix: always apply two full coats and let each dry completely.
- Using a tiny chip as the final reference. A 2-inch fan-deck chip cannot predict how a color reads at room scale. Fix: use a minimum 2'×2' sample area.
- Judging paint while it is still wet. Wet paint is darker and more saturated than the dried finish. Fix: wait until fully dry before evaluating.
- Testing in only one light condition. A color that passes in daylight may feel entirely different under warm incandescent or cool LED bulbs. Fix: observe at morning, midday, and evening.
- Painting over a dark wall without primer. The existing color will skew the sample. Fix: apply a coat of primer or use a white poster board as your backing.
- Relying solely on screen visualizers. Screens cannot replicate sheen, texture, or the way your specific lighting interacts with the paint. Fix: use digital tools to narrow options, then always confirm with a physical sample.
When to bring in a professional color consultant
Some projects genuinely benefit from professional guidance rather than a DIY sampling session. Large exterior repaints, multi-unit rental properties, historic homes with complex trim profiles, and time-constrained property managers are the clearest cases.
A professional color consultation from a contractor like Southshorepaint typically includes on-site sample application, a lighting study across different times of day, palette coordination against fixed materials, and larger test panels than most homeowners prepare on their own. Before booking, ask the contractor how many sample locations they recommend, whether mock-up panels are included in the scope, and what the timeline looks like from consultation to final color approval.
Professional sampling on a multi-unit property often prevents the cost of repainting an entire building because one color read differently on the north-facing units than on the south-facing ones. A proper on-site mock-up, checked at multiple times of day, catches that discrepancy before the crew loads the sprayer.
For a deeper look at what a color consultation covers and what questions to ask, Southshorepaint's guide walks through the full process.
A one-day sampling plan you can hand to your crew
This checklist works for a single property or a multi-unit building. It assumes you have already narrowed your choices to three candidates.
- Morning (8–10 AM): Prepare boards. Cut three poster boards to 2'×2'. Apply the first coat of each color. Label each board with the color name and sheen.
- Mid-morning: Apply second coats. Once the first coats are dry (typically 1–2 hours), apply the second coat to each board.
- Midday: Place boards on-site. Position each board in its intended location — sunlit wall, shaded wall, and (for exteriors) against the siding near fixed elements. Photograph each placement.
- Afternoon (2–4 PM): Compare and photograph. Take photos from normal viewing distances. Note how each color reads against trim, flooring, or exterior materials.
- Evening: Evaluate under artificial light. Bring interior boards inside and observe under the lighting that will be used daily. Take a final set of photos with notes.
Materials needed: Poster board or foam core, painter's tape, sample pots (one per color), a brush or small roller, a smartphone for photos, and a notepad for observations.
Pro Tip: Label each photo file with the color name and time of day. When you share the documentation with a contractor or property owner, the record removes ambiguity and speeds up final approval.
Key Takeaways
Sampling paint colors correctly prevents costly repaints and color regret. Apply two full coats on a neutral backing, test across multiple walls and lighting conditions, and document every decision.
| Point | Details |
|---|---|
| Two coats minimum | One coat misrepresents pigment depth and sheen; always let the first coat dry before applying the second. |
| Multiple walls and light conditions | Test on both a sunlit and a shaded wall, and observe morning, midday, and evening. |
| Exterior samples on-site | Attach large boards directly to siding and view from the street, checking against roof, trim, and brick. |
| Document with photos and notes | Record time of day, wall orientation, and adjacent finishes to support consistent decisions across units. |
| Southshorepaint for complex projects | For large exteriors, multi-unit properties, or time-sensitive jobs, Southshorepaint provides on-site sampling and color consultation. |
Why professional sampling changes the outcome
The conventional wisdom is that sampling is a simple step you handle before the real work begins. After seeing the results on South Bay properties, the reality is that sampling is the real work, and everything after it is execution.
The most common scenario we see: a homeowner spends weeks selecting a color from chips and visualizer tools, approves it confidently, and then watches it read completely differently once it covers the walls. The chip was accurate. The visualizer was accurate. But neither one accounted for how that specific color interacts with the directional light in that specific room, or how it shifts under the warm LED fixtures the homeowner installed two years ago.
What changes the outcome is a large physical sample, applied in two coats, observed at the times of day that actually matter for how the space is used. For a living room, that means evening light. For a rental unit kitchen, that means morning. The sampling session should mirror the real conditions of the finished space, not just the most convenient moment to check.
Southshorepaint's color consultation and sampling service
Getting the color right before the crew arrives is exactly what Southshorepaint's consultation service is built around. Rather than leaving sampling to guesswork, Southshorepaint applies large on-site mock-ups, coordinates the palette against your roof, trim, and fixed materials, and walks you through the results at the times of day that matter most for your property.
The service covers interior and exterior projects across the South Bay, including multi-unit rental properties where color consistency across buildings is a practical requirement, not just an aesthetic preference. Property managers working on tight timelines get a documented color recommendation they can hand directly to the crew, with photos and notes already compiled.
To schedule a sampling consultation or get a project quote, visit Southshorepaint and reach out directly. Bring your shortlist of colors and any photos of fixed elements — the consultation moves faster when the starting point is already narrowed.
Sources and further reading
- How to Use Paint Color Samples | Benjamin Moore — Manufacturer guidance on two-coat sampling, sheen testing, and multi-wall observation.
- Learn to Test Paint Colors Like a PRO | The Color Concierge — Professional color consultant workflow including the rule of 3 to 5, exterior on-site testing, and documentation practices.
- How to Test Paint Samples the Right Way | Paint Color HQ — Poster-board method and neutral backing guidance.
- Paint Samples: 5 Ultimate Mistakes to Avoid | The Color House — Common errors and corrective actions; peel-and-stick sample costs and sizing.
- How to Test Paint Samples the Right Way | Beginner's Guide to Painting — Digital visualizer limitations and the case for physical confirmation.
- Color Consultation Painting: A Homeowner's Expert Guide | Southshorepaint — Southshorepaint's guide to professional color consultation services.
- Exterior Paint Color Ideas | Southshorepaint — Exterior palette examples and how sampling decisions affect curb appeal.
- What is the best color to paint interior doors? | One Day Doors & Closets — Guidance on coordinating door colors with new paint samples.